Roadmaster Estate Wagon V8-350 5.7L VIN P SFI (1996)

Fuel Injector: Service and Repair
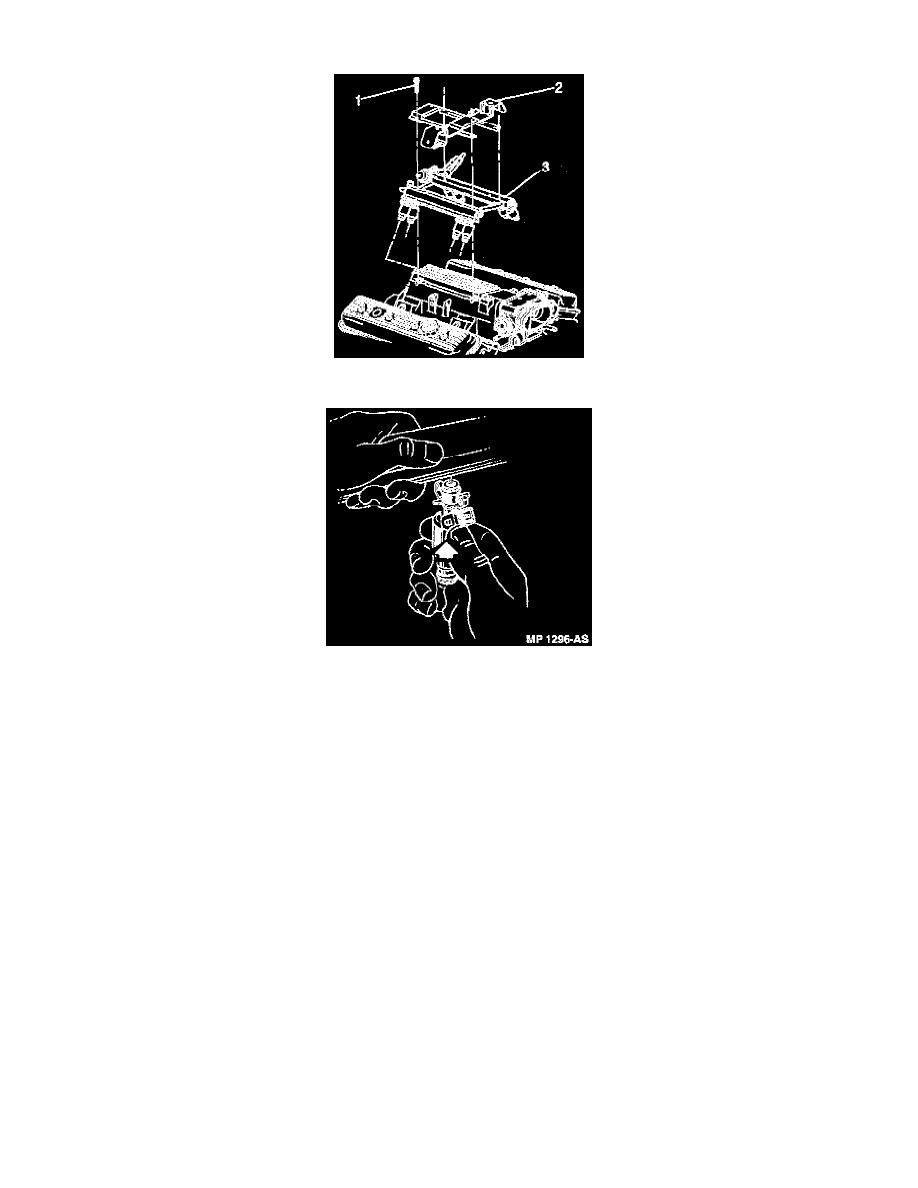
Fuel Rail
Fuel Injector and Clip
CAUTION: Use care in removing the fuel injectors to prevent damage to the electrical connector pins on the injector and the nozzle. The fuel
injector is serviced as a complete assembly only. The fuel injector is an electrical component and should not be immersed in any type of cleaner.
If fuel injectors are found to be leaking, the engine oil may be contaminated with fuel.
REMOVE OR DISCONNECT
1. Disconnect negative battery cable.
2. Perform Fuel Pressure Release Procedure.
3. Remove Fuel Rail assembly.
4. Spread injector clip to release injector from fuel rail.
5. Fuel injector assembly.
6. Discard injector retainer clip.
7. Injector O-ring seals from both ends of injector and discard.
-
Save O-Ring backup for use in reinstallation.
NOTICE:
^
Refer to Application and ID to insure ordering correct replacement parts.
^
When replacing injector O-rings, be sure to install the brown 0-ring in the lower position.
^
The fuel injector lower O-ring uses a nylon collar, called the O-ring backup, to properly position the O-ring on the injector. Be sure to reinstall
the O-ring backup, or the sealing O-ring may move on the injector when installing the fuel rail and result in a possible vacuum leak.
ASSEMBLE
1. Lubricate new injector O-ring seals with clean engine oil, and install on injector.
2. New retainer clip onto injector.
-
Position clip on the right side of electrical connector.
3. Fit injector into fuel rail injector socket, with electrical connector facing outward.
4. Push injector into socket until retainer clip locks onto flange on fuel rail.
