
Skyhawk L4-121 2.0L VIN 1 TBI (1988)
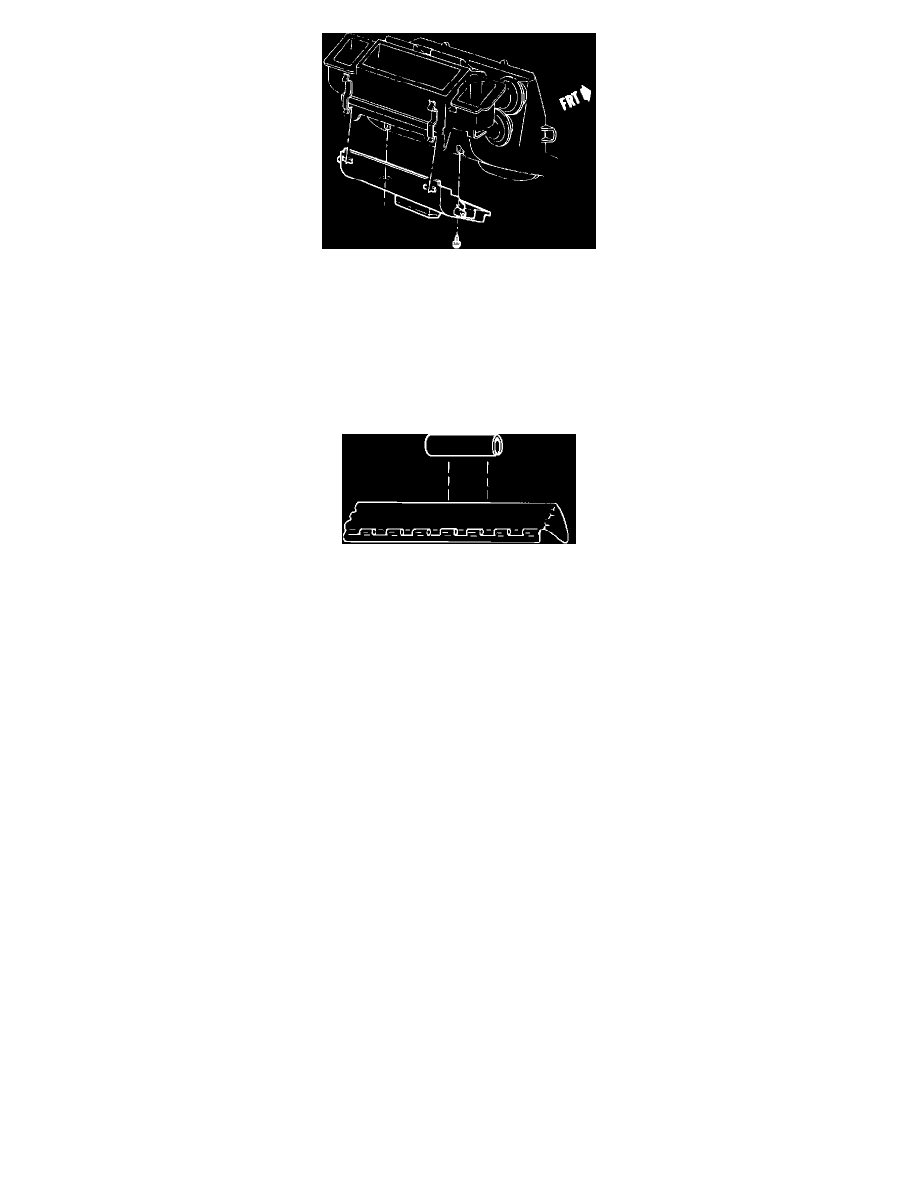
FIGURE 2 - AIR OUTLET DUCT
2.
Remove duct assembly, floor air outlet (See Figure 2).
3.
Secure a 1" long piece of 7/16" windshield washer hose (or equivalent) and cut one side the full 1" length so that the hose can be slipped over the
edge of the defroster valve.
4.
Apply RTV silicone rubber adhesive sealant to the inside of the 1" piece of rubber hose.
5.
Set mode lever on control pane to defrost position. This will expose the edge of the defroster valve.
FIGURE 3 - INSTALLATION OF 1" HOSE
6.
Reach through the duct opening in the module assembly and push the 1" piece of hose with sealant onto the exposed edge of the metal defroster
door (See Figure 3).
CAUTION: Ample cure time for RTV sealant must be allowed to ensure rubber hose adheres to the valve.
7.
Reassemble floor air outlet duct assembly and right side insulator assembly.
WARRANTY INFORMATION
Labor Operation Number:
T4636
Labor Time:
.4 Hours
Trouble Code:
92