
Terraza FWD V6-3.5L VIN 8 (2005)
13. Trim the valve gasket and sealant away from the lower intake manifold gasket at the cylinder head to lower intake manifold joints (1).
14. Remove the valve cover gasket.
15. Clean the sealing surface on the cylinder head with degreaser.
16. Clean the valve rocker arm cover.
Installation Procedure
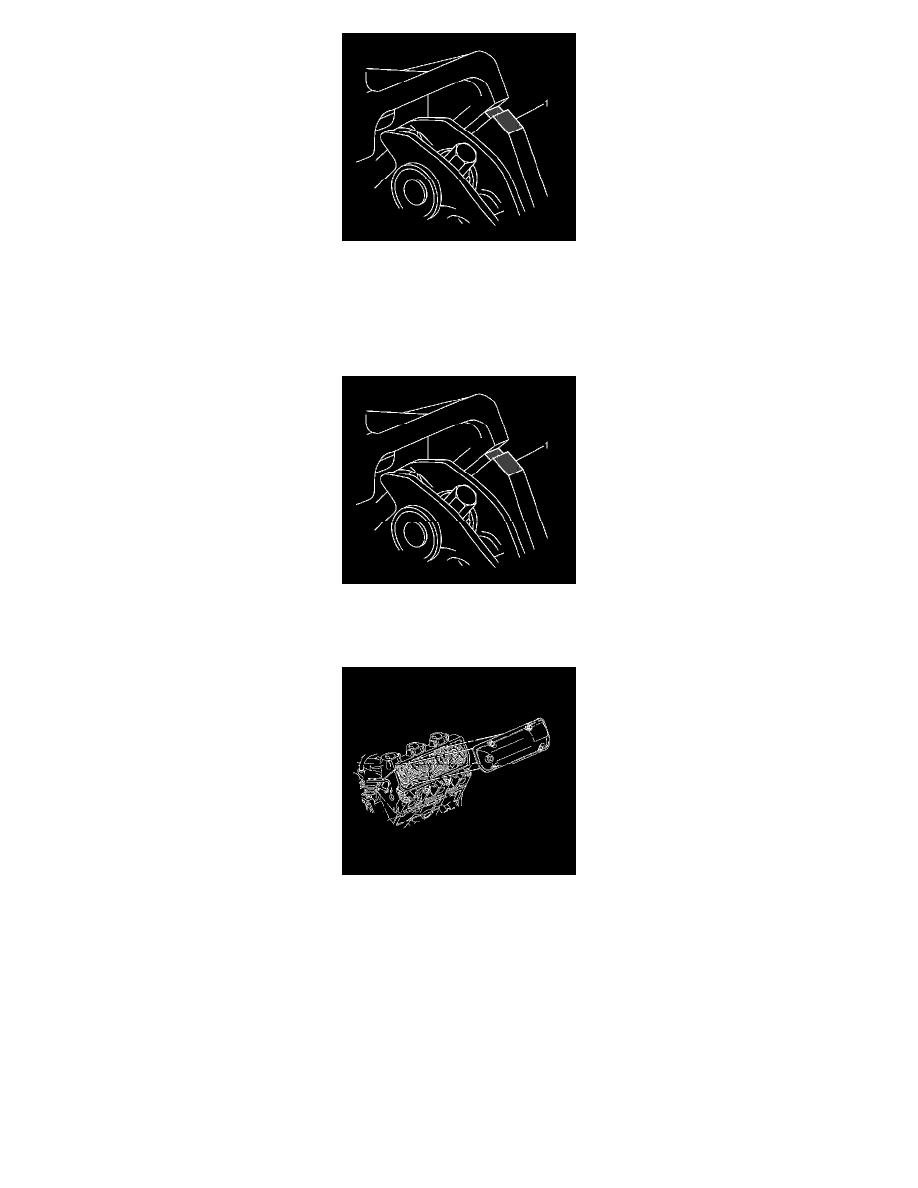
1. Important: Apply sealant GM P/N 12378521 (Canadian P/N 88901148), or equivalent, at the cylinder head to lower intake manifold joint.
Apply sealant at the cylinder head to lower intake manifold joints (1).
2. Install a new gasket to the valve rocker arm cover. Ensure that the gasket is properly seated in the groove of the valve rocker arm cover.
3. Install the right valve rocker arm cover.
4. Notice: Refer to Fastener Notice in Service Precautions.
Important: Use an alternating crisscross pattern when tightening the valve rocker cover bolts. Failure to do so may result in oil leakage from the
valve cover due to improper seating of the gasket.
Install the valve rocker arm cover bolts.
^
Tighten the bolts to 10 Nm (89 inch lbs.).
5. Install the vacuum hose to the grommet in the right valve rocker arm cover.
6. Install the ignition coil bracket studs.
7. Install the ignition coil bracket with coils.
8. Install the EVAP purge valve.
9. Connect the vacuum hoses to the EVAP purge valve.