
Terraza FWD V6-3.5L VIN 8 (2005)
Cross-Member: Service and Repair
Crossmember Replacement
Removal Procedure
1. Raise and support the vehicle. Refer toLifting and Jacking the Vehicle in General Information.
2. Remove the rear tires and the wheels. Refer toTire and Wheel Removal and Installation in Tires and Wheels.
3. Support rear differential carrier using a utility stand.
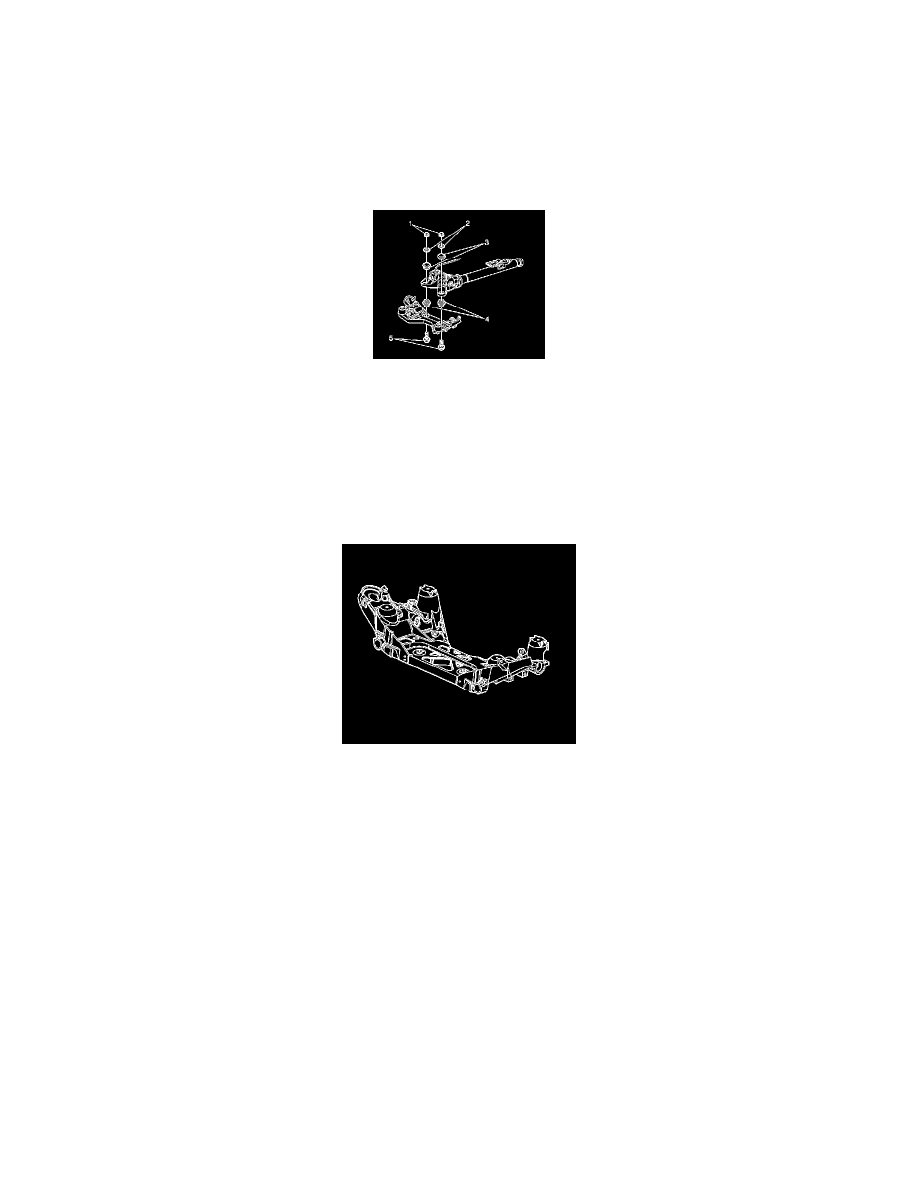
4. Remove the rear differential carrier mounting bolts (5) from the rear crossmember. Refer toDifferential Replacement in Rear Drive Axle.
5. Remove the rear suspension knuckle. Refer toKnuckle Replacement in Rear Suspension.
6. Disconnect the wheel speed sensor harness from the lower control arm and from the rear cross member.
7. Remove the rivets that attach the park brake cable to the rear crossmember.
8. Remove the automatic level control (ALC) height sensor and link from the crossmember bar and lower control arm. Refer toAutomatic Level
Control Sensor Replacement in Automatic Level Control.
9. Secure the ALC wiring harness out of the way.
10. Using a utility jack, support the rear crossmember.
11. Remove the rear crossmember mounting bolts.
12. Lower the rear crossmember.
13. Remove the rear stabilizer shaft. Refer toStabilizer Shaft Replacement in Rear Suspension.
14. Remove the rear axle upper control arms from the rear crossmember. Refer toRear Axle Upper Control Arm Replacement in Rear Suspension.
15. Remove the rear axle lower control arms from the rear crossmember. Refer toRear Axle Lower Control Arm Replacement in Rear Suspension.
16. Remove the tie rods from the rear crossmember. Refer toTie Rod Replacement (Front Wheel Drive) Tie Rod Replacement (All Wheel Drive) in
Rear Suspension.
Installation Procedure
1. Install the tie rods to the crossmember. Refer toTie Rod Replacement (Front Wheel Drive) Tie Rod Replacement (All Wheel Drive) in Rear
Suspension.
2. Install the rear axle lower control arms onto the rear crossmember. Refer toRear Axle Lower Control Arm Replacement in Rear Suspension.
3. Install the rear axle upper control arms onto the rear crossmember. Refer toRear Axle Upper Control Arm Replacement in Rear Suspension.
4. Install the rear stabilizer shaft onto the rear crossmember. Refer toStabilizer Shaft Replacement in Rear Suspension.