
Allante V8-273 4.5L (1991)
Hydraulic Assembly: Service and Repair
Hydraulic Accumulator
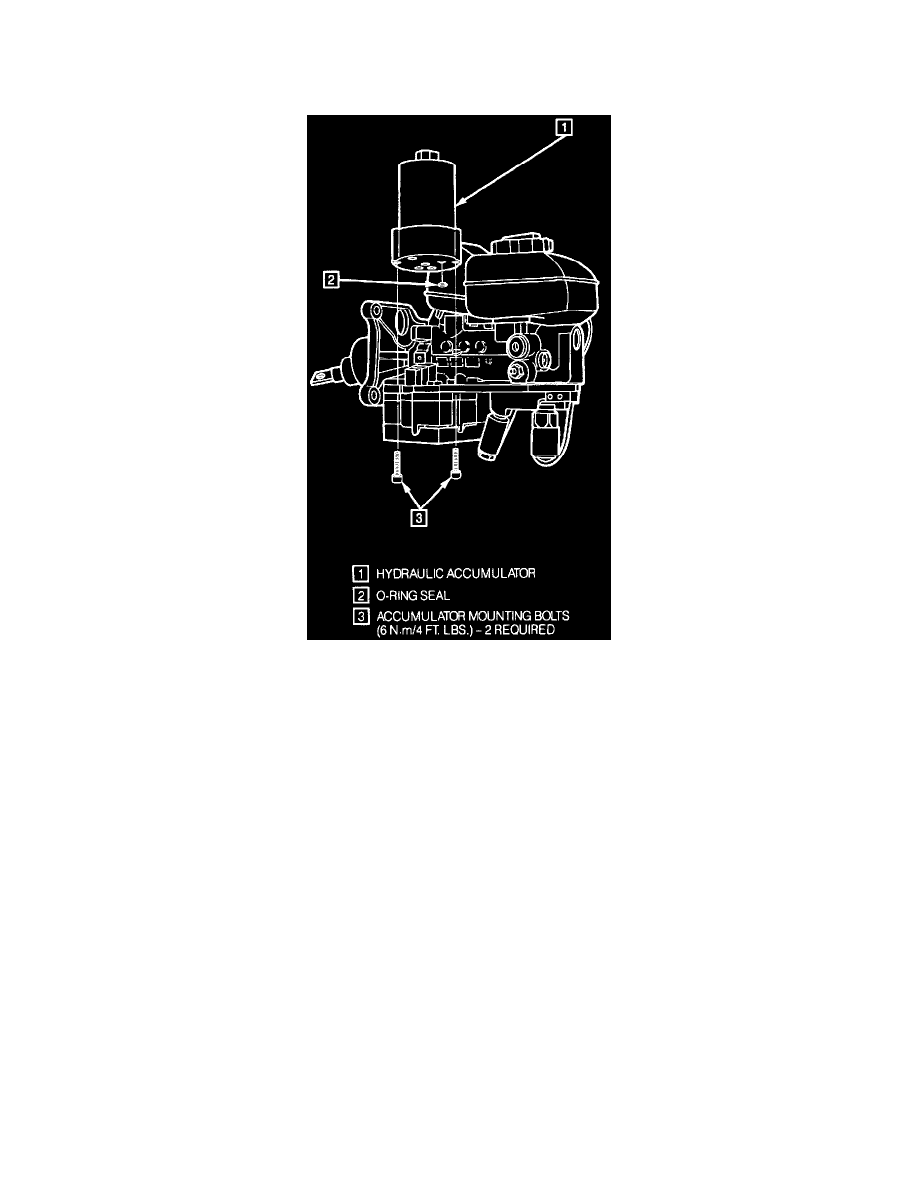
HYDRAULIC ACCUMULATOR
Hydraulic Accumulator
REMOVE OR DISCONNECT
1. Remove hydraulic unit as described in this section.
2. Place the hydraulic unit on a bench to access the bottom of the hydraulic accumulator.
3. Remove both accumulator mounting bolts.
4. Remove the hydraulic accumulator and the 0-ring seal.
INSTALL OR CONNECT
IMPORTANT
^
New hydraulic accumulators are shipped with accumulator mounting bolts and 0-ring seal.
^
Make sure the bottom of the hydraulic accumulator and the hydraulic unit mating surface is free from dirt.
1. Lubricate the 0-ring seal with clean brake fluid and install into the hydraulic accumulator.
2. Place the hydraulic accumulator on the hydraulic unit and ensure for correct fit using the locating tabs.
3. Install mounting bolts and pre-torque to 6 Nm (4 lbs. ft.).
4. After pre-torque. angularly deflect the screws 90 degrees.
5. Install hydraulic unit as described in this section.