
Allante V8-273 4.5L (1991)
Control Valve Assembly
INSTALL OR CONNECT
NOTE: Do not use any type of grease to retain or hold parts during assembly of this unit. Greases other than the recommended assembly lube will
change transaxle fluid characteristics and cause undesirable shift conditions and/or filter clogging. Retain checkball in proper locations using
assembly lube TRANSJEL(r) J 36850, or equivalent. (petroleum jelly)
1. Eight check balls (fig. 1) into channel plate. Retain with assembly lube.
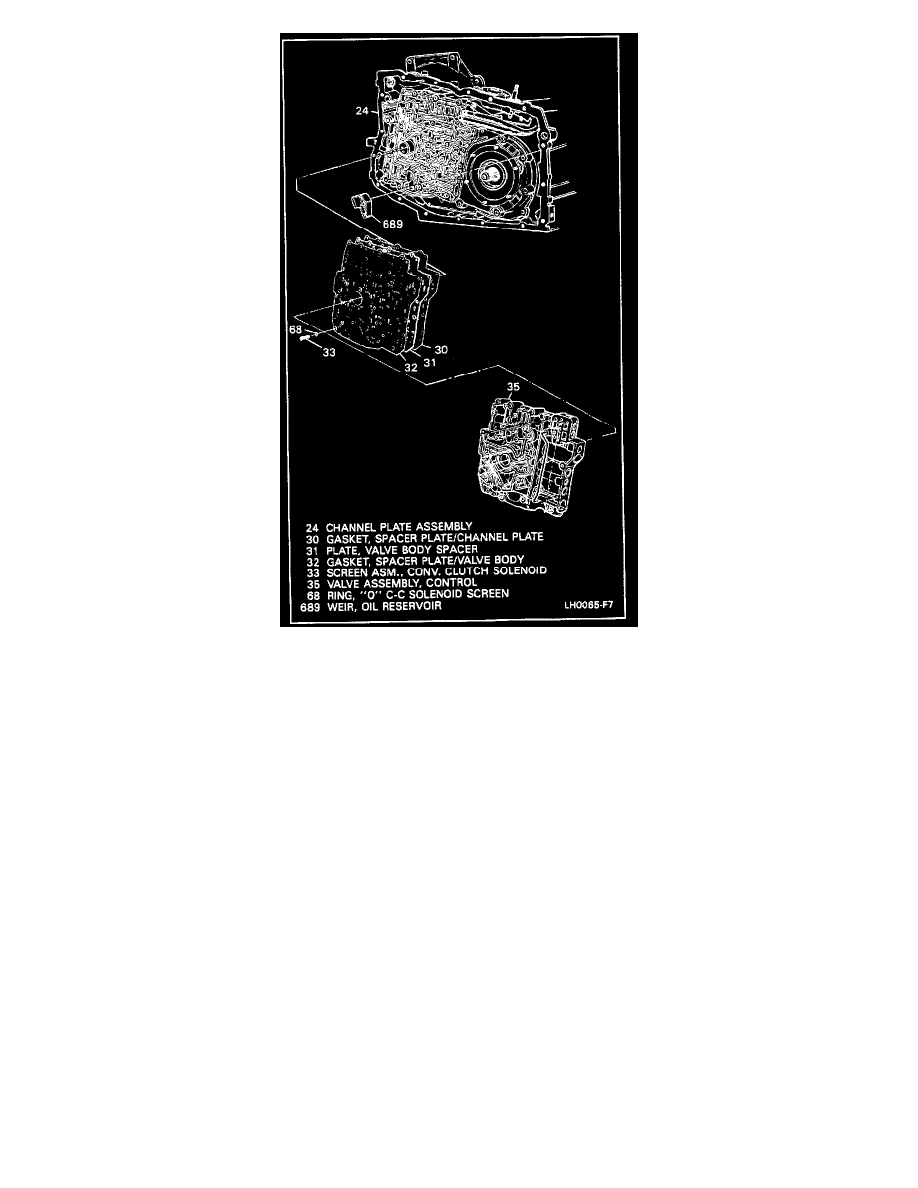
2. Spacer plate and gaskets (30, 31 & 32, fig. 3 & 7). Use alignment sleeves.
3. Four check balls into spacer plate, put back in control valve assembly.
4. Oil weir (689, fig. 7).
5. Control valve assembly (35, fig. 7) onto channel plate (24).
6. Attaching bolts (40, 41, 43 & 55, fig. 6). Torque to specifications per figure 4.
7. Remove rubber band. Install bolts (132, fig. 5) and servo pipe retainer (133) into valve body.
8. Oil pump.
9. Wiring harness.
10. Transaxle case side cover.
11. Negative battery cable.