Catera V6-3.0L VIN R (1997)

Canister Vent Valve: Service and Repair
EVAP Vent Valve
Removal Procedure
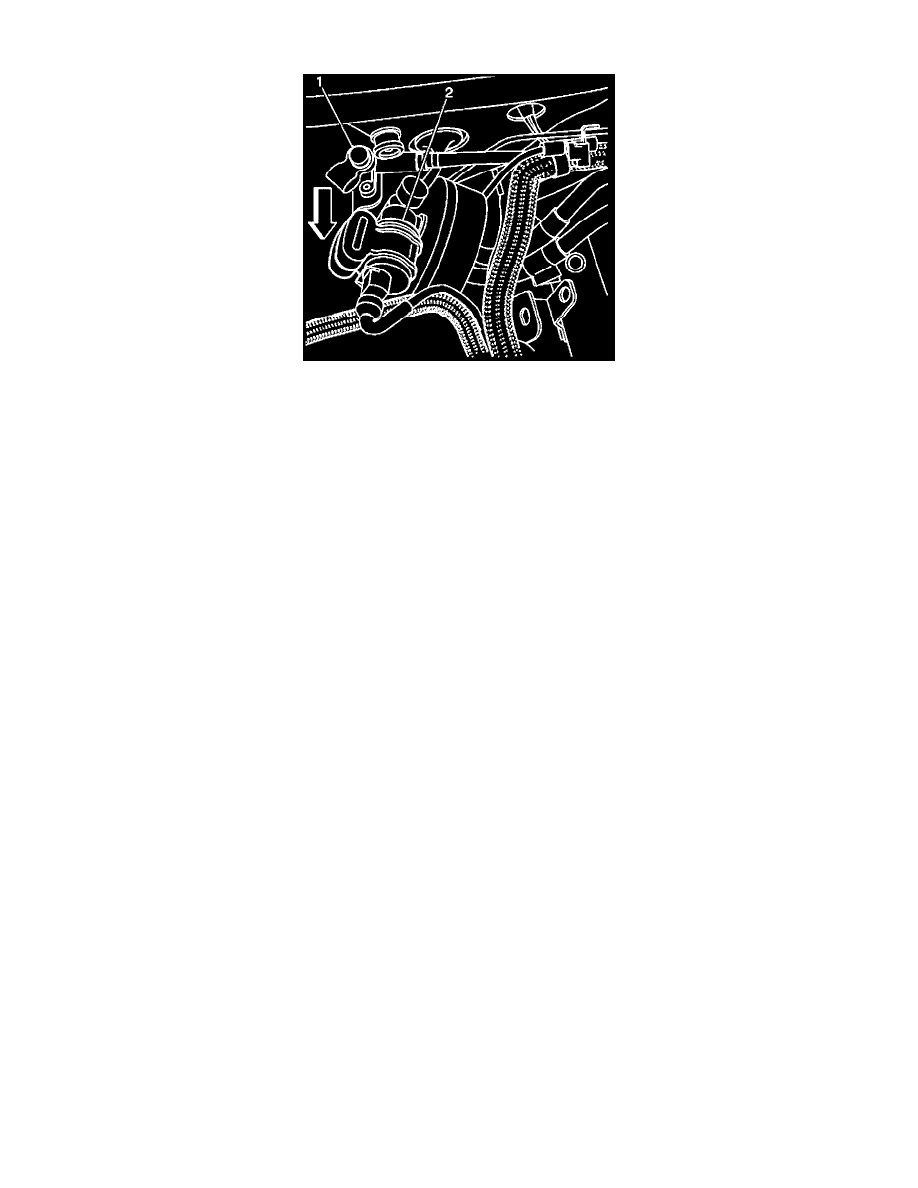
Notice: Numbers in text in parenthesis correspond to numbered components in image.
1. Disconnect the Negative battery cable.
Caution: Refer to Battery Disconnect Procedures under Powertrain Management / Service Precautions.
2. Loosen the fuel filler cap in order to relieve the system pressure.
3. Remove the mounting bolts.
4. Remove the EVAP vent valve (2) with the rubber mounting bracket.
5. Disconnect the harness connector.
6. Disconnect the vent line and the fresh air supply hose from the valve. Observe which hose goes to which port.
7. Remove the EVAP vent valve from the rubber mounting bracket.
If you are replacing the EVAP vent line, proceed to step 8.
8. Raise and support the vehicle.
9. Remove the hardware retaining the vent line.
10. Remove the right front inner fender well.
11. Disconnect the EVAP vent line quick connect fitting from the EVAP canister.
12. Lower the vehicle.
13. Pull the EVAP vent line out through the engine compartment.
Installation Procedure
If you are not replacing the EVAP vent line, proceed to step 6.
1. Install the EVAP vent line through to the canister from the engine compartment.
2. Raise and support the vehicle.
3. Connect the vent line quick connect fitting to the EVAP canister.
