CTS-V V8-6.0L VIN U (2006)

11. Install the sunshades to the headliner.
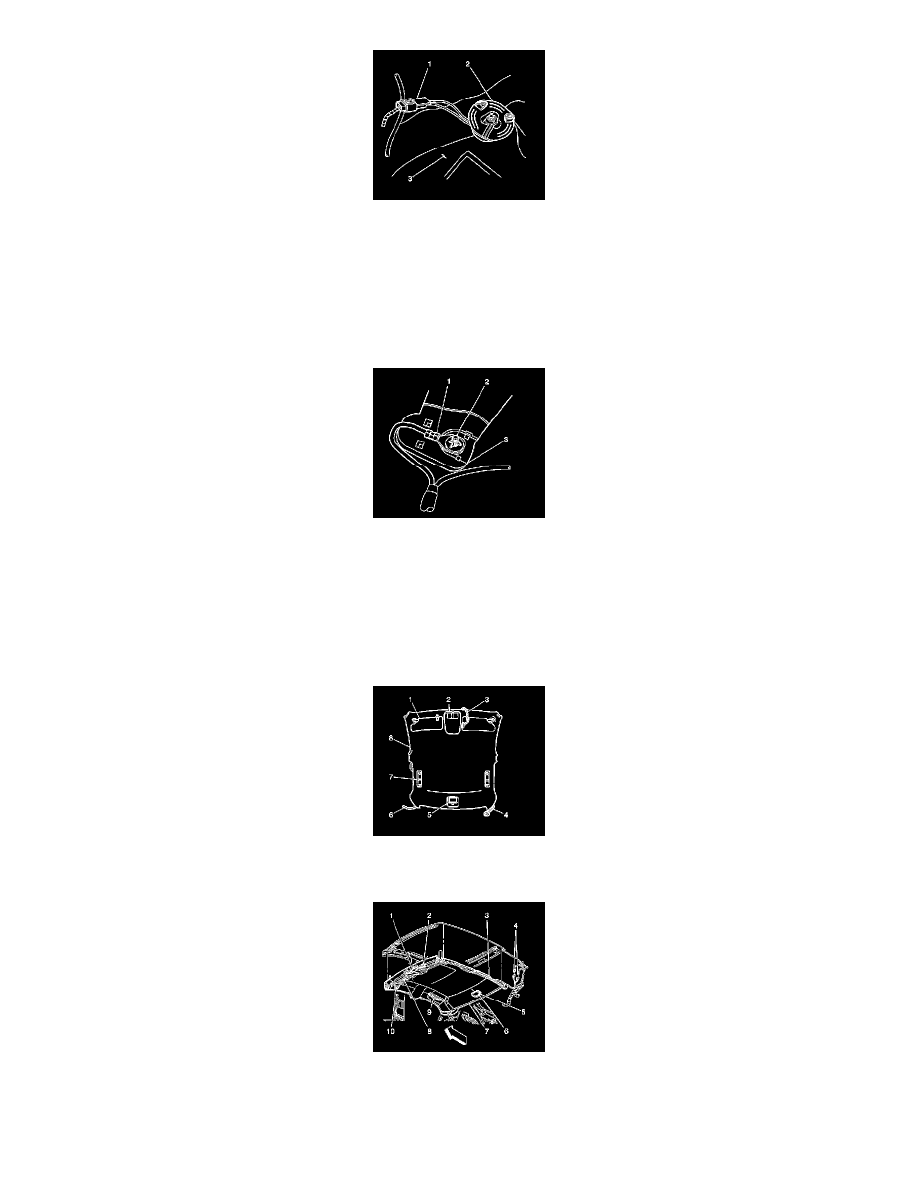
12. Position the electrical harness between the headliner and retainer clip.
IMPORTANT: The electrical harness is placed between the headliner and the plastic retainer clip.
13. Install the metal retainer ring (2).
14. Loosely install the fasteners.
15. Connect the electrical connectors (1).
16. Install the sunshade rod retainers.
17. Install the overhead console to the headliner.
18. On the right side, install the bolt through the sunshade rod retainer and through the overhead console bracket.
19. Position the ground strap (1) onto the bolt (2).
20. Install the metal retainer clip over the bolt in order to hold the ground strap into position.
21. Install the left sunshade rod retainer.
22. Loosely install the fastener.
23. Ensure to install a new yellow plastic retainer to the bracket on the overhead console prior to assembly.The headliner is now ready for installation.
24. Ensure the electrical harnesses (3,4,6) are visible prior to installation.
25. With the aid from an assistant, position the headliner (7) to the cardboard roof insulator.
26. Position and align the yellow push-in retainer to the net hole located in Sunroof/Moonroof panel above the overhead console.
27. Apply moderate hand pressure to the overhead console (1) in order to seat the push-in retainer.
28. Secure both side assist handles (9) in order to hold the headliner in place.Tighten the assist handle screws to 2 N.m (18 lb in).
