
CTS-V V8-6.0L VIN U (2006)
Brake Pedal Assy: Service and Repair
LHD Automatic Trans
Brake Pedal Assembly Replacement (LHD Automatic Trans)
Removal Procedure
1. Remove the vacuum brake booster assembly.
2. Remove the park brake pedal assembly.
3. Remove the brake pedal to cowl mounting nuts.
4. Remove the steering column support bracket to cowl mounting nut.
5. Remove the steering column support bracket to instrument panel (I/P) mounting nuts, to the right of the brake pedal.
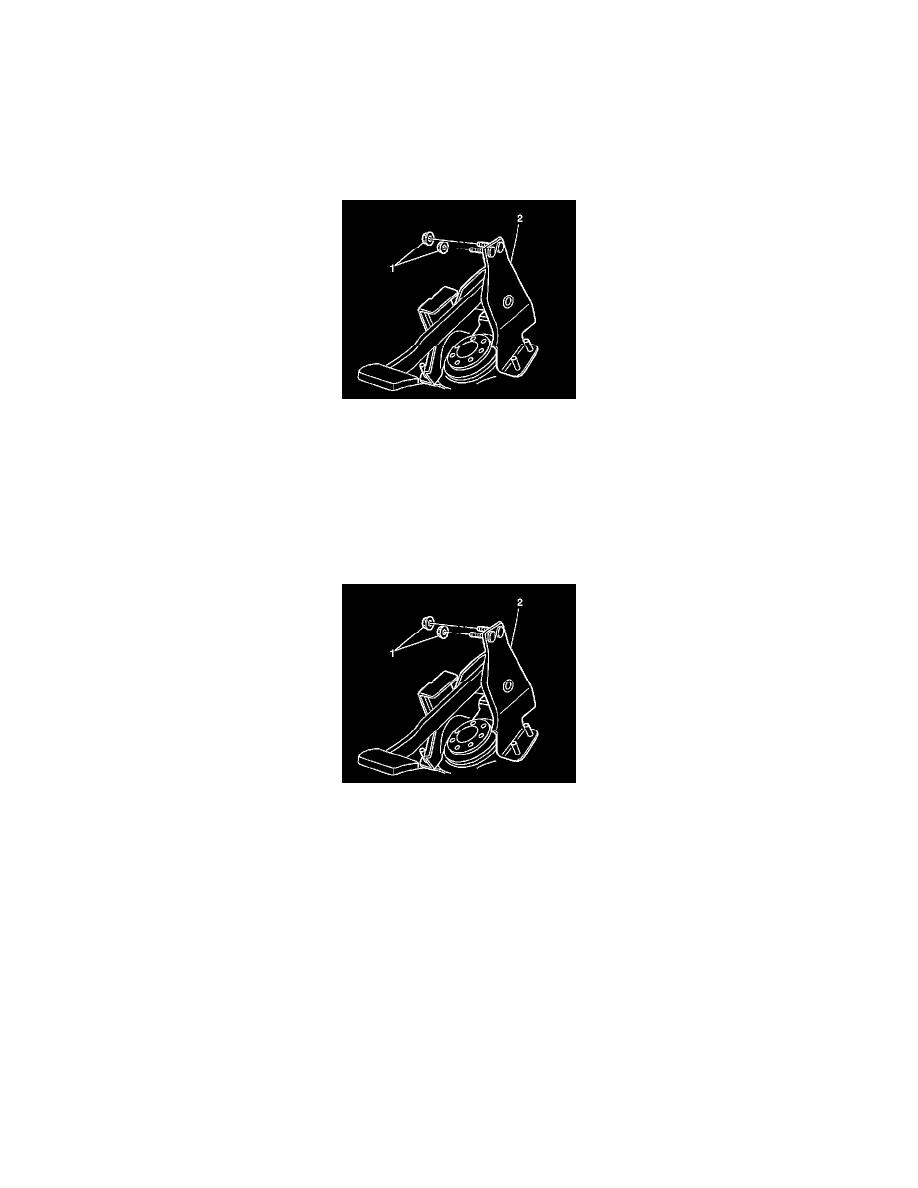
6. Remove the brake pedal assembly to the I/P carrier mounting nuts (1).
7. Remove the vacuum brake booster mounting plate.
8. Remove the steering column support bracket to the right of the brake pedal.
9. Remove the brake pedal assembly (2).
Installation Procedure
1. Install the brake pedal assembly (2) to the vehicle.
2. Install the steering column support bracket to the vehicle.
3. Install the vacuum brake booster mounting plate.
4. Install the brake pedal assembly to cowl mounting nuts
Tighten the nuts to 25 Nm (18 ft. lbs.).
Notice: Refer to Fastener Notice in Service Precautions.
5. Install the steering column support bracket to cowl mounting nuts
Tighten the nuts to 25 Nm (18 ft. lbs.).
6. Install the brake pedal assembly to I/P carrier mounting nuts.
Tighten the nuts to 25 Nm (18 ft. lbs.).
7. Install the steering column support bracket I/P carrier mounting nuts.
Tighten the nuts to 25 Nm (18 ft. lbs.).
8. Install the park brake pedal assembly.
9. Install the vacuum brake booster assembly.
10. Recalibrate the brake pedal position sensor.