
CTS-V V8-6.0L VIN U (2006)
5. Remove the brake caliper bleeder valve cap.
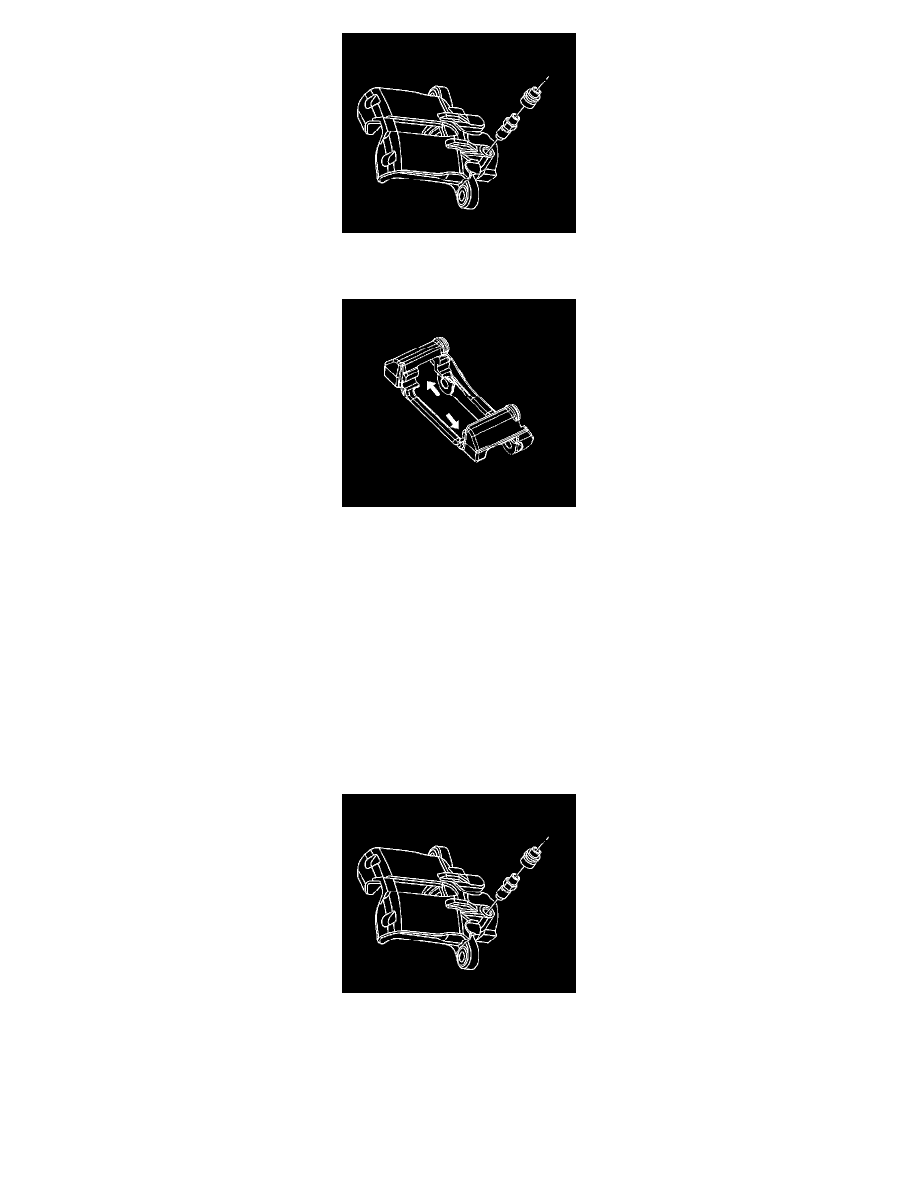
6. Remove the brake caliper bleeder valve.
7. Important: Do not use abrasives to clean the brake caliper piston.
Inspect the brake caliper mounting bracket guide surfaces for corrosion and wear. Remove and replace the brake caliper mounting bracket if
damaged or worn.
8. Clean the brake caliper piston bore and seal counter-bore, with denatured alcohol, or equivalent.
9. Clean the brake caliper piston with denatured alcohol, or equivalent.
10. Dry the caliper piston bore and counter-bore, with non-lubricated, filtered air.
11. Dry the caliper piston with non-lubricated, filtered air.
12. Inspect the caliper bore for cracks, scoring, pitting and excessive corrosion.
13. If light corrosion is present in the caliper bore, attempt to remove the imperfection with a fine emery paper. If the imperfection cannot be removed,
replace the caliper assembly.
14. If cracks, scoring, pitting and excessive corrosion are present in the caliper bore, replace the caliper assembly.
15. Inspect the caliper piston for cracks, scoring, and/or damage. Replace the caliper piston if any of these conditions exist.
Assembly Procedure
1. Notice: Refer to Fastener Notice.
Install the brake caliper bleeder valve.
^
Tighten the brake caliper bleeder valve to 14 Nm (124 inch lbs.).
2. Install the brake caliper bleeder valve cap.