
CTS-V V8-6.0L VIN U (2006)
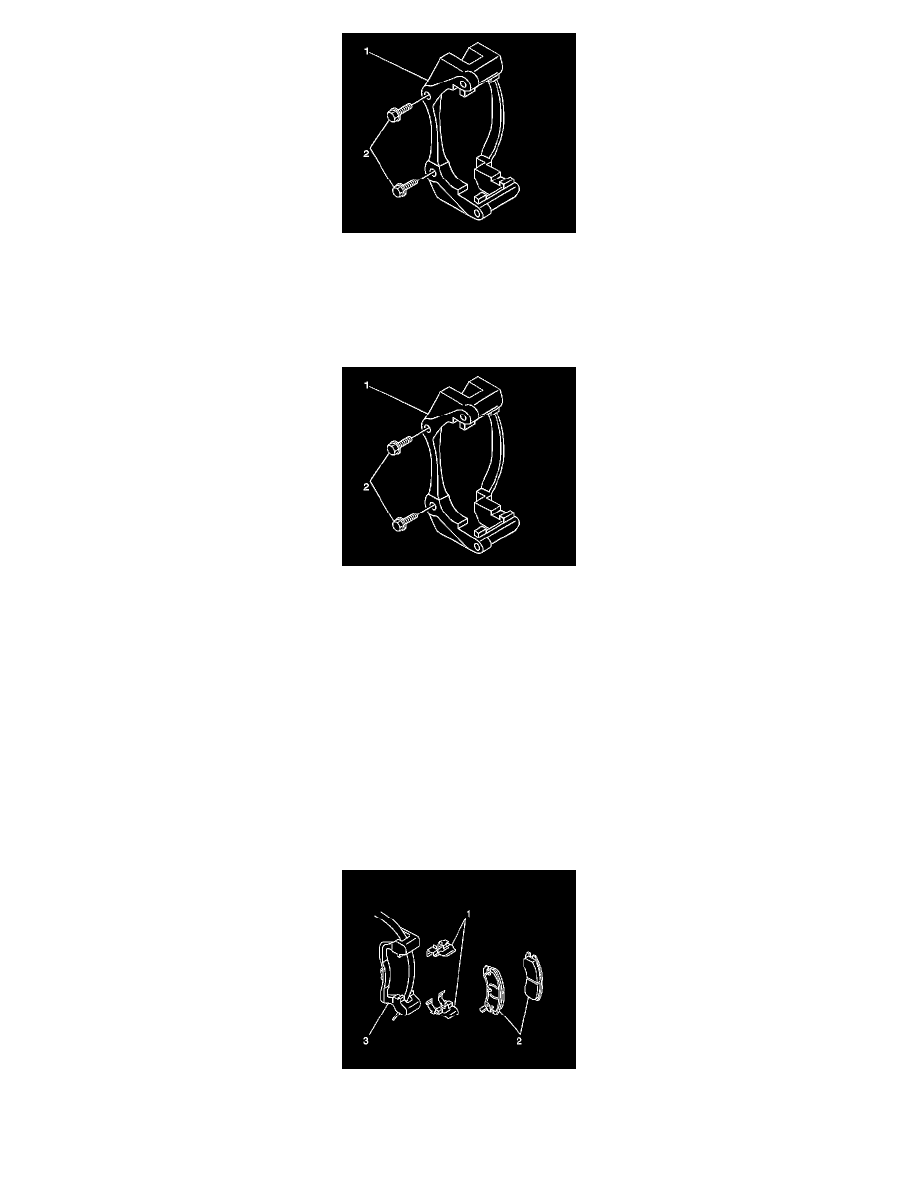
5. Remove the brake caliper bracket bolts (2).
6. Remove the brake caliper bracket (1) from the knuckle.
7. Inspect the brake caliper bracket (1).
8. Replace the brake caliper bracket if cracked or damaged.
Installation Procedure
1. Install the brake caliper bracket (1) to the knuckle.
2. Important: If reusing the caliper bracket bolts the threads of the caliper bracket bolts and the threads of the knuckle mounting holes must be free
of residue and debris prior to application of threadlocker in order to ensure proper adhesion and fastener retention.
Prepare the bolts and the threaded holes for assembly:
1. Thoroughly clean the residue from the bolt threads by using denatured alcohol or equivalent and allow to dry.
2. Thoroughly clean the residue from the threaded holes by using denatured alcohol or equivalent and allow to dry.
3. Apply threadlocker GM P/N 12345493 (Canada P/N 10953488), or equivalent to two-thirds of the threaded length of the lower caliper bracket
bolts. Ensure that there are no gaps in the threadlocker along the length of the filled area of the bolts.
4. Allow the threadlocker to cure approximately ten minutes before installation.
3. Notice: Refer to Fastener Notice in Service Precautions.
Install the two brake caliper bracket bolts (2).
^
Tighten the front brake caliper bracket bolts to 130 Nm (96 ft. lbs.).
4. Install the brake pad retainers (1) to the brake caliper bracket (3).
5. Install the brake pads (2) to the brake caliper bracket (3).
6. Install the brake caliper (1) to the front brake caliper bracket (2).