
CTS-V V8-6.0L VIN U (2006)
Ignition Coil: Service and Repair
IGNITION COIL REPLACEMENT
REMOVAL PROCEDURE
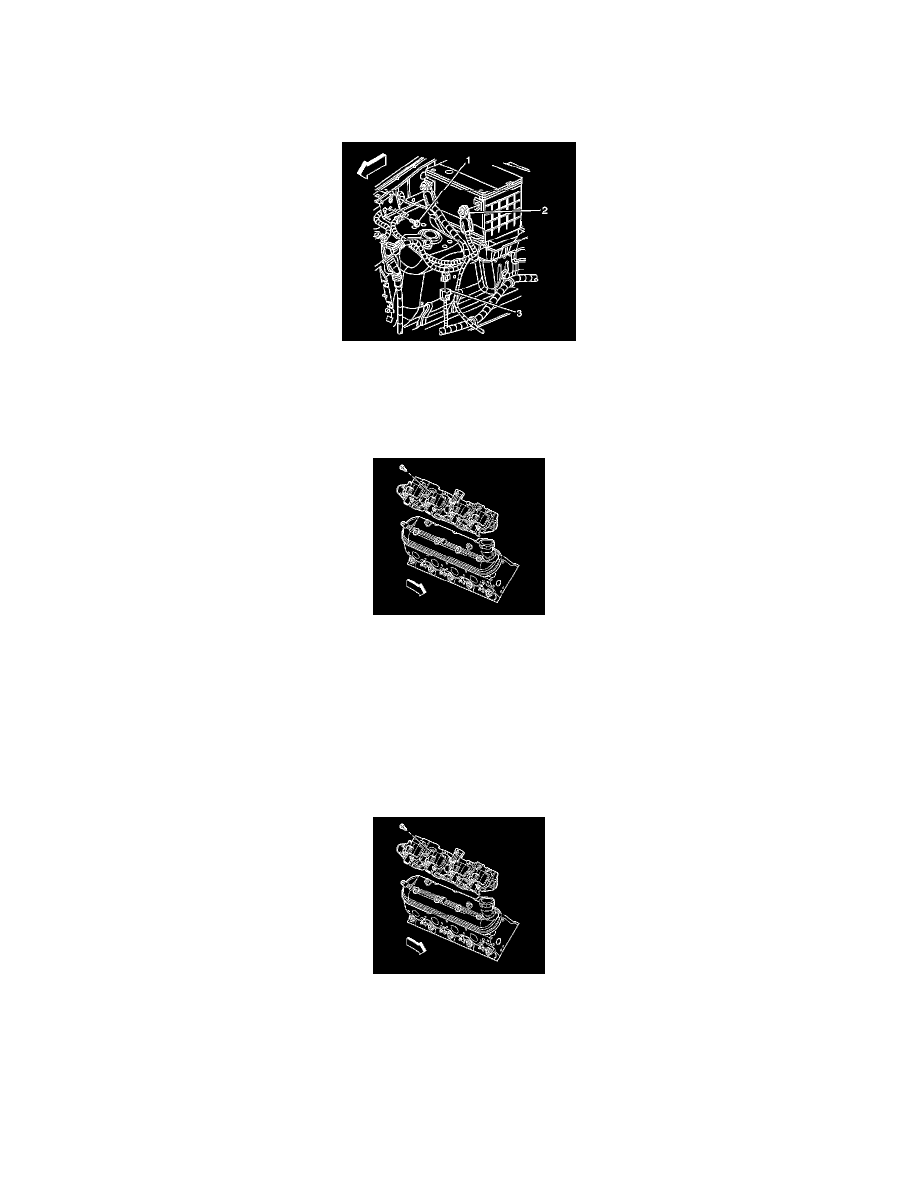
1. Disconnect the negative battery cable (2).
CAUTION: Refer to Battery Disconnect Caution.
2. Remove the engine sight shield.
3. If replacing an individual coil, disconnect the wire harness at the coil. If removing the coil assembly, disconnect the main coil harness connector.
IMPORTANT: The ignition coils can be removed individually or as an assembly, depending on the repair being performed.
4. Disconnect the spark plug wire at the ignition coils.
5. If replacing an individual coil, remove the ignition coil mounting bolts and/or nut that retains the coil to the coil bracket.
6. If removing the coil assembly, remove the bolts securing the coil bracket to the valve rocker arm cover.
7. Remove the ignition coil or coil assembly.
INSTALLATION PROCEDURE
1. Install the ignition coil or coil assembly.
2. Install the ignition coil bolts and/or nuts.
NOTE: Refer to Fastener Notice.
Tighten
-
Tighten the ignition coil-to-bracket bolts/nuts to 12 N.m (106 lb in).
-
Tighten the ignition coil bracket-to-valve rocker cover bolts to 12 N.m (106 lb in).
3. Connect the spark plug wires at the ignition coils.