CTS V6-2.8L (2006)

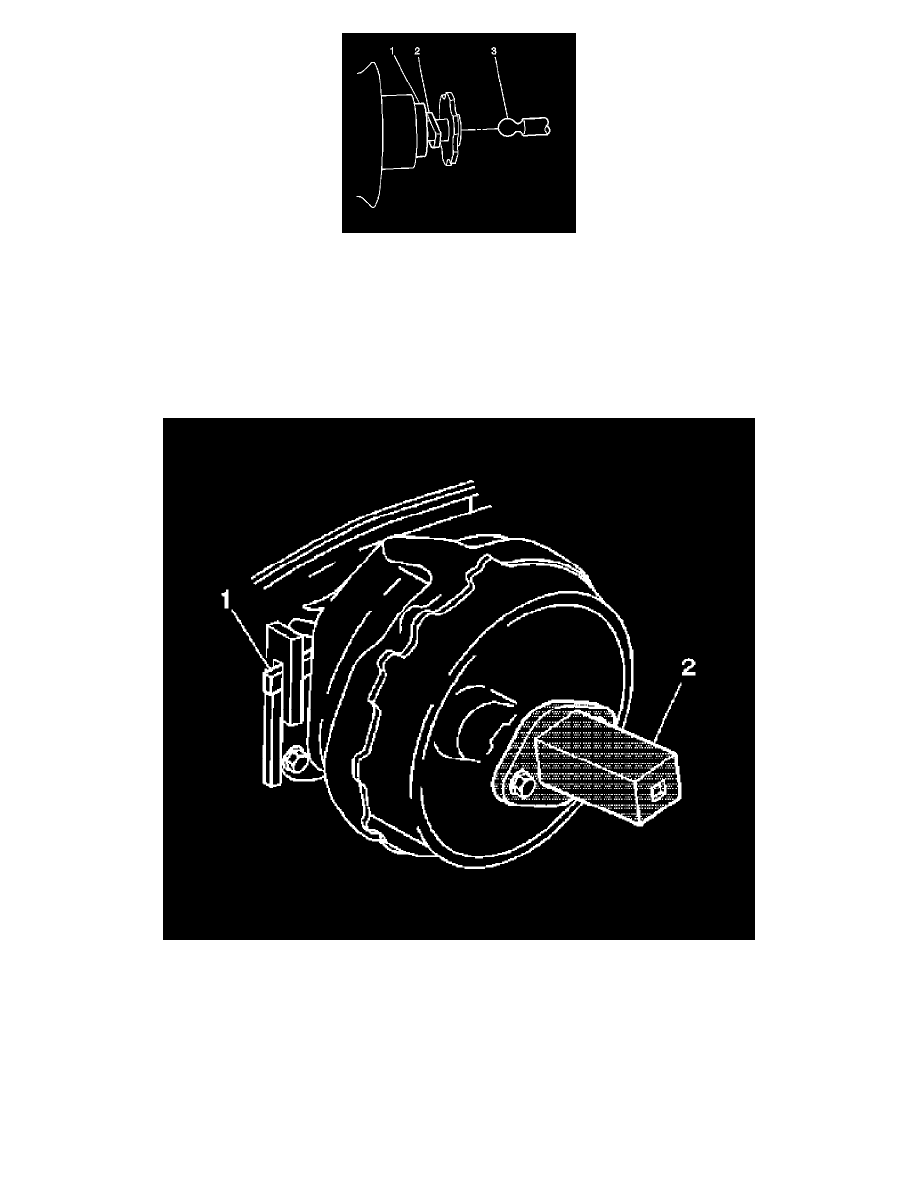
1. Carefully install the vacuum brake booster to the vacuum brake booster pushrod (3).
2. Carefully push the vacuum brake booster pushrod on to the vacuum brake booster until the long leg of the retaining clip seats into the machined
groove of the pushrod.
Important: Ensure that the long leg of the retainer clip is in the machined groove of the pushrod (3).
3. Position the vacuum brake booster on the cowl counterclockwise from the final installation position so that the locking flanges on the vacuum
brake booster and on the cowl mounting flange engage.
4. Turn the vacuum brake booster clockwise with a ratchet on the J 22805-B (2). DO NOT use a flat bladed tool in the locking tab to install the
vacuum brake booster. When the vacuum brake booster is correctly installed, the locking tab (1) slides up the flange and engages the locking
notch.
Important: Ensure that the locking tab and the flanges are in the fully engaged position.
5. Remove the J 22805-B (2) from the installed vacuum brake booster.
6. Reposition and connect the vacuum hose and check valve assembly to the vacuum brake booster.
7. Remove the coolant surge tank inlet hose from the coolant surge tank.
8. Install the coolant surge tank.
9. Install the air inlet grille panel.
