
CTS V6-2.8L (2006)
5.
Remove the shock module upper mounting bolt (3).
6.
For 2005 model year vehicles, loosen the shock module upper mounting bolt (4) until a 5-6 mm (1/8 in) gap exists. For 2006 model year vehicles,
remove the shock module upper mounting stud (4) and replace with a new bolt (provided in kit) until a 5-6 mm (1/8 in) gap exists.
7.
Obtain from stock a 275 mm (10.827 in) long piece of 12 mm (15/32 in) I.D. reinforced rubber vacuum hose.
8.
Install the two hose clamps (provided in kit) to the hose.
9.
Install one end of the hose to the vacuum pump port that will face down and secure with a clamp.
10.
Install the vacuum pump to the shock tower.
11.
Install the bolt that was previously removed.
Tighten
Tighten both bolts to 112 Nm (83 lb ft).
12.
Carefully install the A/C pressure line to the plastic shock tower clip.
13.
Install the other end of the vacuum hose to the check valve on the brake booster and secure with a clamp.
14.
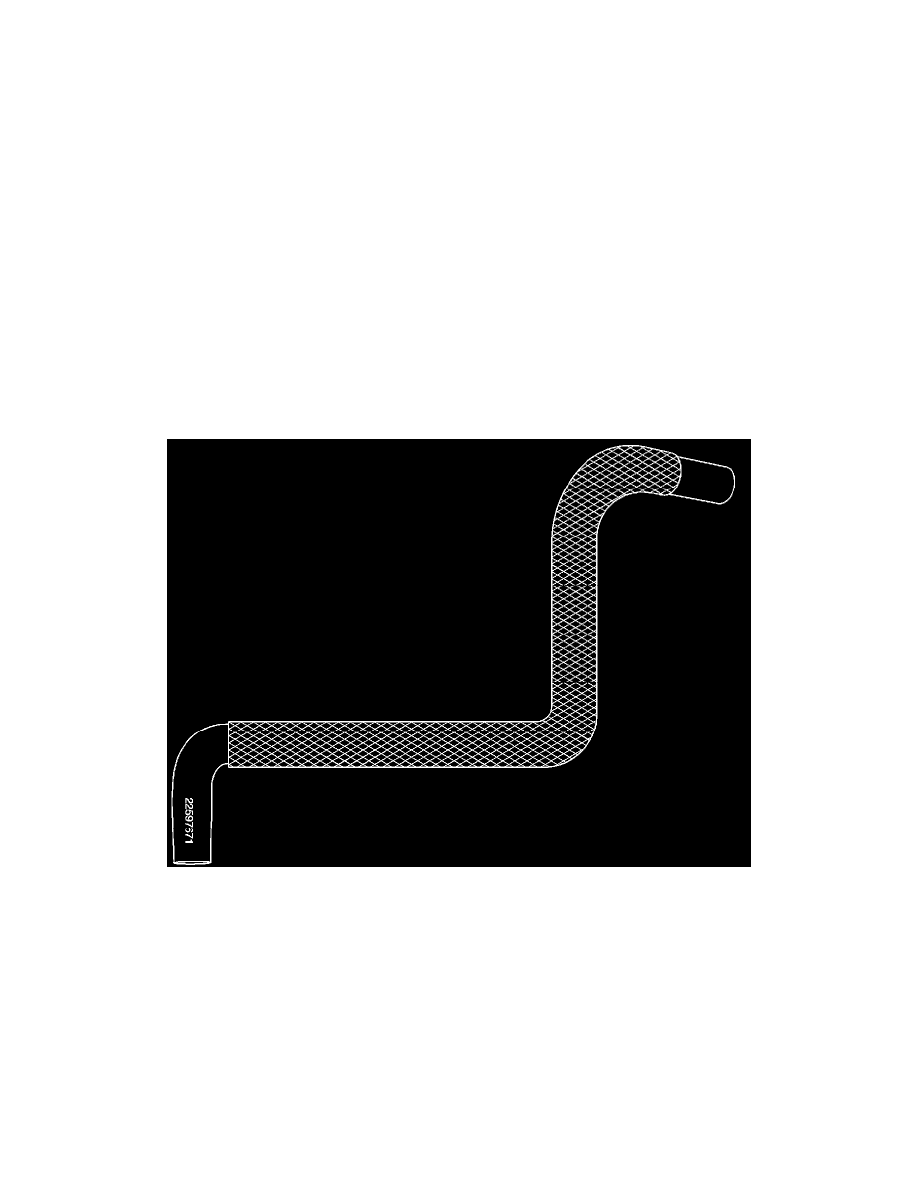
On the new vacuum pump hose (P/N 22597671 provided in kit), remove 25 mm (1 in) from the end that does not have the part number printed on
it. This will shorten the hose and is needed for proper clearance.
15.
Install the two hose clamps (provided in kit) to the hose.
16.
Install the end of the hose that was shortened to the engine vacuum port.
17.
Install the other end of the hose to the vacuum pump port that faces the engine.
18.
Position the hose (5) so that it leaves the vacuum pump and routes rearward at an angle that is 45 degrees down from horizontal. This will ensure
proper clearance to the A/C lines.
19.
Move both hose clamps into position and secure the hose to the vacuum pump and engine port.
20.
Tap the unthreaded weld nut on the left front shock tower to fender bracket with M10 X 1.5 threads. This will be used for the vacuum pump