
CTS V6-2.8L (2006)
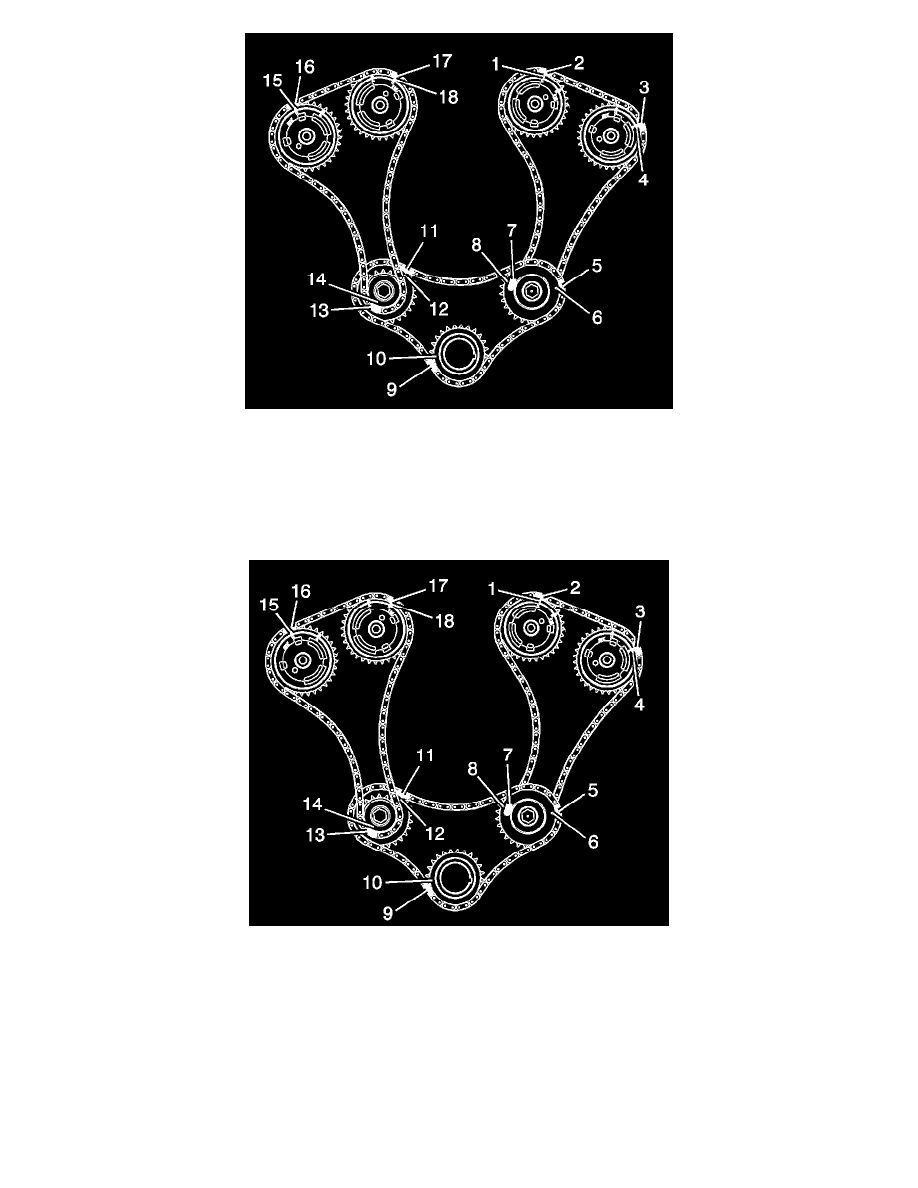
Important: Ensure that the camshaft timing chain and the camshaft position actuators are marked for proper assembly.
8. Mark the timing chain and the respective locations on camshaft position actuators (15-18).
9. Remove the right exhaust camshaft position actuator bolt.
10. Remove the right exhaust camshaft actuator.
Installation Procedure
Important:
- Ensure that the marks on the camshaft position actuators and the timing chain (15-18) are aligned.
- DO NOT tighten the camshaft position actuator bolt at this time.
1. Assemble the camshaft actuator to the camshaft.
2. Loosely install the camshaft actuator bolt.
3. Remove the EN 46108.
Notice: A wrench must be used on the hex of the camshaft when loosening or tightening in order to prevent component damage. Failure to
prevent the torque reaction against the timing drive chain can lead to timing drive chain failure.