
CTS V6-3.2L VIN N (2003)
Important: The sunshades are secured to the headliner with a 2-piece retainer clip/spacer (2).
16. Ensure that the plastic retainer on each side is retrieved as the headliner is lowered.
Important: Note the size and location of the retainers for installation.
17. Remove the fasteners for the sunshade rod retainers.
18. Remove the sunshade rod retainers.
19. Remove the fasteners for the overhead console. Refer toConsole Replacement - Overhead (See: Console/Service and Repair/Console
Replacement - Overhead) .
20. Disconnect the electrical connectors at the inside rear view mirror attachment.
Notice: Note the correct routing of the electrical wiring. Failure to reinstall the wiring properly could result in damage to the wiring.
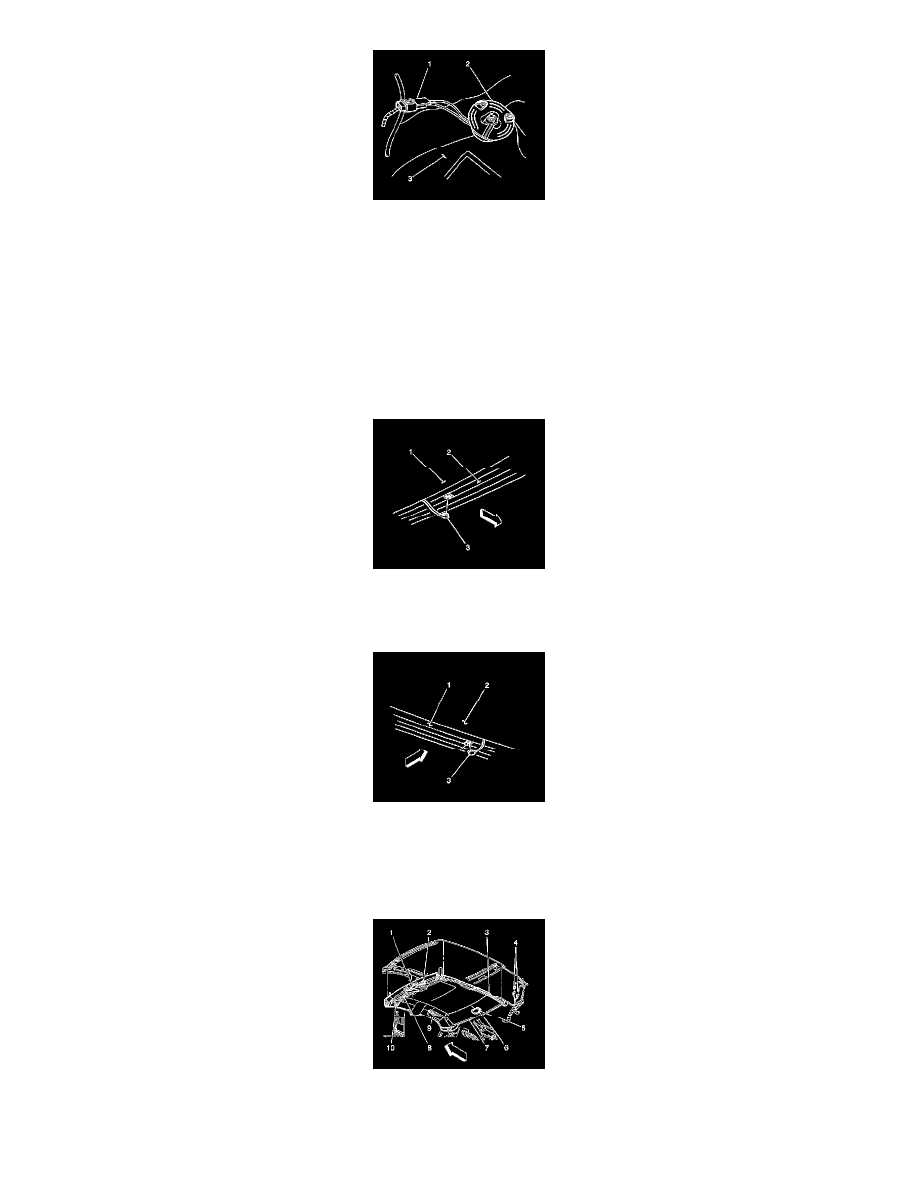
21. Disconnect the connector lead (3) for the antenna module from the front windshield (2).
22. Disconnect the connector lead (3) for the antenna module from the rear window (1).
Notice: Use care when removing or installing the headliner. Excessive bending will damage the headliner.
23. Pull down at the attachments in order to detach the six glue bond spots on the cardboard roof insulator to headliner.
24. UsingJ 38778 disconnect the yellow plastic retainer (1) securing the headliner to the roof panel above the overhead console.
Important: When removing the headliner out the right front door, be careful not to damage the right front door upper rear weatherstrip