
CTS V6-3.2L VIN N (2003)
Trim Panel: Service and Repair
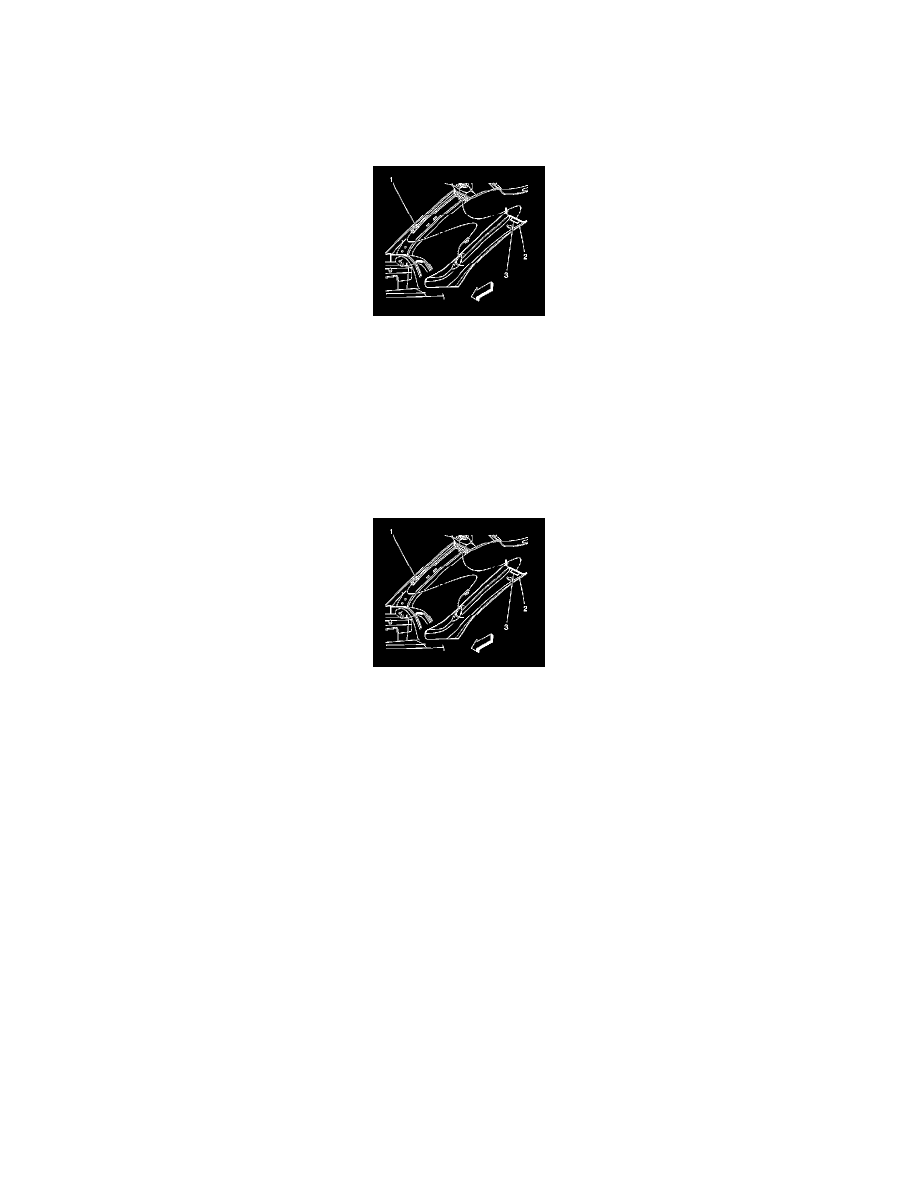
Garnish Molding Replacement - Windshield Pillar
Garnish Molding Replacement - Windshield Pillar
Removal Procedure
1. Open the door.
2. Remove the screw cover at the top of the garnish molding.
3. Remove the screw from the garnish molding.
4. Pull inward on the garnish molding (2) to release the top of the molding from the headliner (3).
5. Pull inward at the center of the garnish molding to release the center part of the garnish molding.
6. Remove the speaker. Refer toSpeaker Replacement - Front Upper in Entertainment.
Installation Procedure
1. Install the speaker. Refer toSpeaker Replacement - Front Upper in Entertainment.
2. Position the base of the garnish molding to the outside of the instrument panel pad.
3. Position the molding to the windshield pillar, aligning the tabs to the retention clips on the windshield pillar.
4. Push inward on the garnish molding (2) to secure the windshield pillar and headliner.
Notice: Refer toFastener Notice in Cautions and Notices.
5. Install the fastener.
Tighten the fastener to 2 Nm (18 lb in).
6. Install the screw cover.