
CTS V6-3.2L VIN N (2003)
Trim Panel: Service and Repair
Sail Panel Replacement
Sail Panel Replacement
Removal Procedure
Tools Required
J 38778 Door Trim Pad Clip Remover
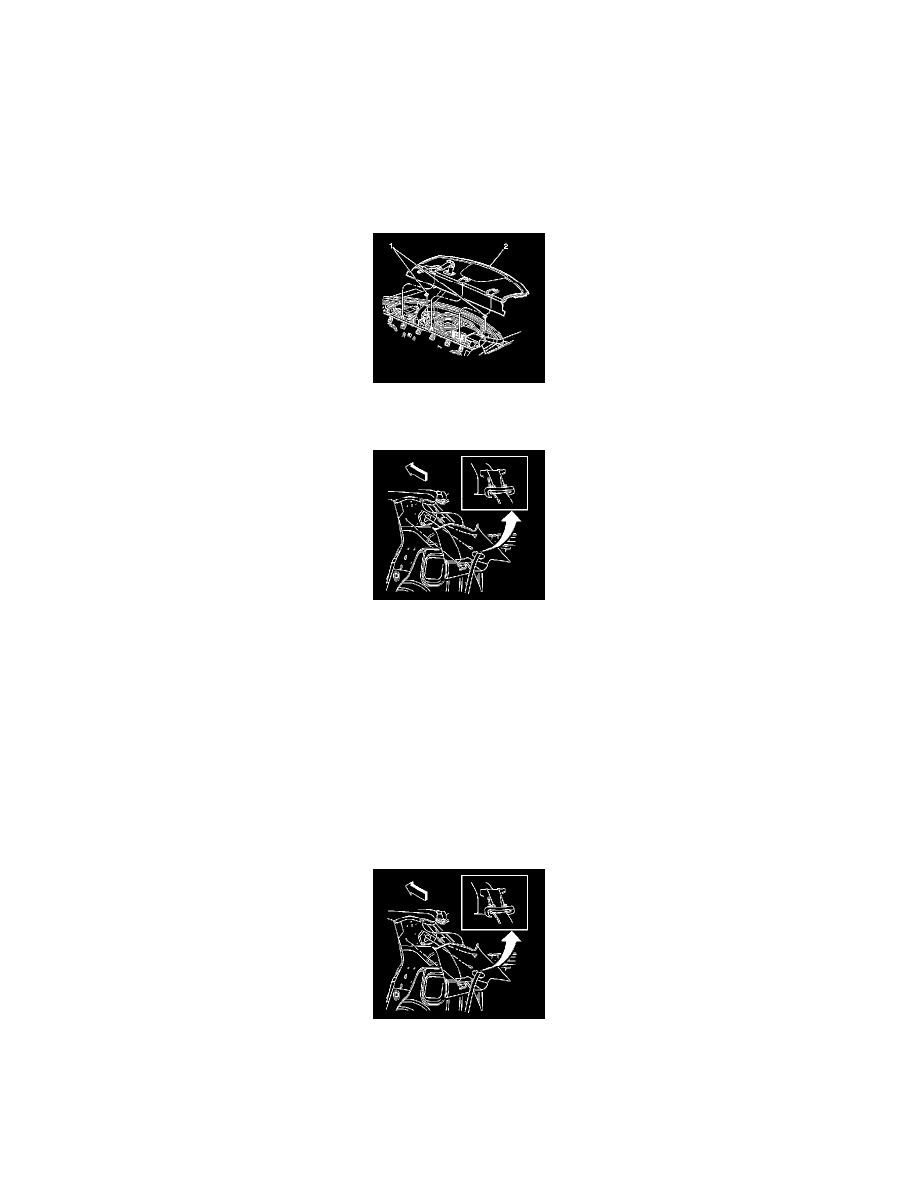
1. Remove the rear shelf panel (2). Refer toTrim Panel Replacement - Rear Window Shelf (See: Rear Shelf/Service and Repair) .
2. Remove the screw cover from the sail panel.
Important: The upper sail panel is secured with a fastener. Use a magnetic-tipped screwdriver in order to remove the fastener.
3. Remove the fastener.
4. Pull downward on the lower front portion of the sail panel in order to release the integral clip.
5. Release the sail panel plastic push-in retainer using theJ 38778 , or equivalent.
6. Pull outward at the top in order to release the other integral clip.
7. Pull the sail panel from the C-pillar.
8. Remove the lower shoulder belt fastener.
9. Disengage the shoulder belt and escutheon from the sail panel.
10. Route the rear outboard shoulder belt from the sail panel.
11. Remove the shoulder belt from the sail panel.
12. Remove the sail panel.
Installation Procedure
1. Position the sail panel to the C-pillar.
2. Route the outboard shoulder belt and escutheon through the sail panel.
Important: Ensure the shoulder belt is free of twists.
3. Straighten the belt, if needed, prior to securing the shoulder belt floorpan fastener. Refer toSeat Belt Retractor Replacement - Rear in Seat Belts.