
CTS V6-3.2L VIN N (2003)
Trim Panel: Service and Repair
Trim Panel Replacement - Rear Window Shelf
Trim Panel Replacement - Rear Window Shelf
Removal Procedure
1. Remove the rear seat cushion. Refer toSeat Cushion Replacement - Rear (See: Seats/Seat Cushion/Service and Repair/Removal and
Replacement/Seat Cushion Replacement - Rear) in Seats.
2. Remove the rear seat back. Refer toSeat Back Replacement - Rear (See: Seats/Seat Back/Service and Repair/Removal and Replacement/Seat
Back Replacement - Rear) in Seats.
3. Remove both rear upper quarter sail panels. Refer toSail Panel Replacement (See: Sail Panel Replacement) .
4. Disengage the center shoulder belt from the shoulder belt latch.
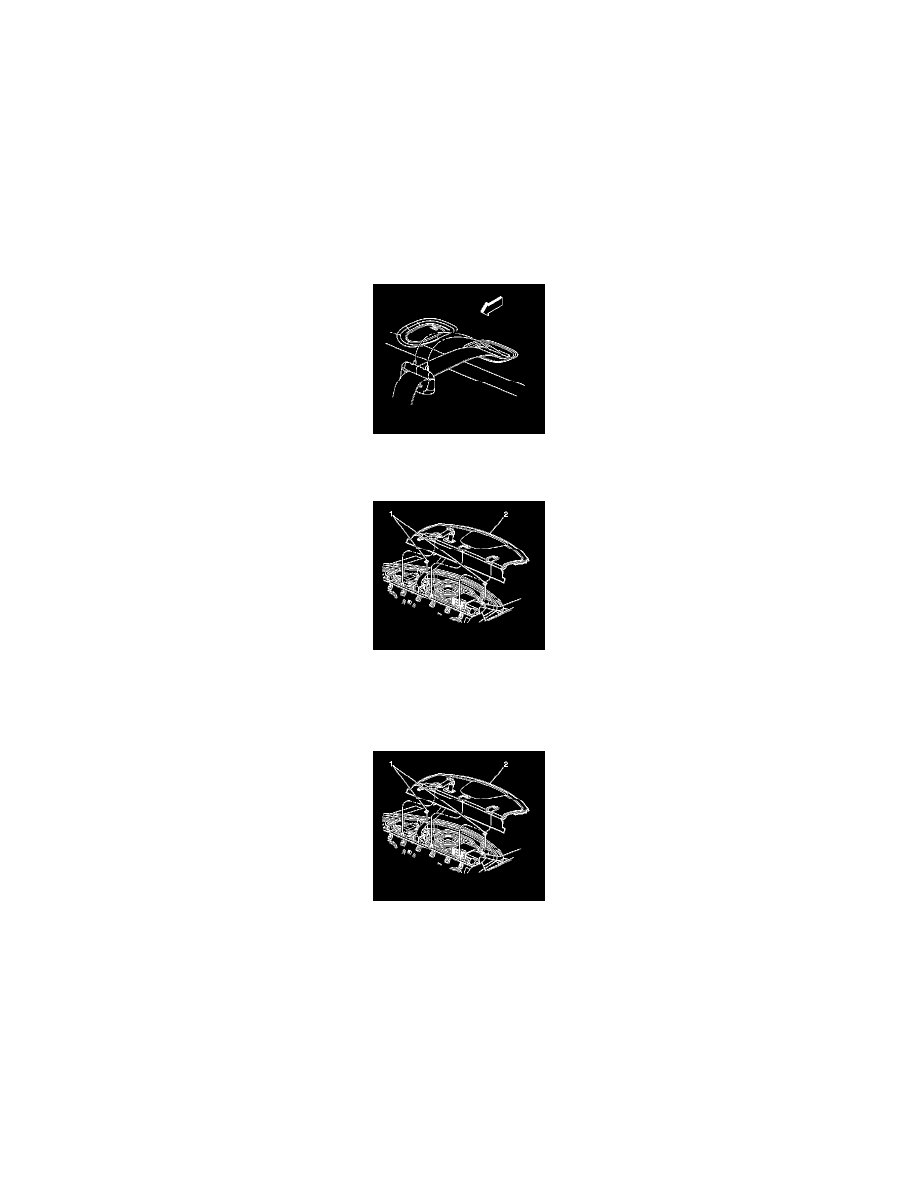
5. Disengage the shoulder belt escutheon from the rear shelf.
6. Lift the rear shelf upward to disengage the center shoulder belt from the rear shelf.
7. Disengage the 2 dual lock fasteners (1) at the rear edge of the shelf panel.
8. Lift upward and inward to remove the rear shelf panel (2).
Installation Procedure
1. Route the rear seat shelf panel (2) to the rear cross car beam at the dual lock fasteners (1).
2. Position the rear center shoulder belt through the rear shelf panel.
3. Ensure the shoulder belt is not twisted.
4. Lower the rear shelf panel over the child restraint tether anchors and apply pressure at both dual lock fasteners (1) to secure.