
CTS V6-3.2L VIN N (2003)
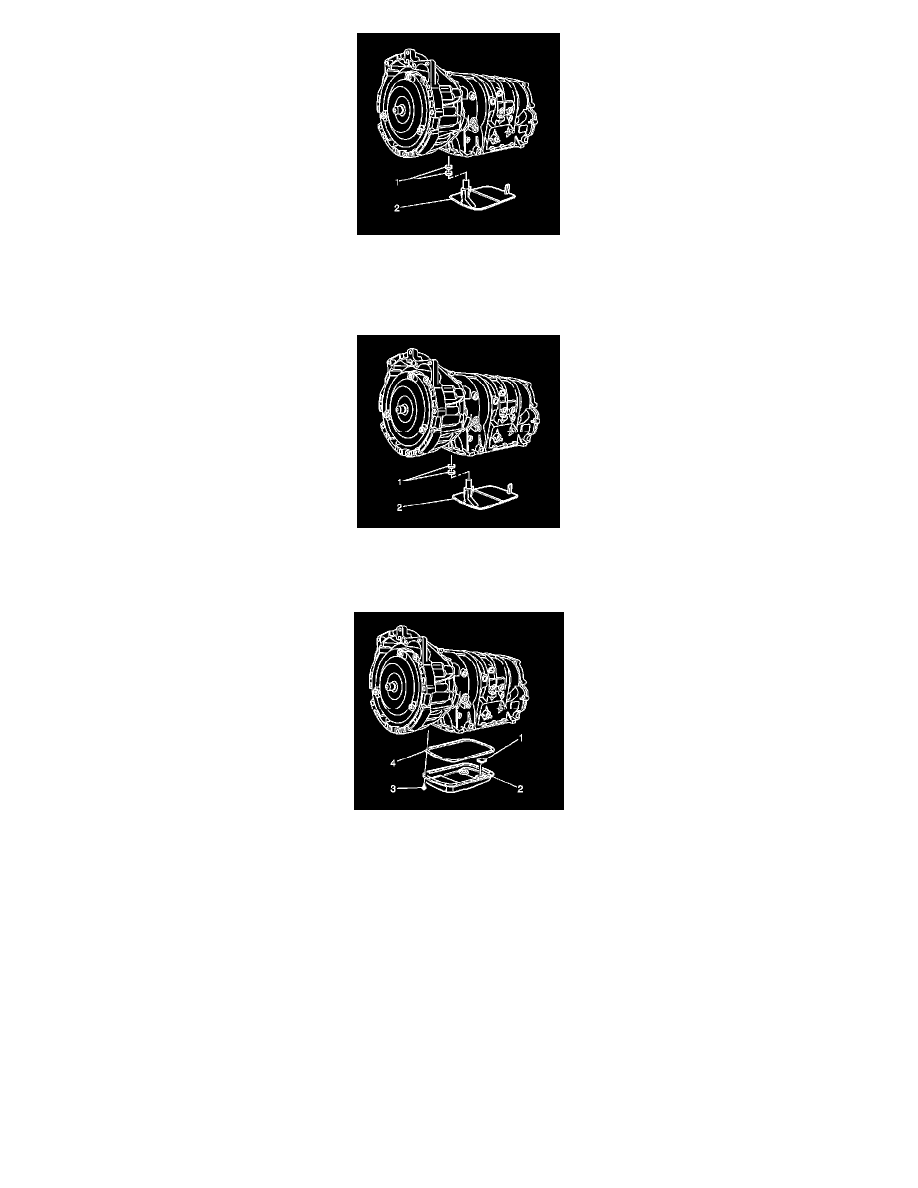
11. Remove the fluid filter (2). Use a long screwdriver in order to pry the fluid filter neck out of the seals.
12. Remove the 2 fluid filter seals (1) using J 23129 and J 6125-1B.
Installation Procedure
1. Install 2 NEW fluid filter seals (1), onto the transmission fluid filter neck. Coat the new seals with a small amount of J 36850 or petroleum jelly
before installation..
2. Install the transmission fluid filter (2) into the case.
Important: Fluid pan gaskets are reusable. Replace the gasket ONLY if the sealing surface is damaged.
3. Install the fluid pan (2) and the gasket (4) at the same time.
Notice: Use the correct fastener in the correct location. Replacement fasteners must be the correct part number for that application. Fasteners requiring
replacement or fasteners requiring the use of thread locking compound or sealant are identified in the service procedure. Do not use paints, lubricants,
or corrosion inhibitors on fasteners or fastener joint surfaces unless specified. These coatings affect fastener torque and joint clamping force and may
damage the fastener. Use the correct tightening sequence and specifications when installing fasteners in order to avoid damage to parts and systems.
4. Install the fluid pan bolts (3). Tighten the bolts to 11 Nm (97 lb in).
5. Fill the transmission to the proper level. Refer to Transmission General Specifications , Fluid Capacity Specifications , and Transmission Fluid
Check.
6. Lower the vehicle.
7. Inspect the oil pan gasket for leaks.