
CTS V6-3.2L VIN N (2003)
Notice:
Refer to Fastener Notice in Service Precautions.
See: Engine, Cooling and Exhaust/Service Precautions/Vehicle Damage Warnings/Fastener Notice
3. Install the 2 bolts (5) securing the coolant inlet pipe (4) to the engine block.
Tighten the coolant inlet pipe bolts to 20 Nm (15 ft. lbs.).
4. Position the engine rear lift bracket to the cylinder head.
5. Install the bolt securing the engine rear lift bracket to the cylinder head.
Tighten the engine rear lift bracket bolt to 20 Nm (15 ft. lbs.).
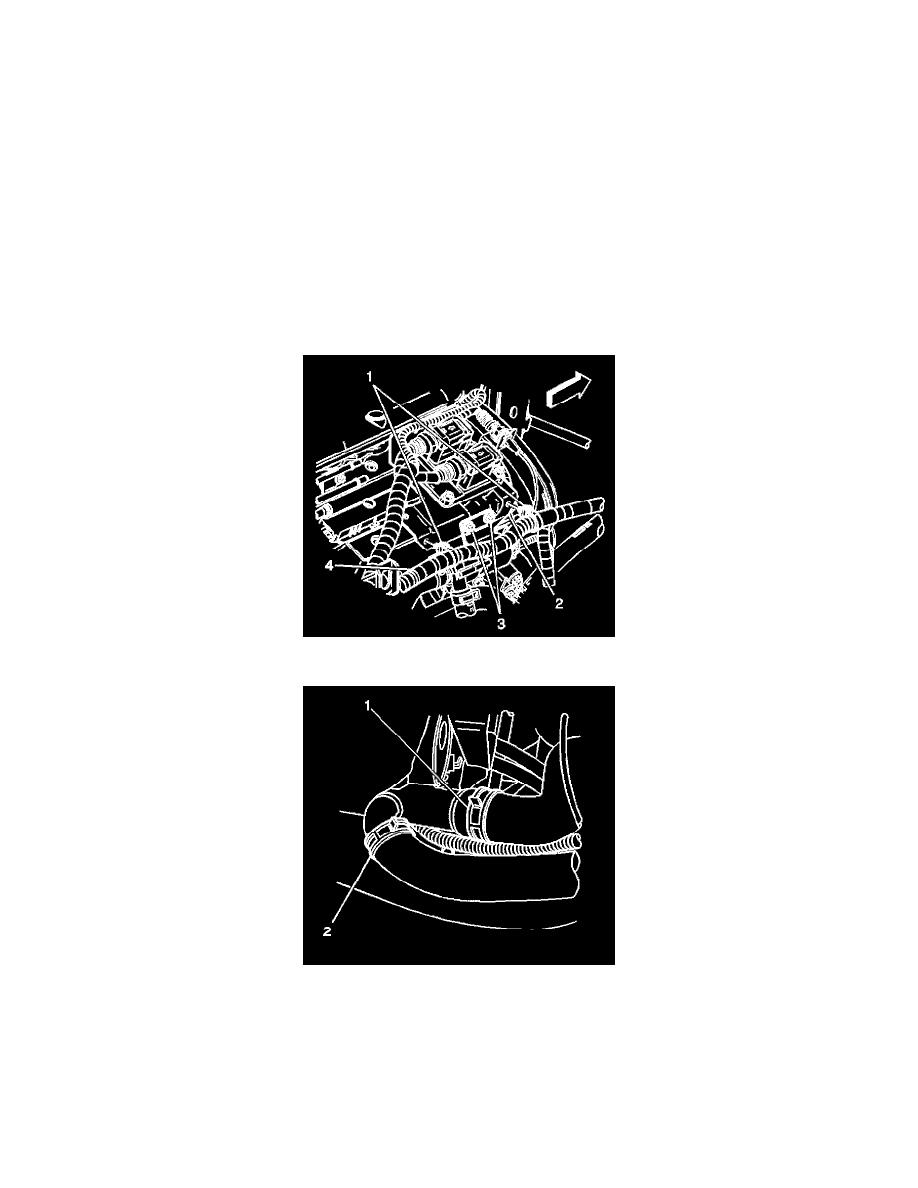
6. Install the bolt (3) securing the coolant inlet pipe (4) to the ECM bracket (2).
Tighten the coolant inlet pipe support bolt to 20 Nm (15 ft lbs.).
7. Install the 2 bolts securing the coolant bypass inlet hose/pipe to the coolant inlet pipe.
Tighten the coolant bypass inlet hose/pipe bolt to 9 Nm (80 inch lbs.).
8. Install the afterboil coolant pump.
9. Connect the 2 cable harness clips (1) securing the engine wiring harness (4) to the ECM bracket (2).
10. Position the J 38185 to the clamps in order to connect the following to the coolant inlet pipe:
-
The radiator outlet hose (1)
-
The coolant bypass outlet hose (2)
11. Install the water crossover.
12. Install the crankcase vent housing.
13. Install the surge tank outlet hose/pipe.
14. Fill the cooling system.