
CTS V6-3.2L VIN N (2003)
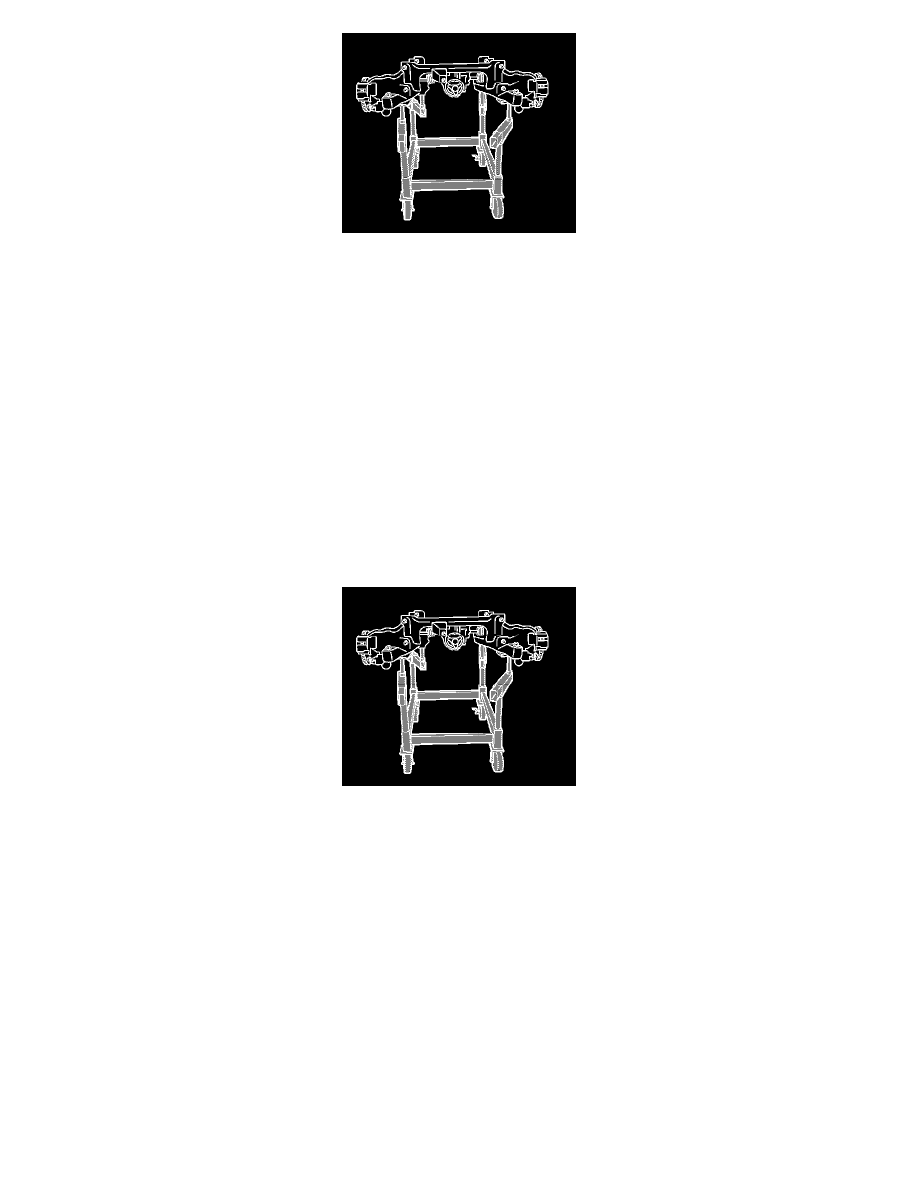
18. Carefully raise the vehicle from the rear frame assembly.
19. Remove the following components from the rear frame.
*
Headlamp Leveling Sensor Replacement - Rear in Lighting Systems.
*
Lower Control Arm Replacement
*
Upper Control Arm Replacement
*
The rear brake pipes
*
Park Brake Cable Replacement - Left Rear orPark Brake Cable Replacement - Right Rear in Park Brake.
*
Stabilizer Shaft Replacement
*
Adjustment Link Replacement
*
Trailing Arm Replacement
*
Stabilizer Shaft Link Replacement
*
Brake Caliper Replacement - Rear in Disc Brakes.
*
Brake Rotor Replacement - Rear in Disc Brakes.
*
Differential Replacement in Drive Axle.
20. With the aid from an assistant, remove the frame from the hydraulic jack.
Installation Procedure
1. With the aid from an assistant, position and secure the new rear frame (2) on the engine support fixture.
2. Install the following components to the rear frame assembly.
*
Differential Replacement in Drive Axle.
*
Brake Rotor Replacement - Rear in Disc Brakes.
*
Brake Caliper Replacement - Rear in Disc Brakes.
*
Stabilizer Shaft Link Replacement
*
Trailing Arm Replacement
*
Adjustment Link Replacement
*
Stabilizer Shaft Replacement
*
Park Brake Cable Replacement - Left Rear orPark Brake Cable Replacement - Right Rear in Park Brake.
*
The rear brake pipes
*
Upper Control Arm Replacement
*
Lower Control Arm Replacement
*
Headlamp Leveling Sensor Replacement - Rear in Lighting Systems.
Important: The rear coil springs need to be indexed into the lower spring insulators prior to assembly.
3. Index the rear coil springs to the spring insulators.