
CTS V6-3.2L VIN N (2003)
Flex Plate: Service and Repair
Engine Flywheel Replacement
Tools Required
-
J 36660-A Torque/Angle Meter
-
J 42098 Crank Hub TORX Socket
Removal Procedure
1. Remove the transmission.
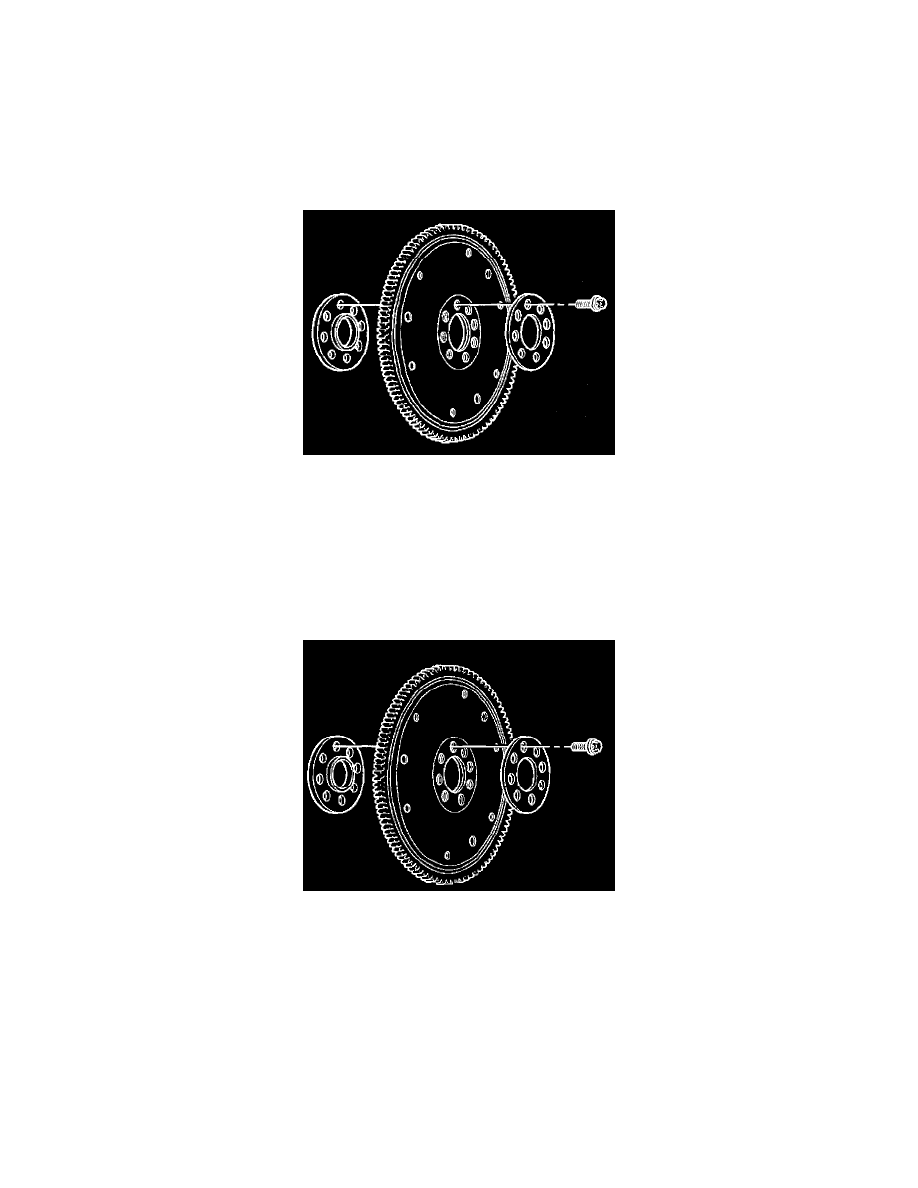
2. Counterhold the crankshaft with the J 42098 and remove the flywheel bolts.
Discard the flywheel bolts.
3. Remove the engine flywheel and retainer from the crankshaft.
4. Clean the rear crankshaft flange.
5. Clean and inspect the engine flywheel.
Installation Procedure
1. Install the engine flywheel and retainer to the crankshaft.
2. Coat the new flywheel bolts with thread retaining compound, GM P/N 12345493 (Canadian P/N 10953488).
Notice:
Refer to Fastener Notice in Service Precautions.
See: Engine, Cooling and Exhaust/Service Precautions/Vehicle Damage Warnings/Fastener Notice
Notice:
Refer to Torque to Yield Bolts Notice in Service Precautions.
See: Automatic Transmission/Transaxle/Service Precautions/Vehicle Damage Warnings/Torque to Yield Bolts Notice
3. Counterhold the crankshaft with the J 42098 and install the new flywheel bolts.
Tighten the flywheel bolts to 65 Nm (48 ft. lbs.).
4. Use the J 36660-A to rotate the flywheel bolts in the following sequence:
4.1.
The first pass rotate the flywheel bolts 30 degrees.
4.2.
The second and the final pass rotate the flywheel bolts an additional 15 degrees.
5. Install the transmission.