
CTS V8-6.0L (2007)
Important: A high amount of force is necessary to perform the next step.
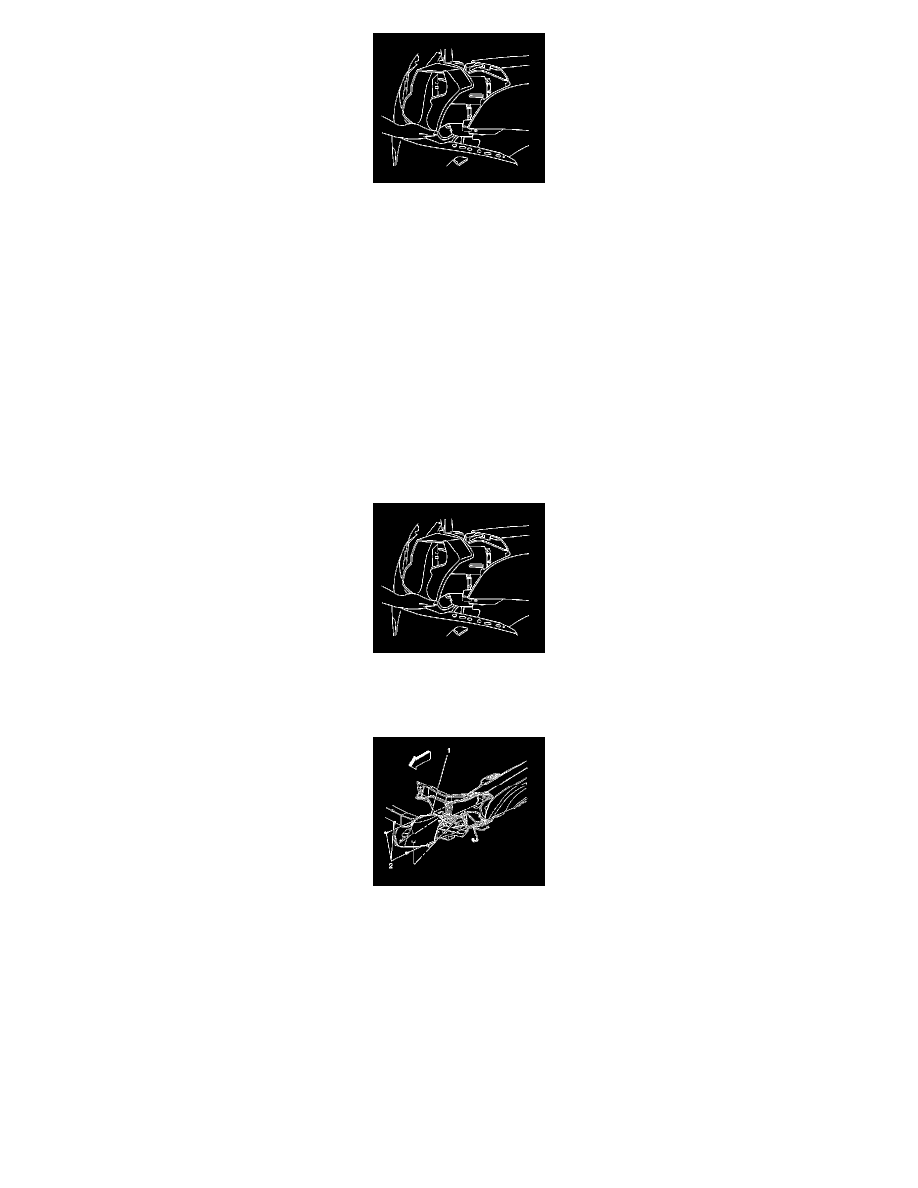
13. Pull the headlamp straight forward to disengage the headlamp ball stud from the fender socket.
14. Reach behind the headlamp to disconnect the headlamp electrical connector.
15. Pull the top part of the front fascia and grille assembly forward only far enough to remove the headlamp assembly from the vehicle.
16. Remove the headlamp assembly from the vehicle.
17. Remove the headlamp bulb cover from the headlamp assembly.
Caution: Refer to Halogen Bulb Caution.
18. Remove the headlamp bulb from the headlamp assembly.
Installation Procedure
1. Install the bulb to the headlamp assembly.
2. Install the headlamp bulb cover to the headlamp assembly.
3. Install the headlamp assembly.
4. Pull the top of the front fascia and grille forward to install the headlamp to the vehicle.
5. Install the headlamp assembly to the vehicle.
6. Reach behind the headlamp assembly to connect the headlamp electrical connectors.
Important: It will take a high amount of force to perform the next step.
7. Press headlamp assembly rearward to engage the headlamp ball stud (1) into the fender socket.
Notice: Refer to Fastener Notice.
8. Install the 3 bolts to secure the headlamp to the vehicle.
Tighten the bolts to 6 N.m (53 lb in).