
CTS RWD V6-3.6L (2008)
15. Hand tighten the EN-48313.
Notice: Use the correct fastener in the correct location. Replacement fasteners must be the correct part number for that application. Fasteners
requiring replacement or fasteners requiring the use of thread locking compound or sealant are identified in the service procedure. Do not use
paints, lubricants, or corrosion inhibitors on fasteners or fastener joint surfaces unless specified. These coatings affect fastener torque and joint
clamping force and may damage the fastener. Use the correct tightening sequence and specifications when installing fasteners in order to avoid
damage to parts and systems.
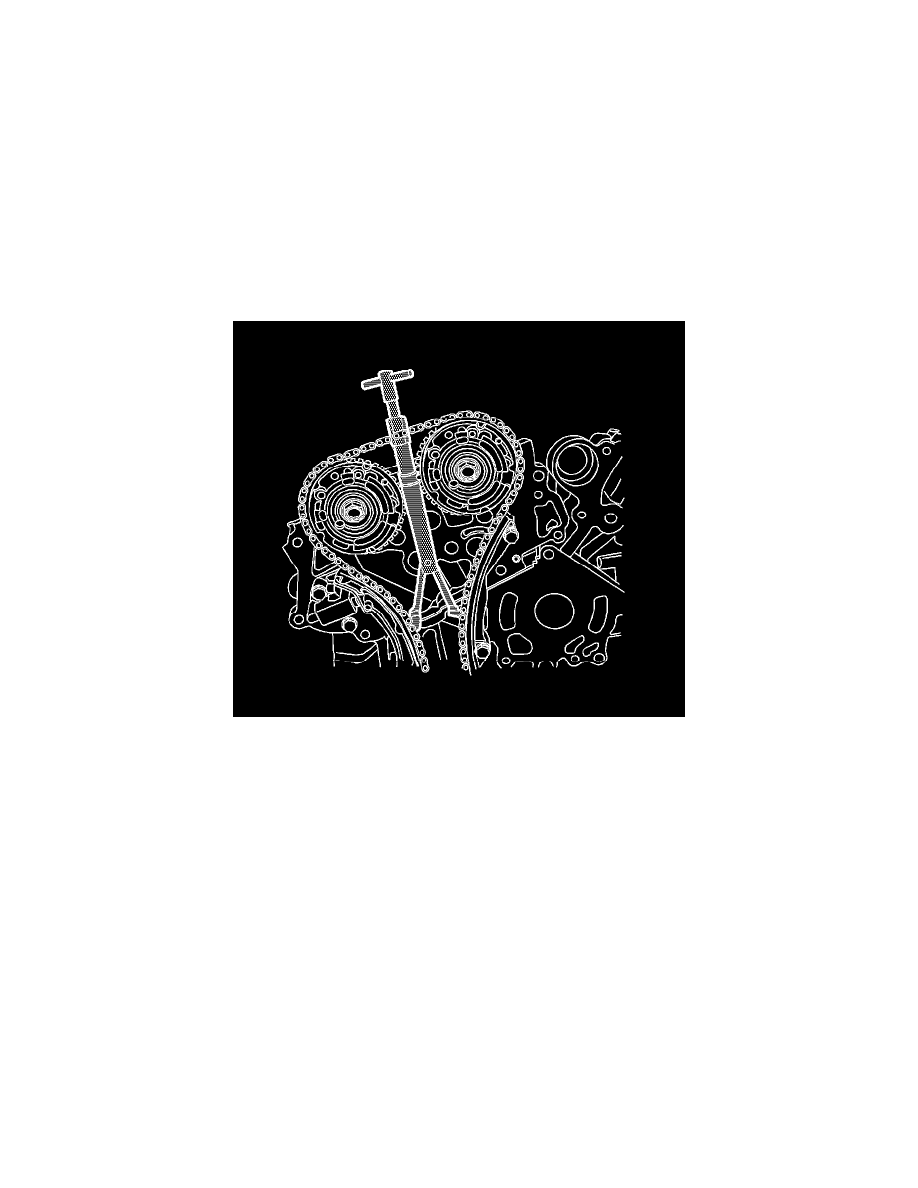
16. Use an open end wrench on the hex cast into the body of the EN-48313 and hand tighten the T-handle.
Notice: A wrench must be used on the hex of the camshaft when loosening or tightening in order to prevent component damage. Failure to prevent
the torque reaction against the timing drive chain can lead to timing drive chain failure.
17. Use an open end wrench on the hex cast into the right intake and exhaust camshafts and rotate the camshafts towards each other in order to create
slack in the chain between the actuators.
18. The EN-48313 is now properly installed to hold the timing chain in position.