
CTS RWD V6-3.6L (2008)
Notice: Refer to Fastener Notice (See: Service Precautions/Vehicle Damage Warnings/Fastener Notice) .
6. Install the upper left HVAC module mounting nut (1).
Tighten the nut to 9 N.m (80 lb in).
7. Install the lower left HVAC module mounting nut (1).
Tighten the nut to 9 N.m (80 lb in).
8. Connect the rear heater ducts to the HVAC module.
9. Connect the drain tube to the bottom of the HVAC module.
10. Connect the drain tube (2) to the floor.
11. Connect the HVAC electrical connector.
12. Install the air inlet assembly.
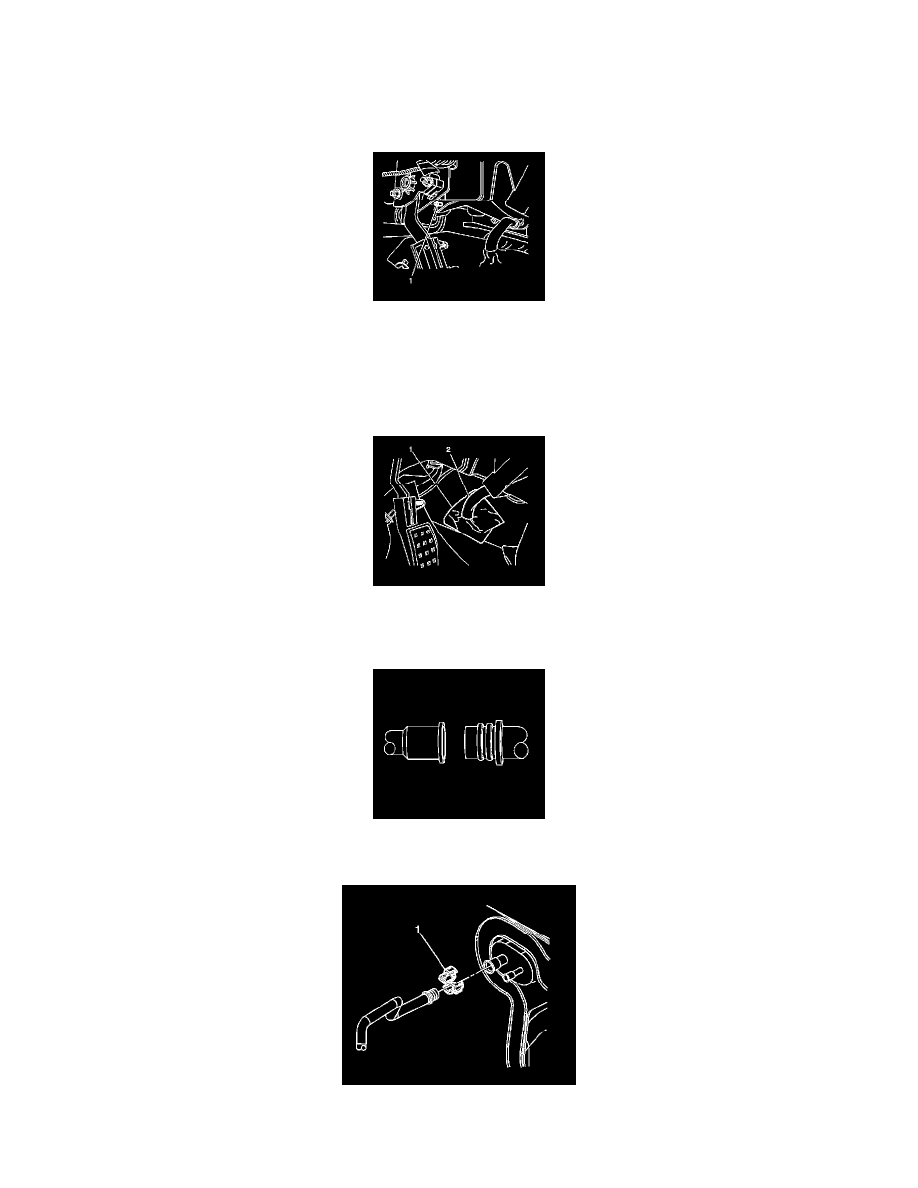
13. Lubricate the O-rings of the A/C line with refrigerant oil before connecting the A/C lines. Refer to O-Ring Replacement (See: Coupler
HVAC/A/C Coupler O-ring/Service and Repair) .
14. Install the A/C line and A/C line quick connect line clamp (1) to the evaporator .