
CTS RWD V6-3.6L (2008)
Refrigerant Pressure Sensor / Switch: Service and Repair
Air Conditioning (A/C) Refrigerant Pressure Sensor Replacement
Tools Required
J 39400-A Halogen Leak Detector
Removal Procedure
Important: No schrader valve appears under the pressure sensor.
1. Recover the refrigerant. Refer to Refrigerant Recovery and Recharging (See: Service and Repair/Refrigerant Recovery and Recharging) .
2. Remove the air cleaner assembly. Refer toAir Cleaner Assembly Replacement (See: Engine, Cooling and Exhaust/Engine/Tune-up and Engine
Performance Checks/Air Cleaner Housing/Service and Repair) .
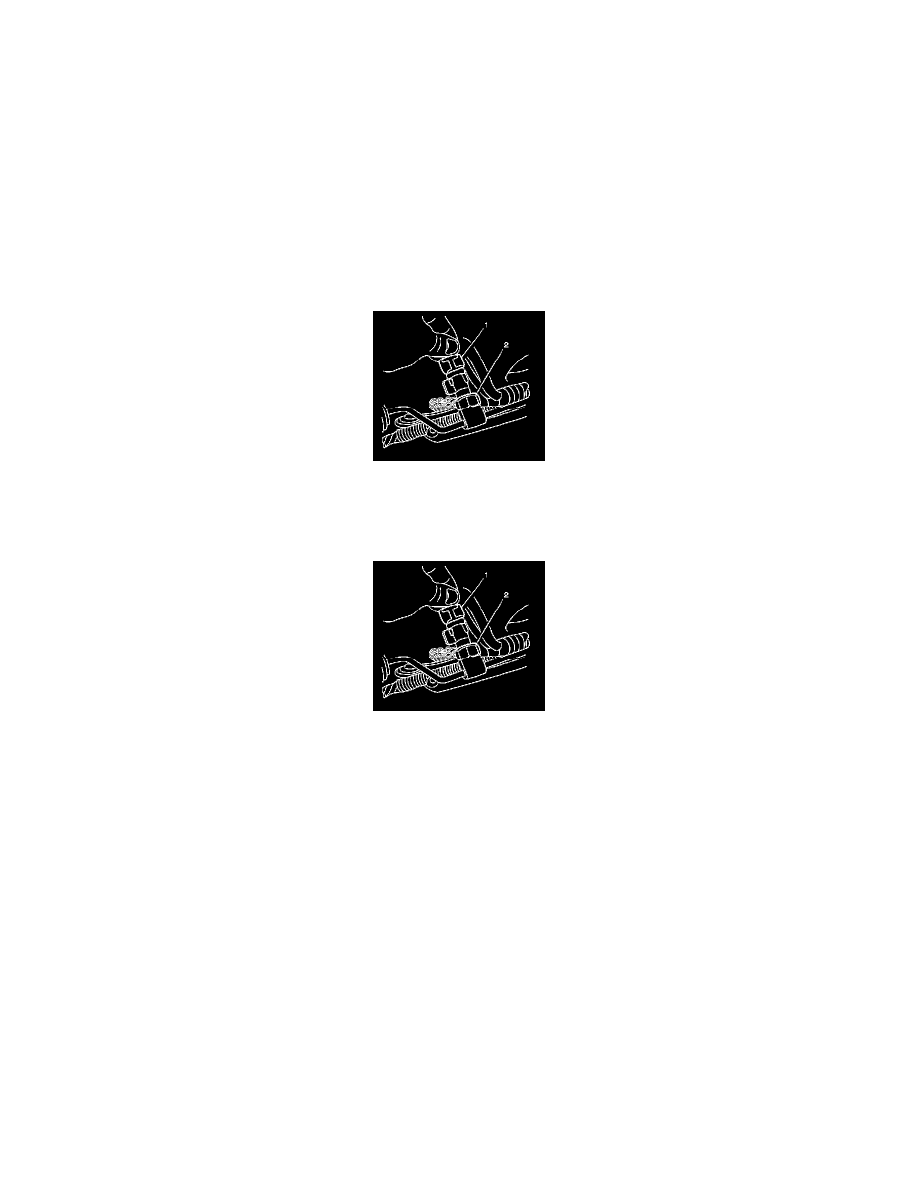
Disconnect the electrical connector (1) from the A/C refrigerant pressure sensor (2).
3. Remove the A/C refrigerant pressure sensor.
Installation Procedure
1. Lubricate the O-ring with refrigerant oil. Refer to O-Ring Replacement (See: Coupler HVAC/A/C Coupler O-ring/Service and Repair) .
Notice: Refer to Fastener Notice (See: Service Precautions/Vehicle Damage Warnings/Fastener Notice) .
2. Install the A/C refrigerant pressure sensor (2).
Tighten the sensor to 9.8 N.m (87 lb in).
3. Connect the electrical connector (1) to the A/C refrigerant pressure sensor.
4. Install the air cleaner assembly. Refer toAir Cleaner Assembly Replacement (See: Engine, Cooling and Exhaust/Engine/Tune-up and Engine
Performance Checks/Air Cleaner Housing/Service and Repair) .
5. Evacuate and recharge the A/C system. Refer to Refrigerant Recovery and Recharging (See: Service and Repair/Refrigerant Recovery and
Recharging) .
6. Leak test the fittings of the component using J 39400-A .