CTS RWD V6-3.6L (2008)

Control Arm: Service and Repair
Front Suspension
Lower Control Arm Replacement (RWD)
Special Tools
J 43631 Ball Joint Remover
Removal Procedure
1. Raise and support the vehicle. Refer to Lifting and Jacking the Vehicle (See: Wheels and Tires/Vehicle Lifting/Service and Repair) .
2. Remove the tire and wheel. Refer to Tire and Wheel Removal and Installation (See: Wheels and Tires/Service and Repair) .
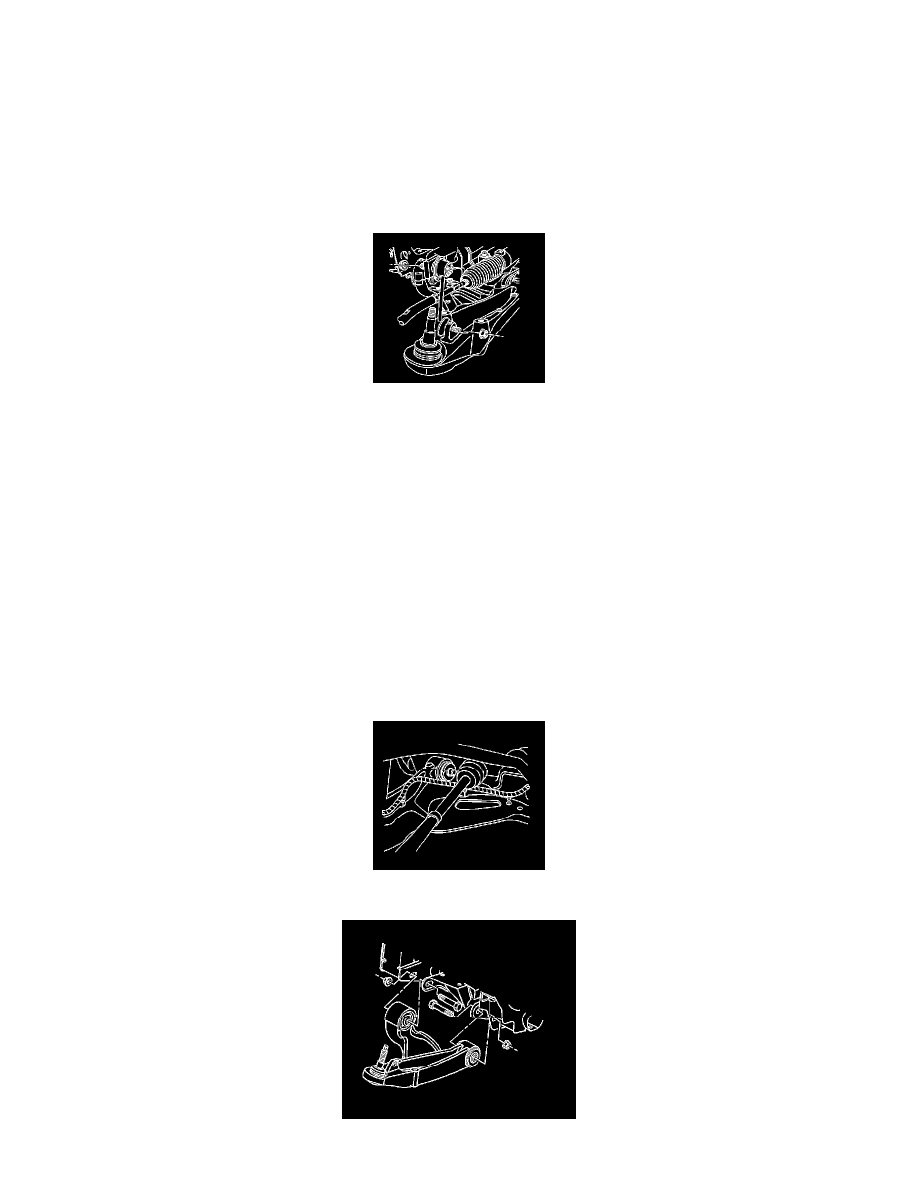
3. Remove the stabilizer shaft link lower retaining nut.
4. Remove the stabilizer shaft link from the lower control arm.
Important: Step 5 is for rear wheel drive (RWD) vehicles only.
5. Remove the shock assembly lower retaining bolts. Refer to Shock Absorber and Spring Assembly Replacement (See: Suspension Strut / Shock
Absorber/Service and Repair/Front Suspension Shock Absorber/Shock Absorber and Spring Assembly Replacement) .
Important: Step 6 is for all wheel drive (AWD) vehicles only.
6. Remove the shock absorber yoke from the lower control arm. Refer to Front Shock Absorber Yoke Replacement (See: Suspension Strut / Shock
Absorber/Service and Repair/Front Suspension Shock Absorber/Front Shock Absorber Yoke Replacement) .
7. Remove the outer tie rod to the steering knuckle retaining nut. Refer to Steering Linkage Outer Tie Rod Replacement (with Rear Wheel Drive) (
See: Steering/Tie Rod/Service and Repair/Steering Linkage Outer Tie Rod Replacement (with Rear Wheel Drive))Steering Linkage Outer Tie Rod
Replacement (with All Wheel Drive) (See: Steering/Tie Rod/Service and Repair/Steering Linkage Outer Tie Rod Replacement (with All Wheel
Drive)) .
8. Remove the ABS wire harness from the lower control arm.
