
CTS RWD V6-3.6L (2008)
and Repair/Parking Brake Rear Cable Replacement - Left Side) or Parking Brake Rear Cable Replacement - Right Side (See: Brakes and
Traction Control/Parking Brake System/Parking Brake Cable/Service and Repair/Parking Brake Rear Cable Replacement - Right Side)
*
The rear brake pipes
*
Upper Control Arm Replacement (See: Control Arm/Service and Repair/Rear Suspension/Upper Control Arm Replacement)
*
Lower Control Arm Replacement (See: Control Arm/Service and Repair/Rear Suspension/Lower Control Arm Replacement)
*
Headlamp Leveling Rear Suspension Height Sensor Replacement (See: Lighting and Horns/Headlamp/Headlamp Alignment Sensor/Service
and Repair/Headlamp Leveling Rear Suspension Height Sensor Replacement)
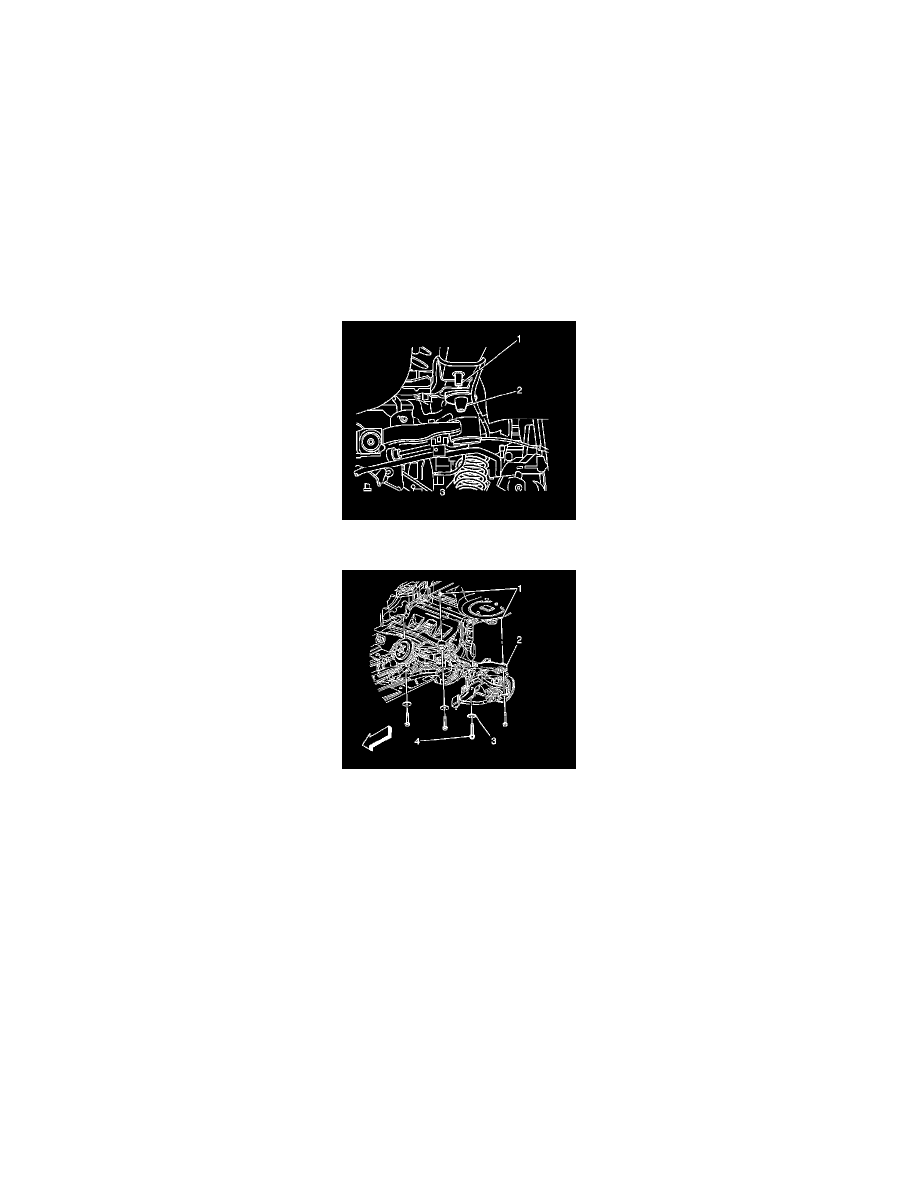
Important: The rear coil springs need to be indexed into the lower spring insulators prior to assembly.
3. Index the rear coil springs to the spring insulators.
Important: Ensure the intermediate brake cable is clear of the front frame to body mount prior to securing the frame bolts.
4. Ensure the intermediate park brake cable is positioned over left side frame assembly on the left side.
5. Lower the vehicle to the frame.
6. Position the coil springs (3) to the upper spring insulator (2).
7. Index the rear side frame mounts to the rear locator sleeves (1) located on the body.
8. Lower the vehicle until the frame mounts contact the body rail.
Notice: Refer to Fastener Notice (See: Service Precautions/Vehicle Damage Warnings/Fastener Notice) .
9. Install the rear frame washers (3) and anchor bolts (4).
*
Tighten the front bolts to 265 N.m (195 lb ft).
*
Tighten the rear bolts to 191 N.m (141 lb ft).
10. Raise the vehicle.
11. Remove the J 39580 .