
CTS RWD V8-6.2L SC (2009)
34. Remove the doc-n-loc bracket from the door and connect the doc-n-loc together on the door trim. A click noise will be heard.
35. Install the door trim.
36. When installing the trim screws, start with the number one closest to the doc-n-loc.
Tighten
Tighten the screws to 7 Nm (62 lb in).
37. Clear codes.
Correction 2
Correction 2
Check for codes.
Inoperative Right Door Outside Door Handle Switch (if the door handle sticks in the open position for longer than one minute, the door will not
open)
1. Remove the window switch. Refer to Door Lock and Window Switch Replacement-Driver Side (PDM) in SI.
2. Disconnect the door lock/window switch-driver (PDM) X6 connector.
3. With a DVOM connected to ground and pin 2 circuit 5878 in the door lock/window switch-driver (DDM) X6 connector, the readings should be
less than 20 ohms with the handle in the open position.
4. With a DVOM connected to ground and pin 4 circuit 5879 in the door lock/window switch-driver (DDM) X6 connector, the readings should be
less than 20 ohms with the handle in the open position.
5. If resistance is higher, remove the door trim. Refer to Front Side Door Trim Panel in SI.
6. Check the resistance at the doc-n-loc X605 female connector, pin 2 circuit 450 and pin 11 circuit 5878. The reading should be less than 20 ohms
with the handle in the open position.
7. With the handle in the open position, the resistance should be less than 20 ohms on pin 2 circuit 450 and pin 12 circuit 5879. If the values are
correct, at the X605 continue with Step 8. If the values are incorrect, proceed to Step 14.
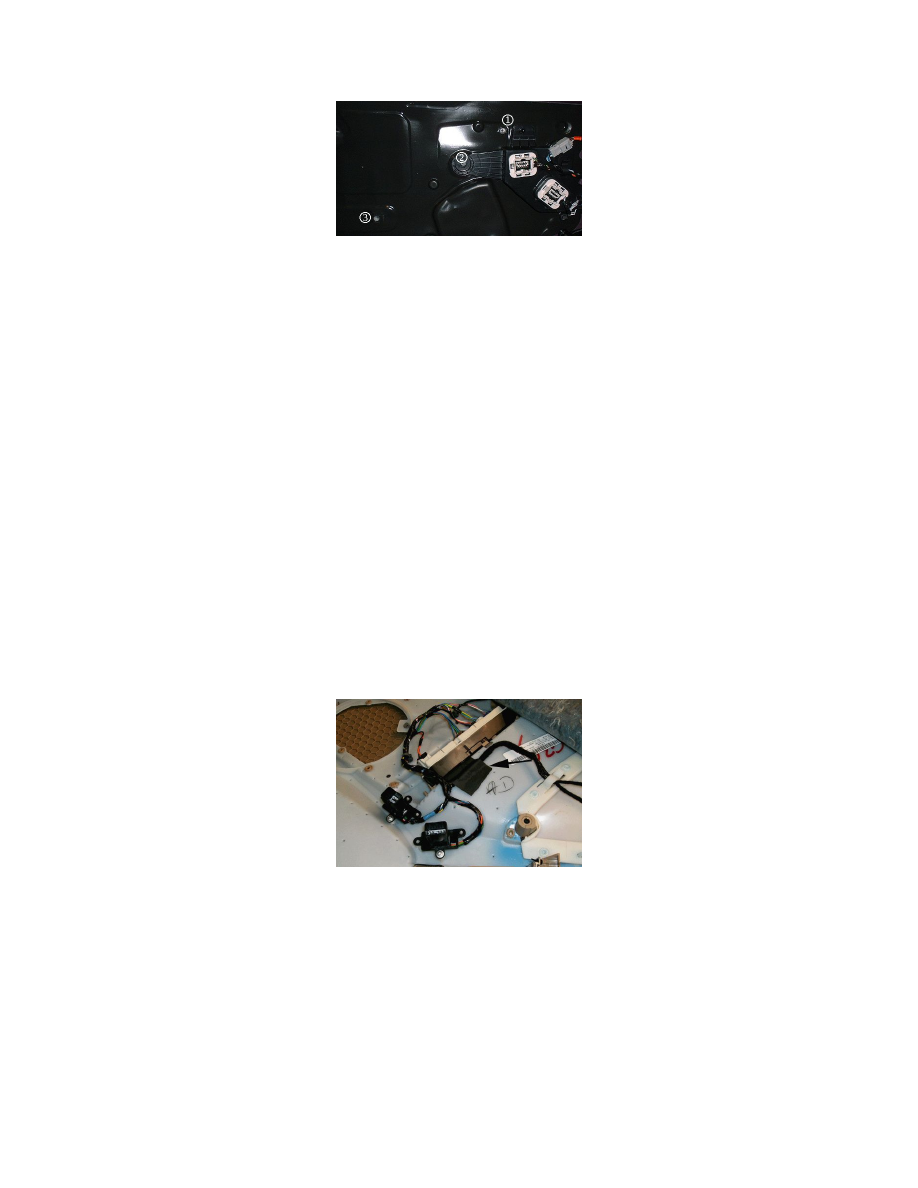
8. Relocate the wiring harness by moving it away for the doc-n-loc on the trim panel and apply duct tape to the harness.