
CTS RWD V8-6.2L SC (2009)
5. Matchmark the position of the brake rotor to the wheel studs.
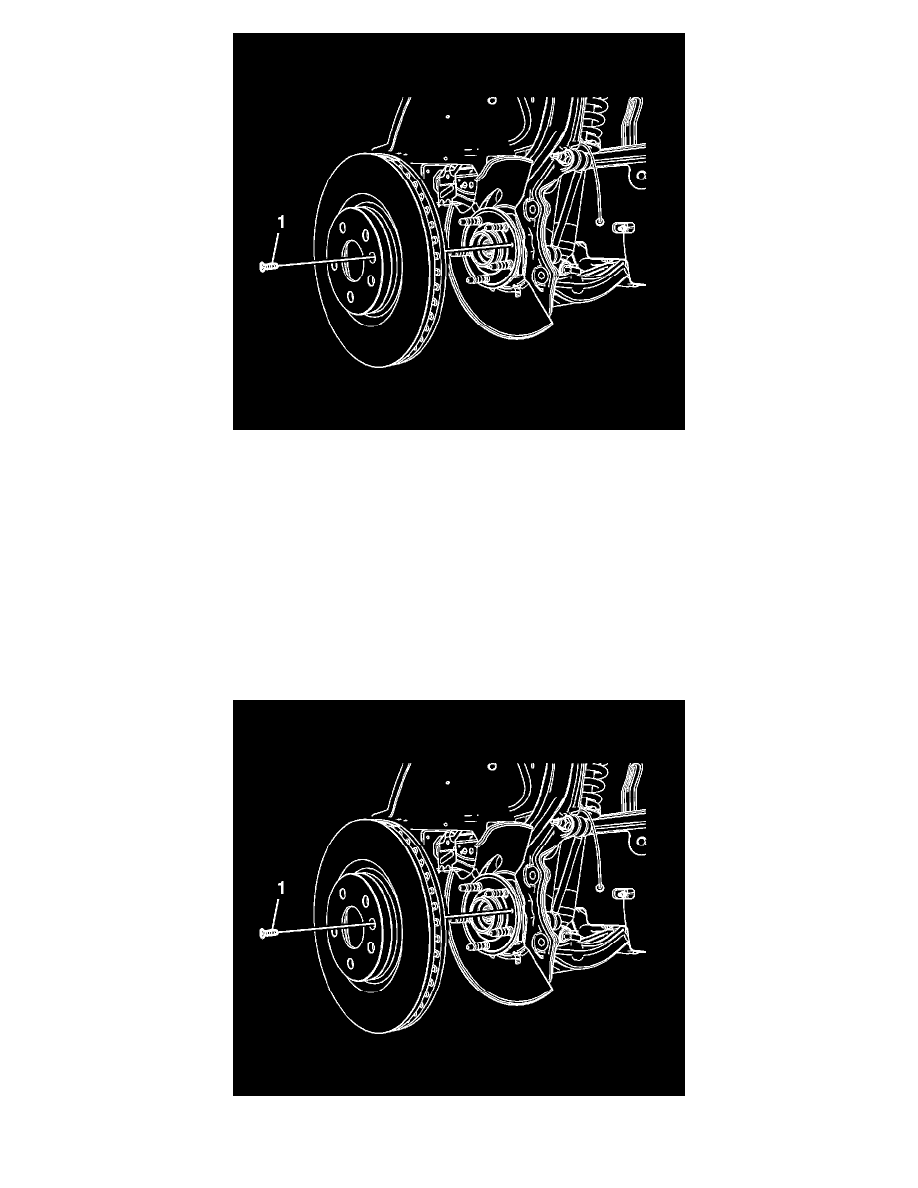
6. Remove the brake rotor screw (1).
7. Remove the brake rotor.
Installation Procedure
Note: Whenever the brake rotor has been separated from the hub/axle flange, any rust or contaminants should be cleaned from the hub/axle flange
and the brake rotor mating surfaces. Failure to do this may result in excessive assembled lateral runout (LRO) of the brake rotor, which could lead
to brake pulsation.
1. Using the J-42450-A - Wheel Hub Resurfacing Kit , thoroughly clean any rust or corrosion from the mating surface of the hub/axle flange.
2. Using the J-41013 - Rotor Resurfacing Kit , thoroughly clean any rust or corrosion from the mating surface and mounting surface of the brake
rotor.
3. Inspect the mating surfaces of the hub/axle flange and the rotor to ensure that there are no foreign particles or debris remaining.
4. Install the brake rotor to the hub/axle flange. Use the matchmark made prior to removal for proper orientation to the flange.