
CTS RWD V8-6.2L SC (2009)
Clutch Disc: Service and Repair
Clutch Assembly Replacement (CTS-V)
Clutch Assembly Replacement (CTS-V)
Special Tools
*
DT-49267 Dual Clutch Alignment Tool
*
J 42386-A Flywheel Holding Tool
Removal Procedure
Caution: Refer to Battery Disconnect Warning (See: Starting and Charging/Battery/Service Precautions).
1. Disconnect the negative battery cable.
2. Raise and suitably support the vehicle. Refer to Lifting and Jacking the Vehicle (See: Maintenance/Vehicle Lifting/Service and Repair).
3. Remove the driveline support assembly with the transaxle. Refer to Front Frame Replacement (Rear Wheel Drive) (See: Body and
Frame/Frame/Subframe/Front Subframe/Service and Repair)Front Frame Replacement (All Wheel Drive) (See: Body and
Frame/Frame/Subframe/Front Subframe/Service and Repair).
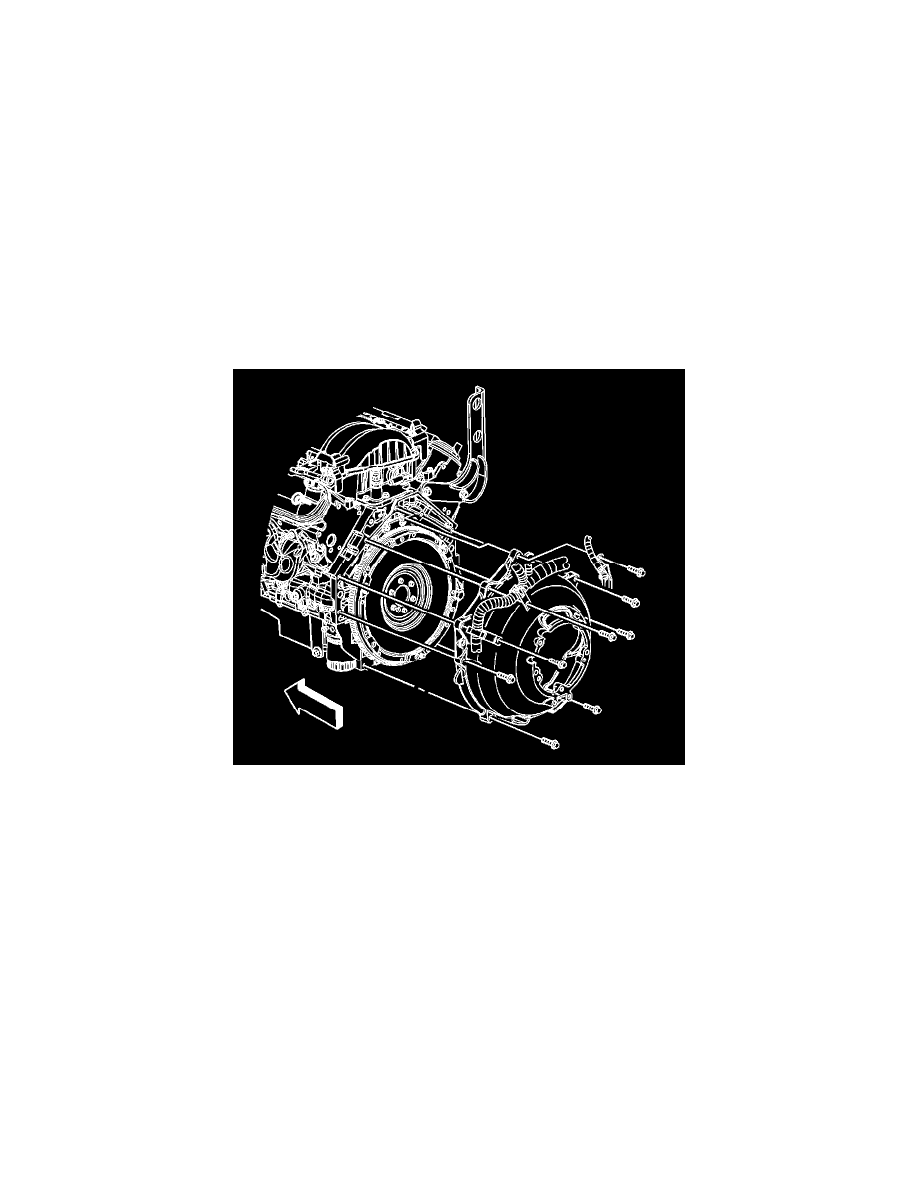
4. Remove the bell housing bolts. The upper bolts can be accessed by lowering the engine cradle approximately 25 mm (1 in) and tipping the engine
back.
5. If reusing the pressure plate assembly, place a alignment mark on the pressure plate and flywheel for proper alignment during installation.
Note: Do Not use air tools to remove the clutch pressure plate bolts.