
CTS RWD V8-6.2L SC (2009)
6. Position the clutch fluid reservoir aside.
7. Remove the vacuum brake booster. Refer to Power Vacuum Brake Booster Replacement (LHD) (See: Brakes and Traction Control/Power Brake
Assist/Vacuum Brake Booster/Service and Repair/Power Vacuum Brake Booster Replacement (LHD))Power Vacuum Brake Booster Replacement
(RHD) (See: Brakes and Traction Control/Power Brake Assist/Vacuum Brake Booster/Service and Repair/Power Vacuum Brake Booster
Replacement (RHD)).
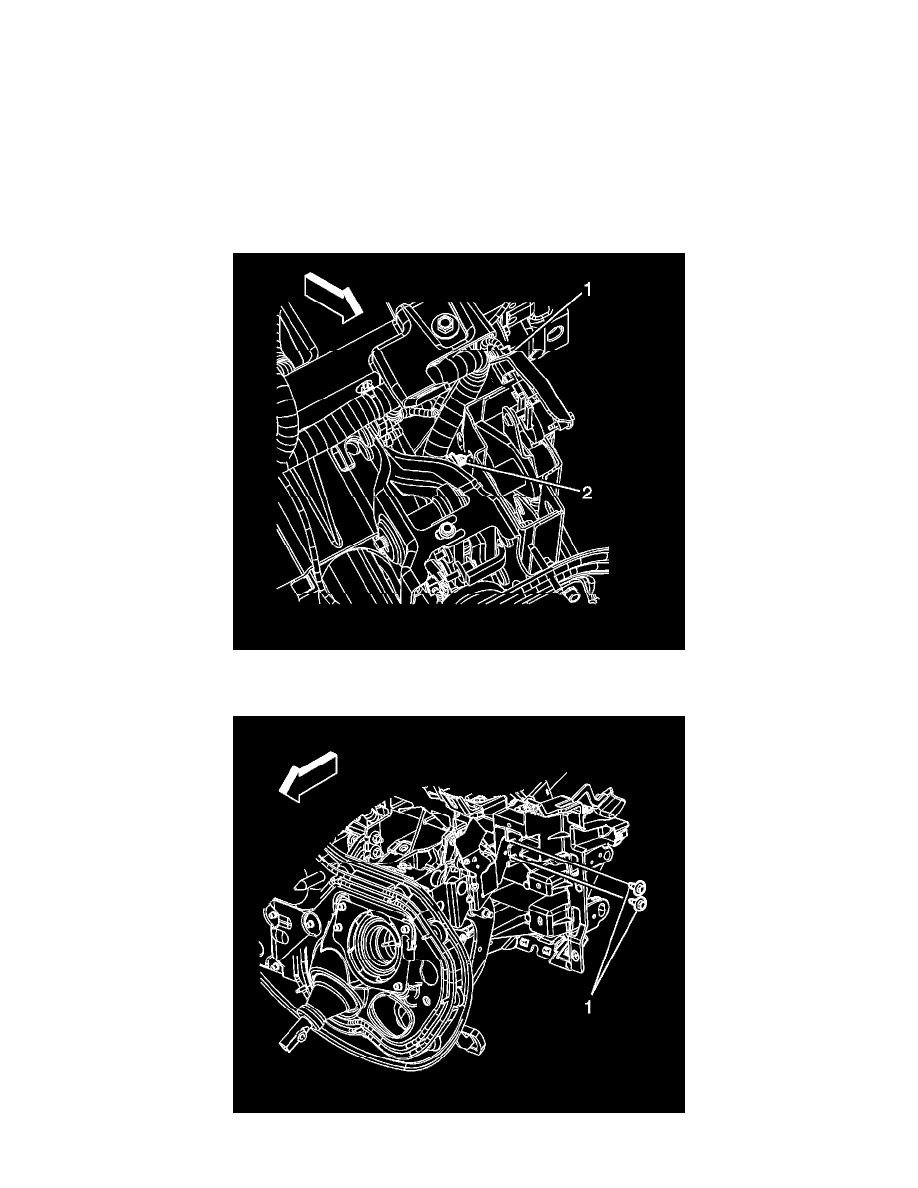
Note: Do NOT disconnect the hydraulic hoses from the clutch master cylinder.
8. Rotate the clutch master cylinder (2) clockwise 1/8 turn.
9. Remove the clutch master cylinder (2) from the cowl.
10. Remove the park brake pedal assembly from the I/P and position aside. Refer to Parking Brake Lever Pedal Assembly Replacement (See: Brakes
and Traction Control/Parking Brake System/Parking Brake Lever/Service and Repair/Parking Brake Lever Pedal Assembly Replacement).
11. Remove the wiring harness connector (1) from the clutch pedal position sensor.
12. Remove the wiring harness retainer (2) from the clutch pedal assembly.
13. Remove the 2 bolts (1) securing the clutch pedal assembly to the I/P carrier.