
CTS Sedan AWD V6-3.0L (2010)
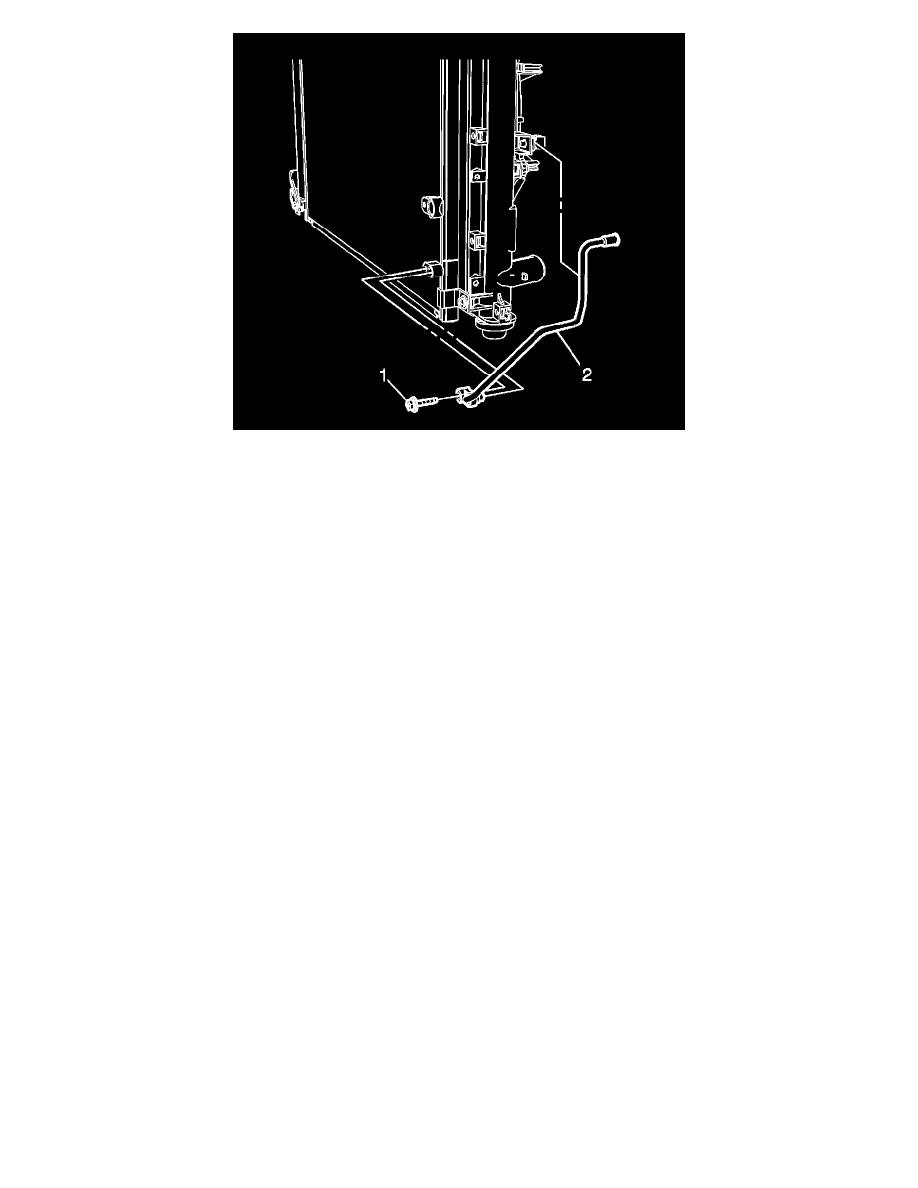
4. Connect the condenser tube (2) to the condenser.
5. Connect the condenser tube to the fan shroud retainer clip.
Caution: Refer to Fastener Caution (See: Service Precautions/Vehicle Damage Warnings/Fastener Caution).
6. Install the condenser tube to condenser retaining bolt (1) and tighten to 9 Nm (80 lb in).
7. Install the front air deflector. Refer to Front Bumper Fascia Air Deflector Replacement (See: Body and Frame/Bumper/Front Bumper/Front
Bumper Cover / Fascia/Service and Repair/Front Bumper Fascia Air Deflector Replacement).
8. Lower the vehicle.
9. Install the A/C quick connect fitting at the liquid line. Refer to Air Conditioning Line/Tube Connector Removal/Replacement (See: Air
Conditioning Line/Tube Connector Removal/Replacement).
10. Install the air cleaner assembly. Refer to Air Cleaner Assembly Replacement (LF1) (See: Engine, Cooling and Exhaust/Engine/Tune-up and
Engine Performance Checks/Air Cleaner Housing/Service and Repair)Air Cleaner Assembly Replacement (LLT) (See: Engine, Cooling and
Exhaust/Engine/Tune-up and Engine Performance Checks/Air Cleaner Housing/Service and Repair).
11. Evacuate and recharge the A/C system. Refer to Refrigerant Recovery and Recharging (See: Service and Repair/Refrigerant Recovery and
Recharging).
12. Using J 39400-A - Halogen Leak Detector , leak test the fittings of the component.