
CTS Sedan AWD V6-3.0L (2010)
4. Starting in the passenger compartment and working to the rear compartment, align the battery positive cable to the body harness and tape it as
needed.
5. Install the body harness to any bracket assemblies as needed.
6. Install any new or reused retainers to the body harness as needed.
7. Secure the body harness to the vehicle.
8. Position the passenger side front floor panel carpet in place.
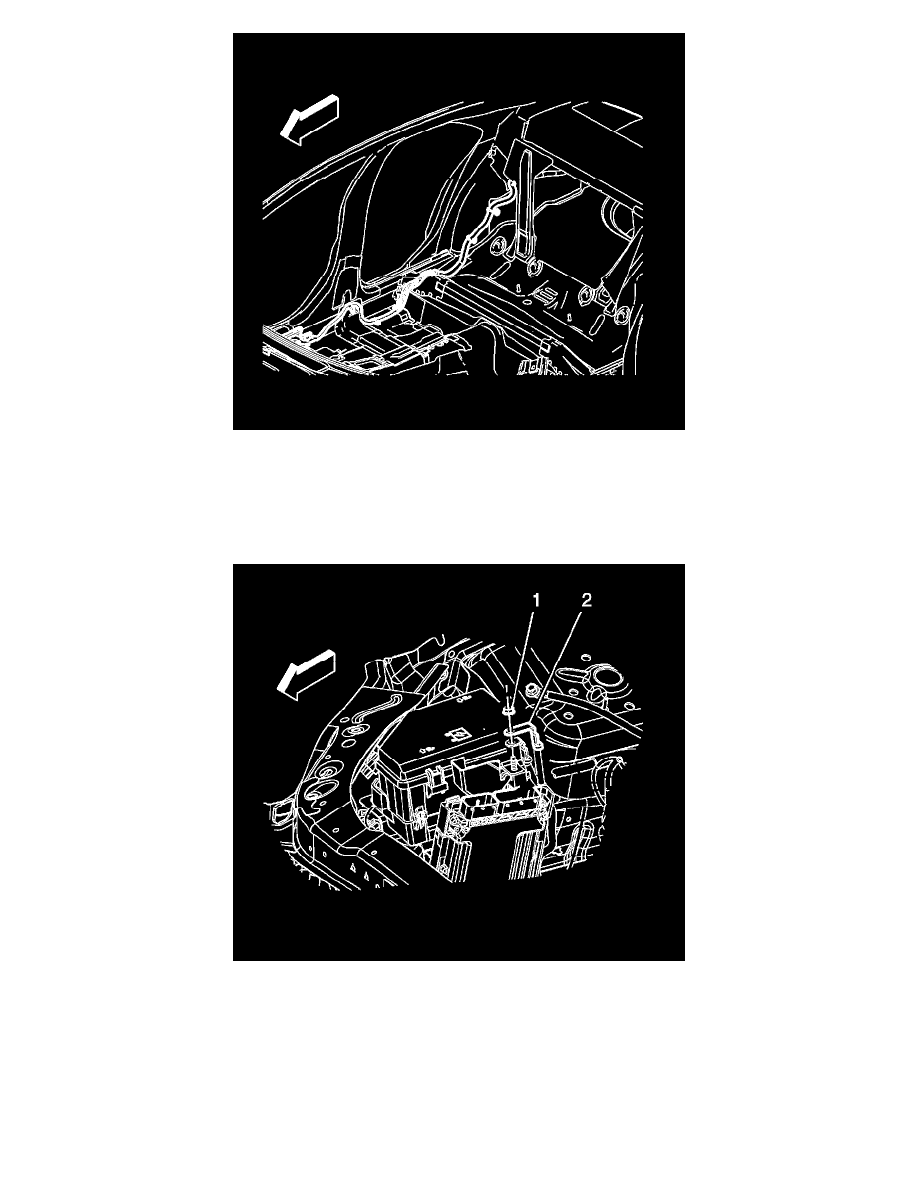
9. Install the battery positive cable (2) to the front underhood electrical center or junction block.
Caution: Refer to Fastener Caution (See: Service Precautions/Vehicle Damage Warnings/Fastener Caution).
10. Install the battery positive cable nut (1) to the front underhood electrical center or junction block and tighten to 15 Nm (11 lb ft).
11. Install the passenger side bucket front seat. Refer to Front Seat Replacement - Bucket (AQ9) (See: Body and Frame/Seats/Service and
Repair/Front Seat Replacement - Bucket (AQ9))Front Seat Replacement - Bucket (W2E) (See: Body and Frame/Seats/Service and Repair/Front
Seat Replacement - Bucket (W2E)).
12. Install the center pillar lower trim panel. Refer to Center Pillar Lower Trim Panel Replacement (See: Body and Frame/Interior Moulding /
Trim/Trim Panel/Service and Repair/Center Pillar Lower Trim Panel Replacement).