CTS Sedan AWD V6-3.0L (2010)

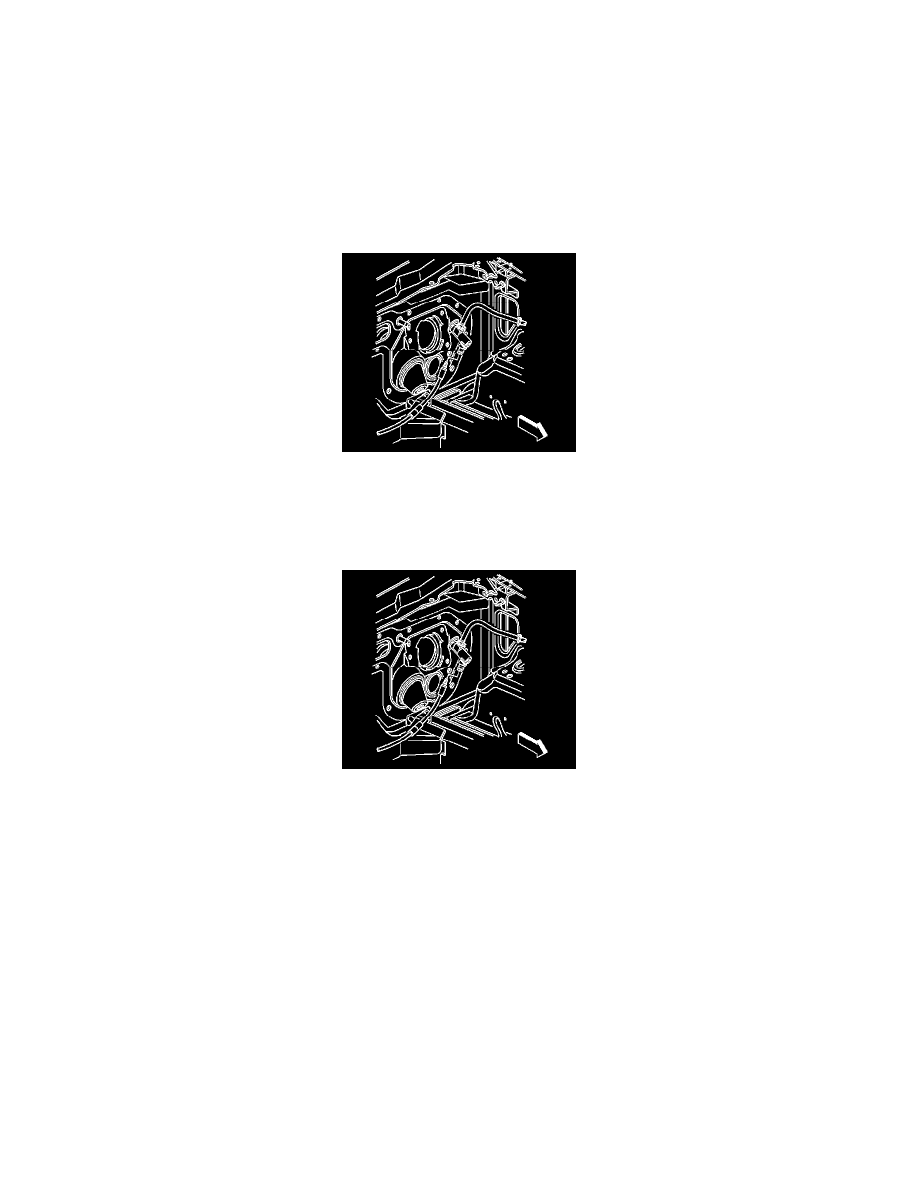
4. Remove the clutch fluid reservoir (1) from the cowl.
5. Position the clutch fluid reservoir aside.
6. Remove the vacuum brake booster. Refer to Power Vacuum Brake Booster Replacement (LHD) (See: Brakes and Traction Control/Power Brake
Assist/Vacuum Brake Booster/Service and Repair)Power Vacuum Brake Booster Replacement (RHD) (See: Application and ID).
Note: Do NOT disconnect the hydraulic hoses from the clutch master cylinder.
7. Rotate the clutch master cylinder (2) clockwise 1/8 turn.
8. Remove the clutch master cylinder (2) from the cowl.
9. Remove the park brake pedal assembly from the instrument panel and position aside. Refer to Parking Brake Lever Pedal Assembly Replacement
(See: Brakes and Traction Control/Parking Brake System/Parking Brake Lever/Service and Repair/Parking Brake Lever Pedal Assembly
Replacement).
Note: Install a rubber cap over the exposed hose fitting in order to prevent fluid loss and contamination.
10. Disconnect the clutch hydraulic hose. Refer to Hydraulic Clutch Hose/Pipe Replacement (See: Hydraulic Hose/Service and Repair).
Installation Procedure
1. Connect the clutch hydraulic hose. Refer to Hydraulic Clutch Hose/Pipe Replacement (See: Hydraulic Hose/Service and Repair).
