
CTS Sedan AWD V6-3.0L (2010)
5. Remove the 4 fasteners (2) securing the shift control assembly to the shift control adapter plate.
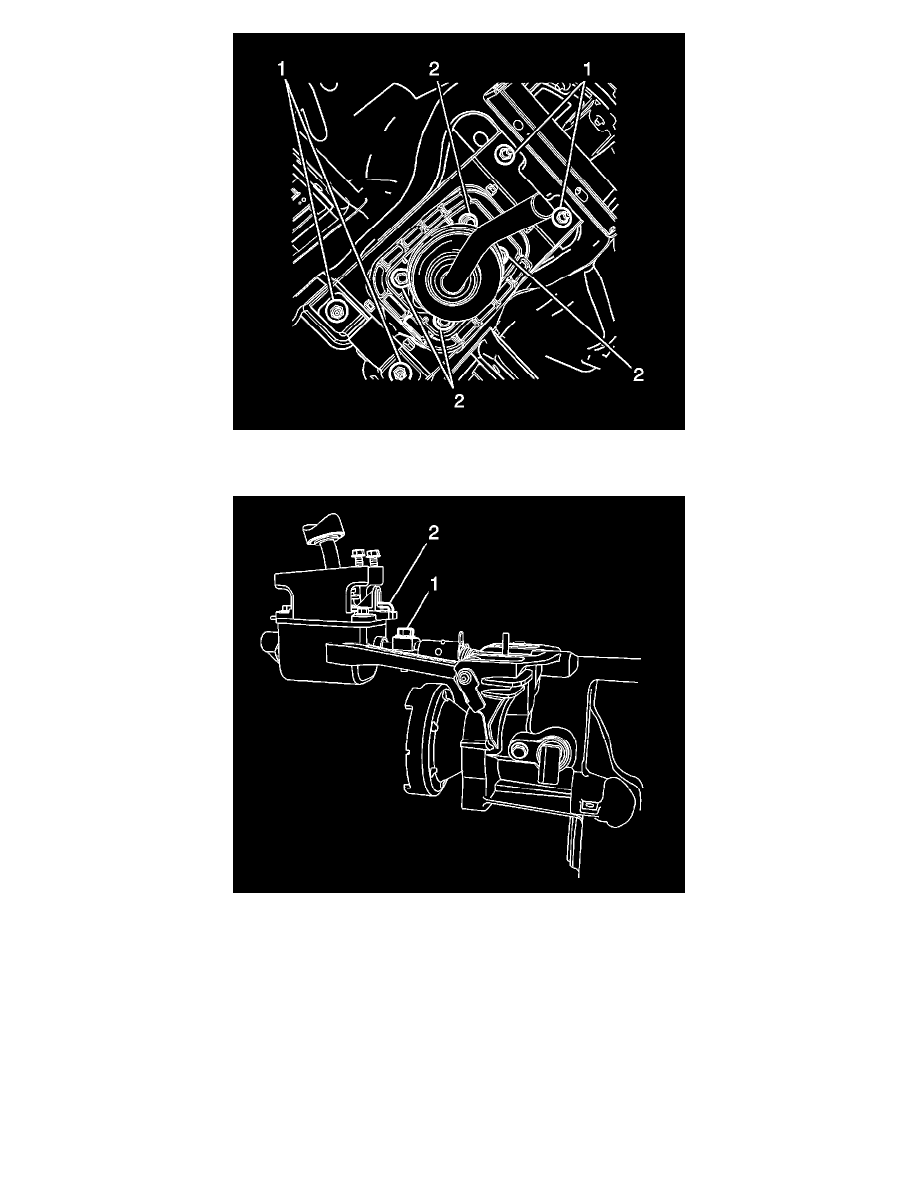
6. Remove the 4 fasteners (2) securing the shift control adapter plate to the tunnel reinforcement.
7. Remove the shift assembly clamp bolt (1).
8. Raise the vehicle. Refer to Lifting and Jacking the Vehicle (See: Maintenance/Vehicle Lifting/Service and Repair).
9. Remove the exhaust system. Refer to Exhaust System Replacement (LSA) (See: Engine, Cooling and Exhaust/Exhaust System/Service and
Repair/Exhaust System Replacement)Exhaust System Replacement (LF1) (See: Engine, Cooling and Exhaust/Exhaust System/Service and
Repair/Exhaust System Replacement)Exhaust System Replacement (Single) (See: Engine, Cooling and Exhaust/Exhaust System/Service and
Repair/Exhaust System Replacement (Single))Exhaust System Replacement (LLT) (See: Engine, Cooling and Exhaust/Exhaust System/Service
and Repair/Exhaust System Replacement).
10. Remove the propeller shaft. Refer to Rear Propeller Shaft Replacement (RPO LSA) (See: Drive/Propeller Shafts, Bearings and
Joints/Drive/Propeller Shaft/Service and Repair)Rear Propeller Shaft Replacement (RPO LLT/LF1with MX7 or MN6) (See: Drive/Propeller
Shafts, Bearings and Joints/Drive/Propeller Shaft/Service and Repair)Rear Propeller Shaft Replacement (RPO LLT, LF1 with MXO) (See:
Drive/Propeller Shafts, Bearings and Joints/Drive/Propeller Shaft/Service and Repair).
11. Support the transmission with a suitable jack.