
CTS Sedan RWD V6-3.0L (2010)
1. After remounting and inflating the tire, check both beads, the repair and the valve with a water and soap solution in order to detect leaks.
2. If the tire continues to lose air, the tire must be demounted and reinspected.
3. Balance the tire and wheel assembly. Refer to Tire and Wheel Assembly Balancing - Off Vehicle (See: Body and Frame/Testing and
Inspection/Symptom Related Diagnostic Procedures/Vibration Diagnosis and Correction/Repair Instructions/Tire and Wheel Assembly Balancing
- Off Vehicle).
For additional tire puncture repair information, contact:
Rubber Manufacturers Association (RMA)
1400 K Street, N.W., Suite 900
Washington, DC
20005-2403
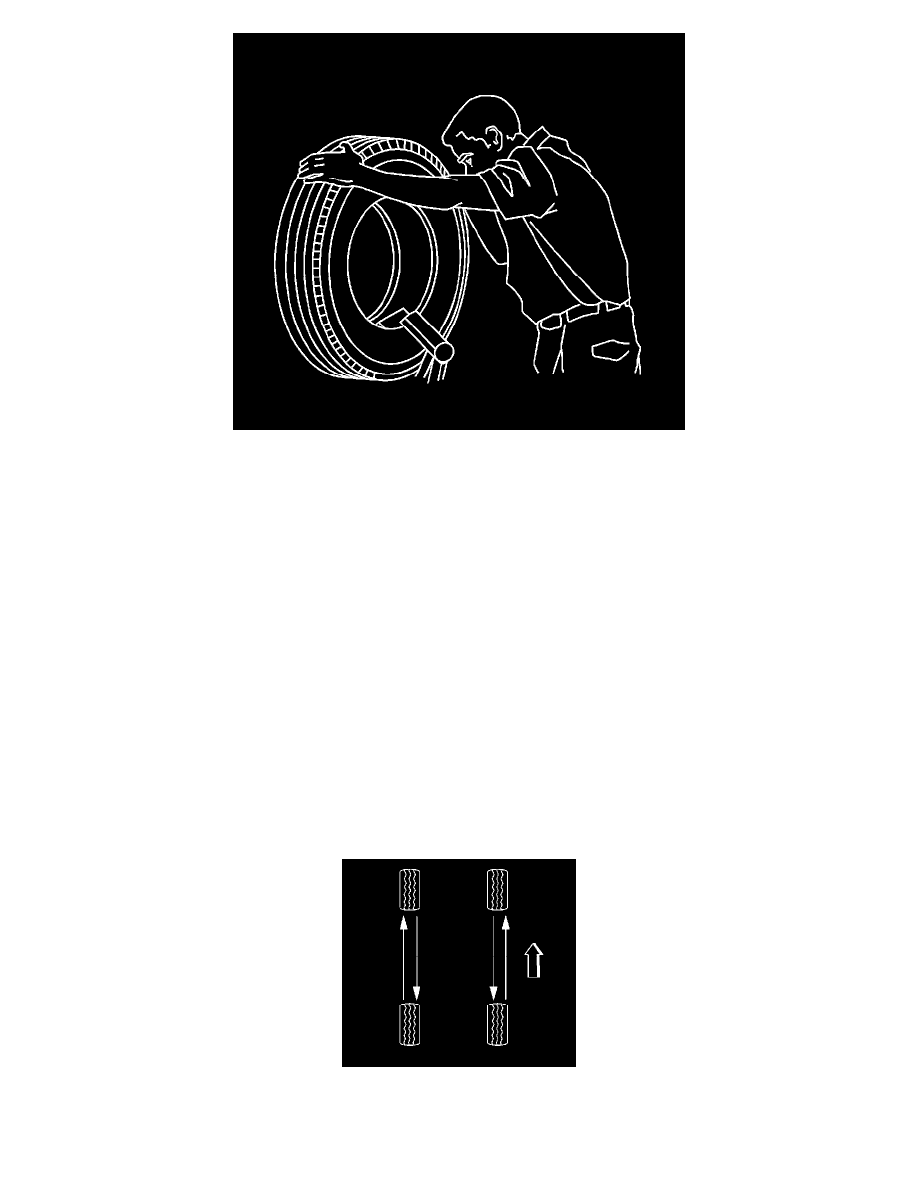
Tire Rotation (Directional)
Tire Rotation (Directional)
Rotate the tires and wheels at frequent intervals to equalize wear. Refer to the Owners Manual for the proper maintenance schedule. In addition to
scheduled rotation, rotate the tire and wheel whenever uneven tire wear is noticed.
Radial tires tend to wear faster in the shoulder area, particularly in front positions. Radial tires in non-drive locations may develop an irregular wear
pattern that may increase tire noise. This makes regular rotation especially necessary. Refer to Tire and Wheel Removal and Installation (See: Service
and Repair).
Always use a 4-wheel rotation. After rotation, check the wheel nuts for specified torque. Refer to Fastener Tightening Specifications (See:
Specifications). Then, set the tire pressure. Refer to Vehicle Certification, Tire Placard, Anti-Theft, and Service Parts ID Label (See: Application and
ID/Vehicle Certification, Tire Placard, Anti-Theft and Service Parts ID Label).