
CTS Wagon RWD V6-3.6L (2010)
Rear Door Hinge: Service and Repair
Rear Side Door Upper Hinge and Lower Hinge Replacement
Removal Procedure
1. Remove the check link bolt from the body.
Note: Replace only one hinge at a time then repeat procedure for the second hinge, if needed.
2. Open the rear and the front doors.
3. Support the door.
4. Mark the position of the hinge on the body.
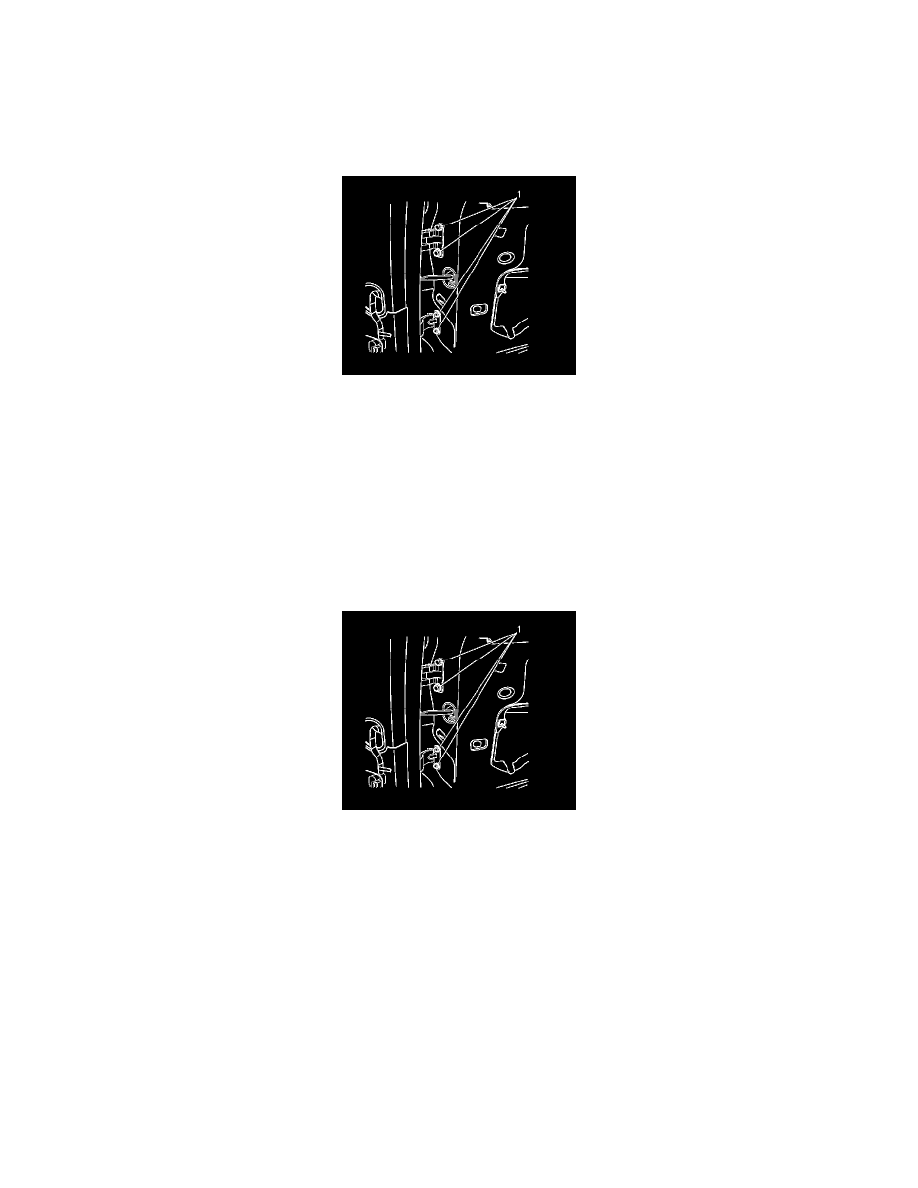
5. Remove the hinge to body bolts (1).
6. Remove the hinge to door bolts.
Installation Procedure
1. Align the pillar side of the hinge to the marks made on the pillar during removal.
2. Install the hinge to the pillar.
Caution: Refer to Fastener Caution (See: Service Precautions/Vehicle Damage Warnings/Fastener Caution).
3. Install the bolts (1). Tighten the hinge to pillar bolts to 33 Nm (24 lb ft).
4. Align the hinge to the door.
5. Install the bolts. Tighten the hinge to door bolts to 33 Nm (24 lb ft).
6. Remove the door support.
7. Install the check link bolt to the body and tighten to 22 Nm (16 lb ft).
Caution: Striker alignment is a crucial part of door latch operation. Do not use the door striker to adjust the door to the vehicle. Failure to
properly adjust the striker can result in damage to the door latch and the striker.
8. Adjust the door. Refer to Door Adjustment (See: Front Door/Adjustments).
9. Touch up any paint damage to the hinge and the bolts with body color paint.