
CTS Wagon RWD V6-3.6L (2010)
Note:
*
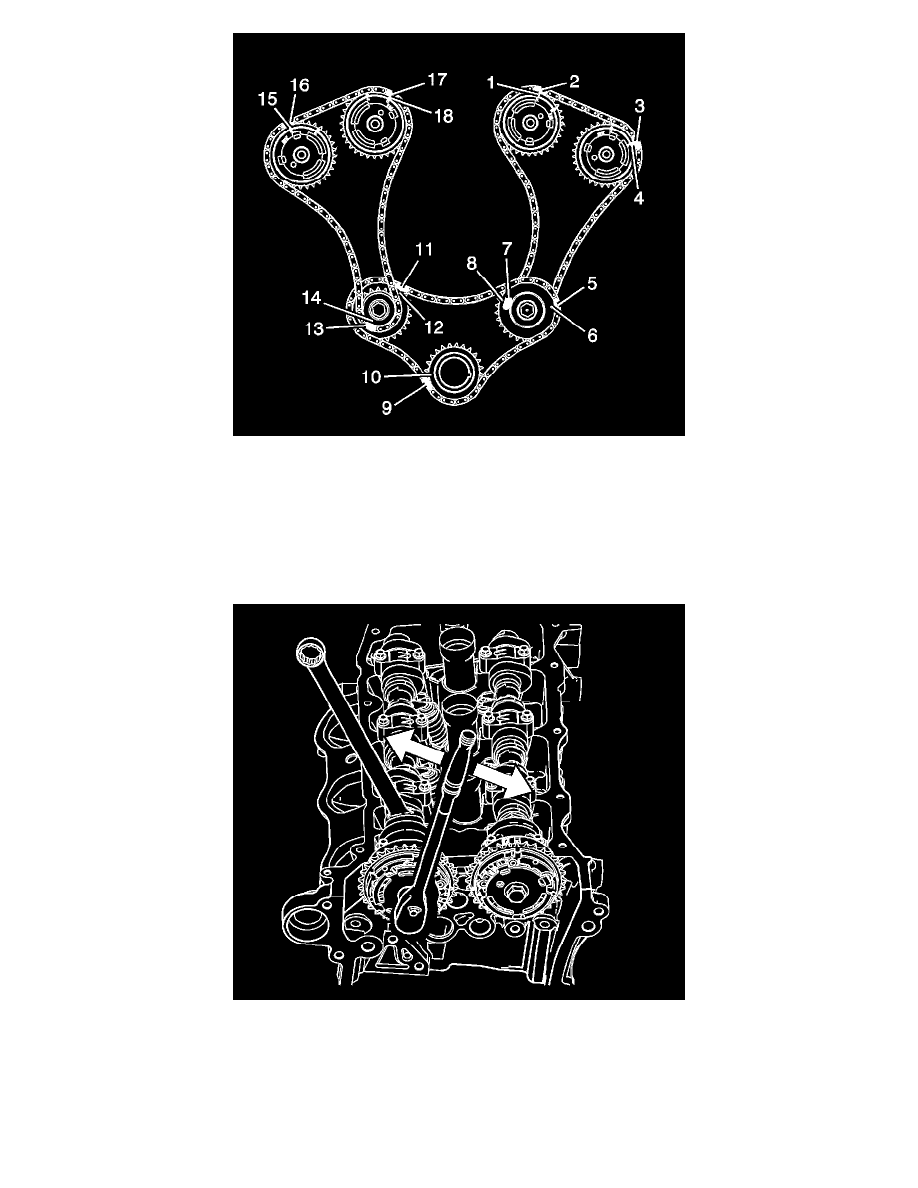
Ensure that the marks on the camshaft position actuators and the timing chain (15-18) are aligned.
*
DO NOT tighten the camshaft position actuator bolt at this time.
1. Locate the camshafts to the cylinder head and assemble the camshaft actuators to the camshafts.
2. Install the camshafts and the camshaft bearing caps. Refer to Camshaft Installation - Right Side (See: Service and Repair/Overhaul/100. Camshaft
Installation - Right Side).
3. Remove the EN-48313 .
Note: Use an open-end wrench at the camshaft hex to prevent camshaft/engine rotation.
4. Install and tighten the camshaft position actuators. Refer to Camshaft Position Actuator Installation - Right Side Intake (See: Service and
Repair/Overhaul/107. Camshaft Position Actuator Installation - Right Side Intake) and Camshaft Position Actuator Installation - Right Side
Exhaust (See: Service and Repair/Overhaul/108. Camshaft Position Actuator Installation - Right Side Exhaust).
5. Install the intake camshaft position actuator solenoid. Refer to Camshaft Position Actuator Solenoid Valve Solenoid Replacement - Bank 1 (Right
Side) Intake (See: Actuators and Solenoids - Engine/Variable Valve Timing Solenoid/Service and Repair/Camshaft Position Actuator Solenoid