
CTS Wagon RWD V6-3.6L (2010)
Oil Pan: Service and Repair
Oil Pan Replacement
Removal Procedure
1. Remove the engine front cover. Refer to Engine Front Cover Replacement (See: Timing Components/Timing Cover/Service and Repair).
2. Remove the power steering hose retainer from the A/C compressor bracket.
3. Disconnect the intermediate steering shaft.
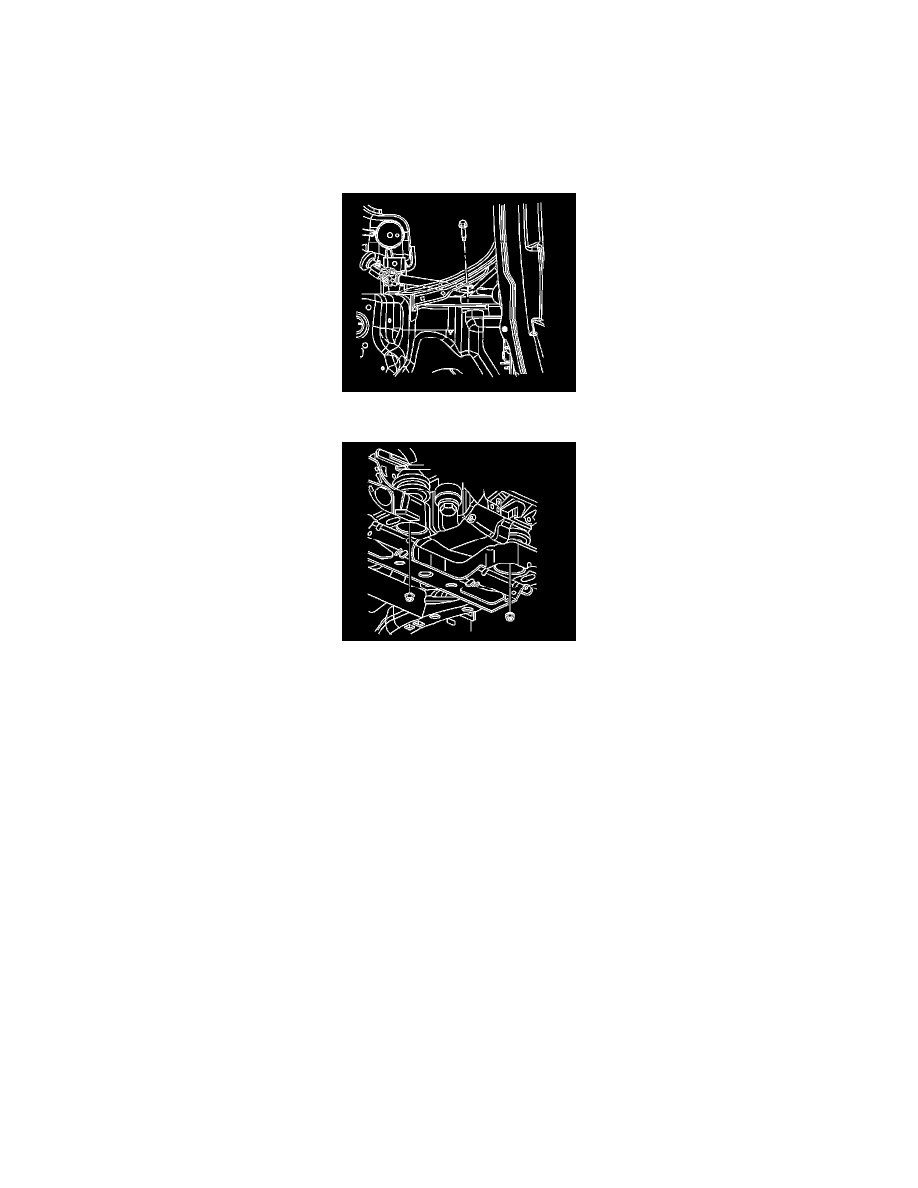
4. Remove the engine mount lower nuts.
Note: Do NOT disconnect the A/C pipes and/or hoses.
5. Remove the A/C compressor bracket bolts and reposition aside. Refer to Air Conditioning Compressor Replacement (LF1, LLT) (See: Heating
and Air Conditioning/Compressor HVAC/Service and Repair/Removal and Replacement)Air Conditioning Compressor Replacement (LSA) (
See: Heating and Air Conditioning/Compressor HVAC/Service and Repair/Removal and Replacement).
6. Drain the engine oil. Refer to Engine Oil and Oil Filter Replacement (See: Engine Oil/Service and Repair).
7. Remove the transmission oil cooler pipe retainer from the engine right side.
8. Install the engine support fixture. Refer to Engine Support Fixture (See: Service and Repair/Removal and Replacement/Engine Support Fixture).
9. Tighten the support fixture wing nuts in order to provide clearance for the oil pan.
10. Remove the front differential carrier, if equipped. Refer to Differential Carrier Assembly Replacement (See: Transmission and
Drivetrain/Differential Assembly/Differential Carrier/Service and Repair).
11. Remove the oil pan. Refer to Oil Pan Removal (RWD) (See: Service and Repair/Overhaul/45. Oil Pan Removal)Oil Pan Removal (AWD) (See:
Service and Repair/Overhaul/45. Oil Pan Removal).
12. Perform the following steps as necessary:
1. Disassemble the oil pan. Refer to Oil Pan Disassemble (RWD) (See: Service and Repair/Overhaul/73. Oil Pan Disassemble)Oil Pan
Disassemble (AWD) (See: Service and Repair/Overhaul/73. Oil Pan Disassemble).
2. Clean and inspect the oil pan. Refer to Oil Pan Cleaning and Inspection (RWD) (See: Service and Repair/Overhaul/74. Oil Pan Cleaning and
Inspection)Oil Pan Cleaning and Inspection (AWD) (See: Service and Repair/Overhaul/74. Oil Pan Cleaning and Inspection).
Installation Procedure
1. Assemble the oil pan as necessary. Refer to Oil Pan Assemble (RWD) (See: Service and Repair/Overhaul/76. Oil Pan Assemble)Oil Pan
Assemble (AWD) (See: Service and Repair/Overhaul/76. Oil Pan Assemble).
2. Install the oil pan. Refer to Oil Pan Installation (RWD) (See: Service and Repair/Overhaul/96. Oil Pan Installation)Oil Pan Installation (AWD) (
See: Service and Repair/Overhaul/96. Oil Pan Installation).
3. Install the front differential carrier, if equipped. Refer to Differential Carrier Assembly Replacement (See: Transmission and