
CTS Wagon RWD V6-3.6L (2010)
Housing Assembly HVAC: Service and Repair
Air Conditioning and Heater Module Assembly
Air Conditioning and Heater Module Assembly Removal and Installation
Special Tools
*
J 38185 Hose Clamp Pliers
*
J 39400-A Halogen Leak Detector
*
J 45689 A/C Quick Joint Tool
Removal Procedure
1. Recover the refrigerant. Refer to Refrigerant Recovery and Recharging (See: Service and Repair/Refrigerant Recovery and Recharging).
2. Remove the battery. Refer to Battery Replacement (See: Starting and Charging/Battery/Service and Repair/Removal and Replacement).
3. Drain the coolant. Refer to Cooling System Draining and Filling (Static Fill LF1, LLT) (See: Engine, Cooling and Exhaust/Cooling
System/Service and Repair/Cooling System Draining and Filling (Static Fill))Cooling System Draining and Filling (Static Fill LSA) (See: Engine,
Cooling and Exhaust/Cooling System/Service and Repair/Cooling System Draining and Filling (Static Fill))Cooling System Draining and Filling
(GE 47716 LSA) (See: Engine, Cooling and Exhaust/Cooling System/Service and Repair/Cooling System Draining and Filling (GE 47716)
)Cooling System Draining and Filling (GE 47716 LF1, LLT) (See: Engine, Cooling and Exhaust/Cooling System/Service and Repair/Cooling
System Draining and Filling (GE 47716)).
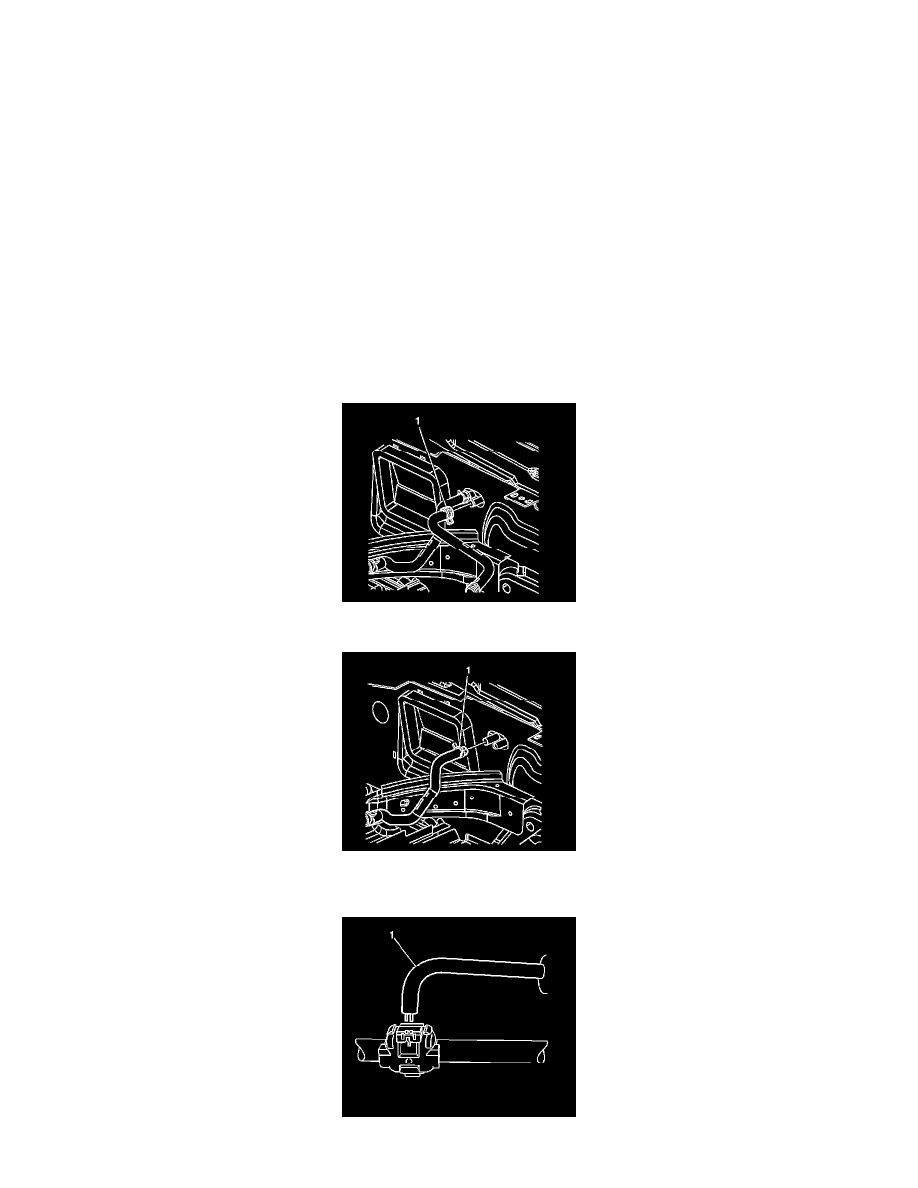
4. Using the J 38185 disconnect the heater inlet hose (1).
5. Using the J 38185 disconnect the heater outlet hose (1).
6. Disconnect both A/C lines at the cowl.
Note: The body of the tool should be parallel to the A/C line.