
CTS Wagon RWD V6-3.6L (2010)
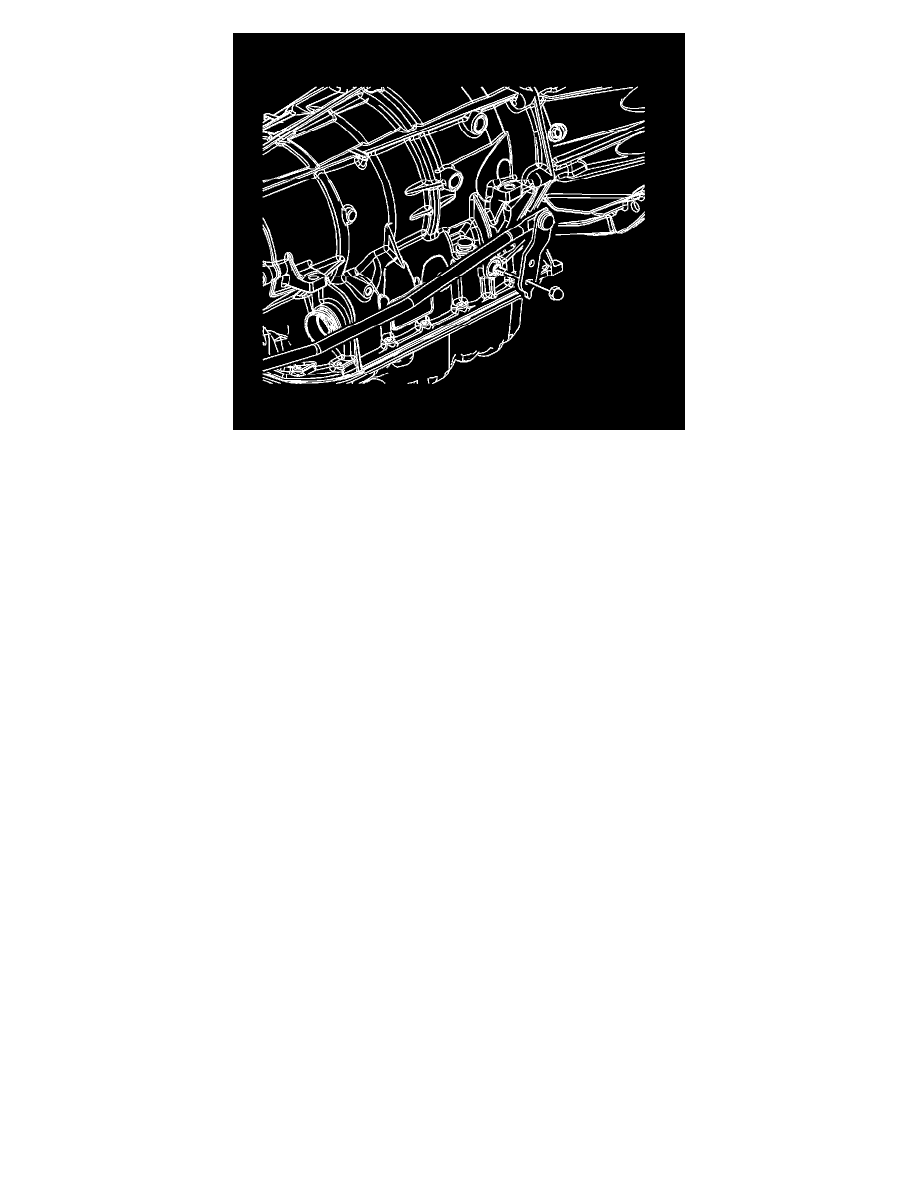
20. Install the shift linkage to the transmission.
21. Install the transmission manual shift shaft nut and tighten to 15 Nm (11 lb ft).
22. Install the propeller shaft. Refer to Rear Propeller Shaft Replacement (RPO LSA) (See: Transmission and Drivetrain/Drive/Propeller Shafts,
Bearings and Joints/Drive/Propeller Shaft/Service and Repair)Rear Propeller Shaft Replacement (RPO LLT/LF1with MX7 or MN6) (See:
Transmission and Drivetrain/Drive/Propeller Shafts, Bearings and Joints/Drive/Propeller Shaft/Service and Repair)Rear Propeller Shaft
Replacement (RPO LLT, LF1 with MXO) (See: Transmission and Drivetrain/Drive/Propeller Shafts, Bearings and Joints/Drive/Propeller
Shaft/Service and Repair).
23. Install the catalytic converters. Refer to Catalytic Converter Replacement - Left Side (LLT) (See: Emission Control Systems/Catalytic
Converter/Service and Repair/Catalytic Converter Replacement - Left Side)Catalytic Converter Replacement - Left Side (LSA) (See: Emission
Control Systems/Catalytic Converter/Service and Repair/Catalytic Converter Replacement - Left Side)Catalytic Converter Replacement - Left Side
(LF1) (See: Emission Control Systems/Catalytic Converter/Service and Repair/Catalytic Converter Replacement - Left Side) and Catalytic
Converter Replacement - Right Side (LLT) (See: Emission Control Systems/Catalytic Converter/Service and Repair/Catalytic Converter
Replacement - Right Side)Catalytic Converter Replacement - Right Side (LSA) (See: Emission Control Systems/Catalytic Converter/Service and
Repair/Catalytic Converter Replacement - Right Side)Catalytic Converter Replacement - Right Side (LF1) (See: Emission Control
Systems/Catalytic Converter/Service and Repair/Catalytic Converter Replacement - Right Side).
24. Install the exhaust system. Refer to Exhaust System Replacement (LSA) (See: Engine, Cooling and Exhaust/Exhaust System/Service and
Repair/Exhaust System Replacement)Exhaust System Replacement (LF1) (See: Engine, Cooling and Exhaust/Exhaust System/Service and
Repair/Exhaust System Replacement)Exhaust System Replacement (Single) (See: Engine, Cooling and Exhaust/Exhaust System/Service and
Repair/Exhaust System Replacement (Single))Exhaust System Replacement (LLT) (See: Engine, Cooling and Exhaust/Exhaust System/Service
and Repair/Exhaust System Replacement).
25. Lower the vehicle.
26. Install the thermostat housing. Refer to Engine Coolant Thermostat Housing Replacement.
27. Check the transmission fluid level and fill if necessary. Refer to Transmission Fluid Level and Condition Check (See: Transmission and
Drivetrain/Automatic Transmission/Transaxle/Testing and Inspection/Initial Inspection and Diagnostic Overview/Transmission Fluid Level and
Condition Check).
28. Adjust the shift control linkage. Refer to Shift Control Linkage Adjustment (All Wheel Drive) (See: Shift Control Linkage Adjustment)Shift
Control Linkage Adjustment (Rear Wheel Drive) (See: Shift Control Linkage Adjustment).
Transmission Final Test and Inspection
Complete the following procedure after the transmission is installed in the vehicle:
1. With the ignition OFF or disconnected, crank the engine several times. Listen for any unusual noises or evidence that any parts are binding.
2. Start the engine and listen for abnormal conditions.
3. While the engine continues to idle, raise and support the vehicle. Refer to Lifting and Jacking the Vehicle (See: Maintenance/Vehicle
Lifting/Service and Repair).
4. Inspect for fluid leaks while the engine is idling.
5. Perform a final inspection for the proper fluid level.
6. Lower the vehicle.
7. Calibrate the transmission control module (TCM). Refer to Control Module References (See: Testing and Inspection/Programming and
Relearning).