
CTS Wagon RWD V6-3.6L (2010)
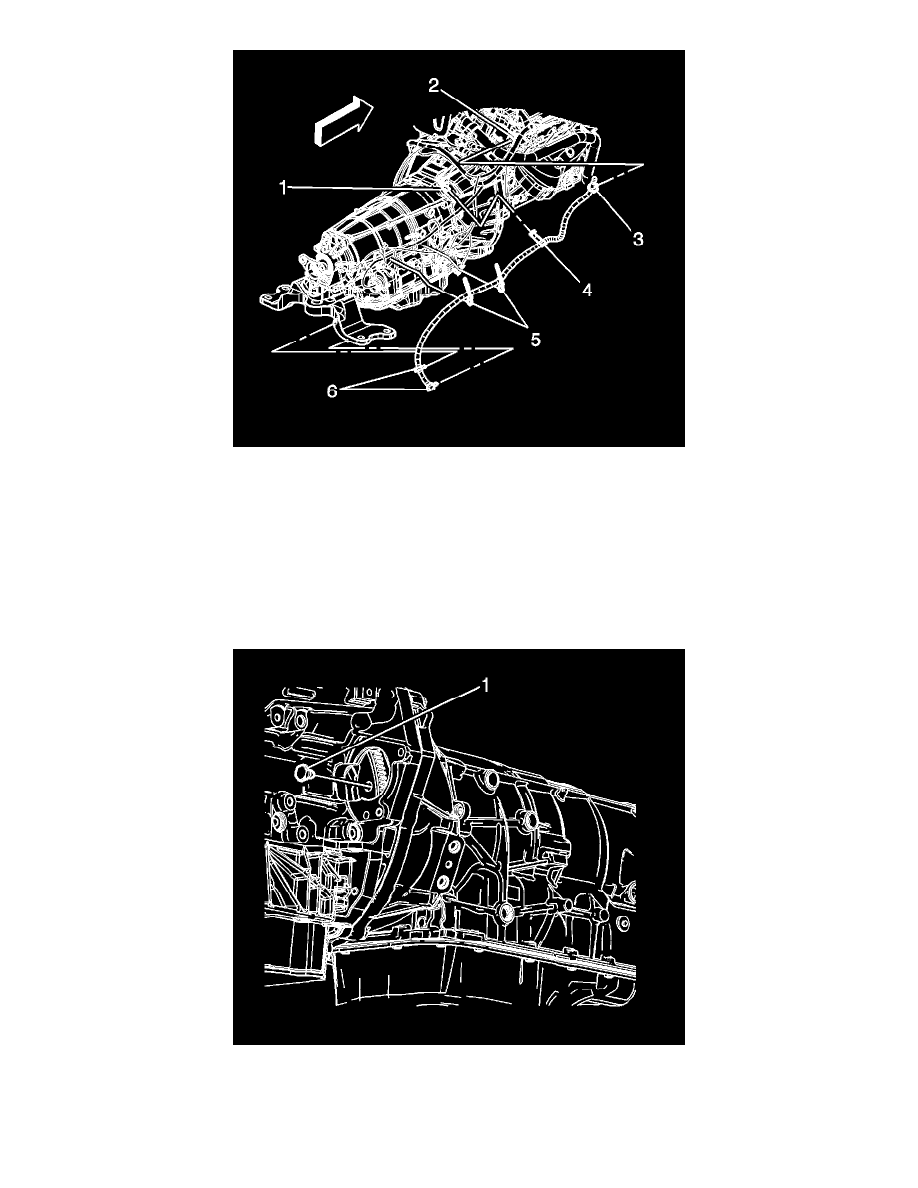
6. Connect the transmission vent hose (4) to the transmission vent pipe (1).
7. Raise the transmission to the installed position.
8. Install the transmission support. Refer to Transmission Support Replacement (Manual except CTS-V) (See: Body and
Frame/Frame/Cross-Member/Rear Cross-Member/Service and Repair)Transmission Support Replacement (Automatic RWD except CTS-V) (
See: Body and Frame/Frame/Cross-Member/Rear Cross-Member/Service and Repair)Transmission Support Replacement (Automatic CTS-V) (
See: Body and Frame/Frame/Cross-Member/Rear Cross-Member/Service and Repair)Transmission Support Replacement (Manual CTS-V) (See:
Body and Frame/Frame/Cross-Member/Rear Cross-Member/Service and Repair)Transmission Support Replacement (Automatic AWD) (See:
Body and Frame/Frame/Cross-Member/Rear Cross-Member/Service and Repair).
9. Remove the jack from under the transmission.
10. Align the torque converter to flexplate/flywheel orientation marks made during the removal procedure.
Note: Torque converter bolts are self locking and must be replaced with NEW torque converter bolts every time the bolts are removed.
11. Complete the following steps for all torque converter bolts (1):
1. Rotate the harmonic balancer center bolt clockwise ONLY, in order to align the torque converter bolt holes in the flexplate/flywheel with the