
DeVille V8-4.6L VIN 9 (1995)
64.
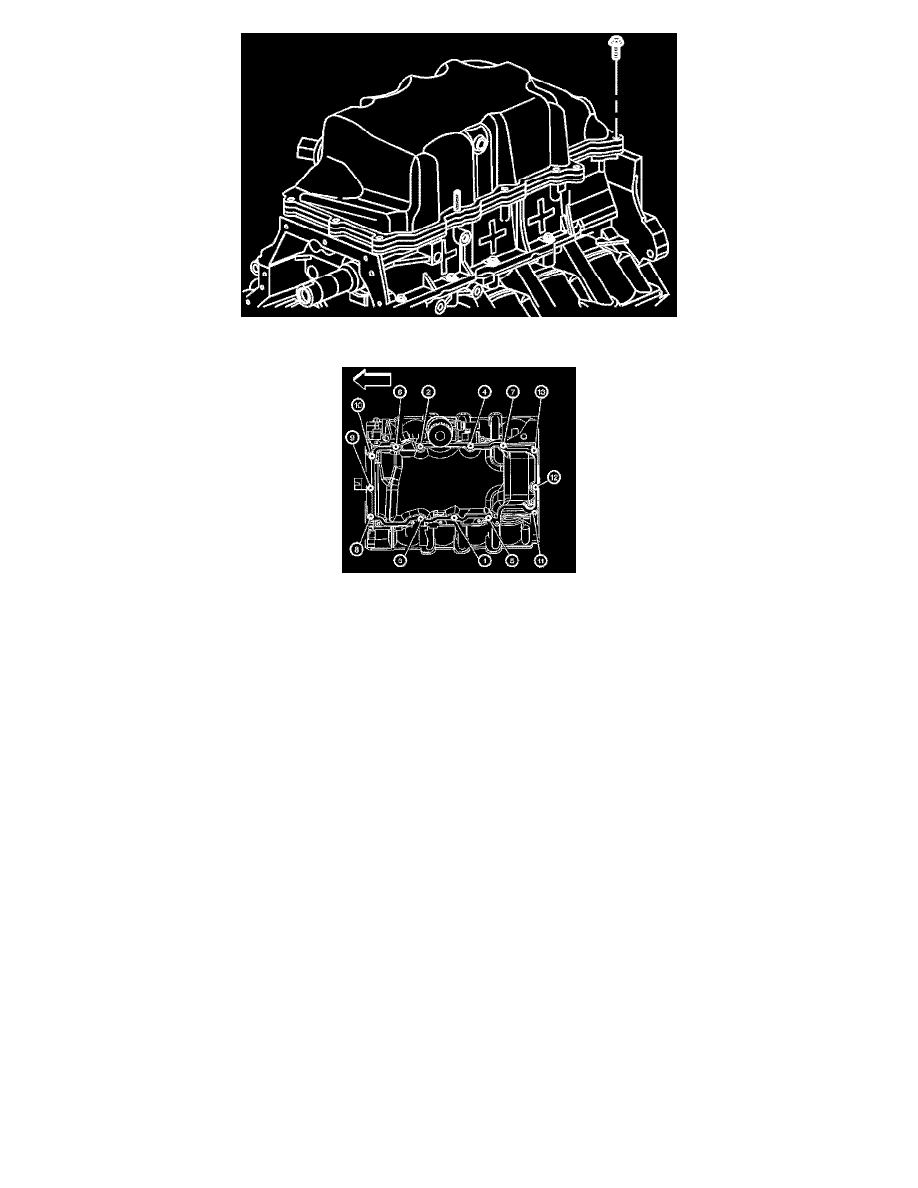
Install the oil pan bolts.
65.
Tighten the oil pan bolts in the sequence shown.
Tighten
Tighten the oil pan bolts in sequence to 10 N.m (89 lb in).
66.
Clean off any sealant that has protruded to the exterior of the engine.
Important:
^
Ensure components being sealed with RTV sealant are assembled within 20 minutes. Components assembled after the RTV sealant has
skinned-over, approximately 20 minutes or longer, will not bond.
^
EN-48072 must be used to ensure even application of the sealant in the bore and to prevent blockage of the drain back hole.
^
Install the crankshaft rear oil seal. Refer to the Crankshaft Rear Oil Seal Installation procedure in SI.
Important:
For detailed component and engine installation, refer to Engine Replacement Procedure in the Engine Mechanical subsection of the
appropriate Service Manual or SI.
67.
Install the components removed.
68. Remove the engine from the engine stand.
69.
Install the engine to the transmission.
70.
Install a NEW oil filter.
71.
Install the power steering pump.
72.
Install the A/C compressor.
73.
Install the drive belt.