DeVille V8-4.6L VIN 9 (1995)

Refrigerant: Service and Repair
Refrigerant Recovery & Recycling
Refrigerant Recovery
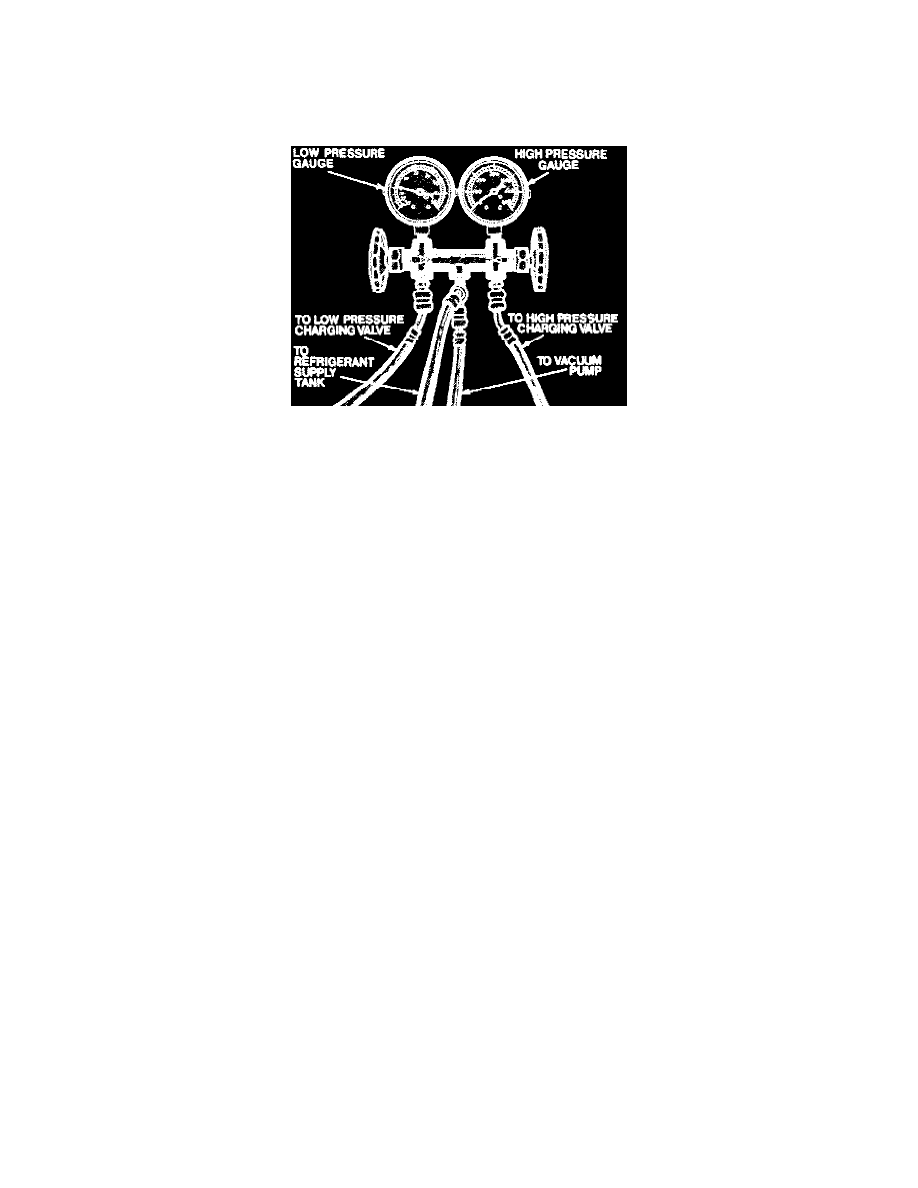
Fig. 20 Manifold Gauge Set Hose Connections
The refrigerant system must be discharged using an air conditioning refrigerant recovery and recycling system. After completing any necessary repairs
the refrigerant system can then be evacuated and charged using air conditioning service charging station. Service fitting caps are color coded for easy
reference. Red cap indicates high side port. Blue cap indicates low side port.
Failure to check for residual oil from previous recovery can result in adding extra oil to the current vehicle being serviced. This will result in reduced
performance and possible compressor damage.
1. Start vehicle and run with the A/C On for two minutes, then attach manifold gauge set to the A/C system, Fig. 20. Attach recovery station inlet
hose to center fitting of manifold gauge set.
2. Open both valves of manifold gauge set. Ensure refrigerant tank vapor valve and liquid valve are open.
3. Turn main power switch On.
4. Depress compressor start switch. The amber Compressor On light will come on and the compressor will start. The compressor will shutoff
automatically when recovery is complete. Wait two minutes and check for pressure rise. If pressure rise occurs, depress compressor start switch to
repeat recovery procedure.
5. To drain receiver dehydrator of A/C system oil, open receiver dehydrator pressurizing valve for 15 seconds to allow some compressor discharge
pressure back into receiver dehydrator. Open oil drain valve slowly and drain receiver dehydrator. When oil stops draining, close oil drain valve.
Do not allow receiver dehydrator to completely depressurize.
When using the recovery station in conjunction with a charging station:
1. Attach center port hose of manifold gauge set to inlet port of recovery station, then follow normal operating procedures for recovery/recycling
station.
2. When using recovery station in conjunction with an automatic charging station, attach exhaust hose to inlet of recovery station.
3. On automatic A/C service stations, a hole has been added at rear of cabinet for access to exhaust hose.
4. On older type stations, open front doors of cabinet to reach exhaust hose.
5. After attaching exhaust hose to recovery station, depress main power switch on automatic charging station. Depress exhaust switch. Then follow
normal operating procedures for recovery station.
6. Air is automatically vented from recovery tank during recycling. This feature eliminated the need to purge hoses before recovering refrigerant.
7. Operating engine with A/C Off during recovery may reduce recovery time.
8. To help prevent escape of refrigerant to the atmosphere, the recovery station can be attached to a Dial A Charge cylinder top vent port when filling
the cylinder.
9. Always check the recovery station for residual oil from previous recovery.
Refrigerant Recycling
1. Turn main power switch On.
2. Open both valves on recovery tank.
3. Turn Recycle Start switch On. The amber Recycle On light will come on and the refrigerant pump will start.
4. Refrigerant will be seen going through the Moisture Indicator at start up. If there is a sufficient supply of refrigerant, bubbles will clear after a few
seconds. When bubbles clear from Moisture Indicator, refrigerant pump is operating at maximum efficiency.
5. Allow station to operate until dot in center of Moisture Indicator turns green. Moisture Indicator Dot should change to a shade indicated on the
