DeVille V8-4.6L VIN 9 (1995)

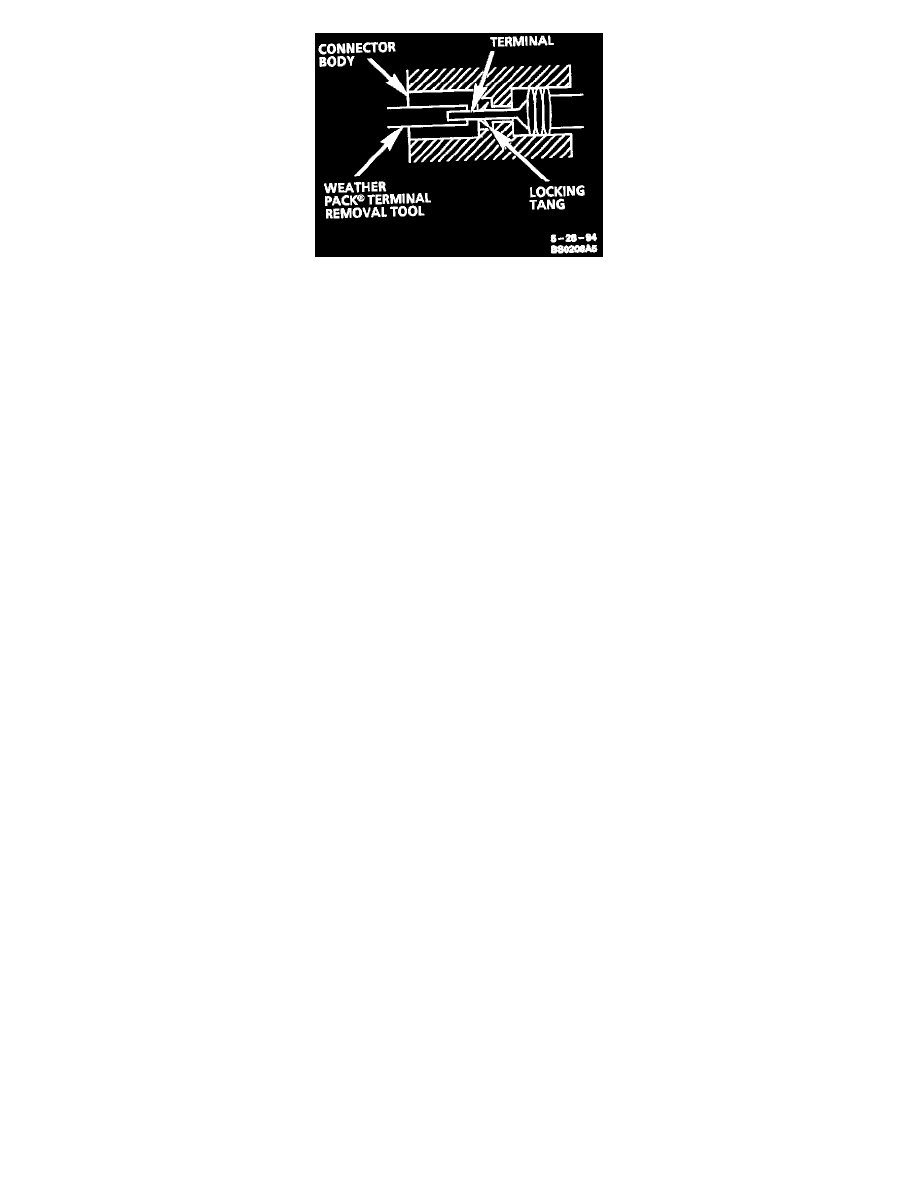
Typical Weather Pack(R) Connector And Terminal
Follow the steps below to repair Weather Pack(R) connectors.
Step 1:
Separate the connector halves.
Step 2:
Open secondary lock. A secondary lock aids in terminal retention and is usually molded to the connector.
Step 3:
Grasp the lead and push the terminal to the forward most position. Hold the lead at this position.
Step 4:
Insert the Weather Pack(R) terminal removal tool into the front (mating end) of the connector cavity until it rests on the cavity shoulder.
Step 5:
Gently pull on the lead to remove the terminal through the back of the connector.
NOTE: NEVER use force to remove a terminal from a connector.
Step 6:
Inspect the terminal and connector for damage. Repair as necessary (refer to Terminal Repair). See: Typical Electrical Repair
Procedures/Terminal Repairs
Step 7:
Re-form the lock tang and reseat terminal in connector body.
Step 8:
Close secondary locks and join connector halves.
Diode Replacement
Many vehicle electrical systems use a diode to isolate circuits and protect the components from voltage spikes. When installing a new diode, use the
following procedure:
Step 1: Open the Harness
If the diode is taped to the harness, remove all of the tape.
Step 2: Remove inoperative Diode
Paying attention to current flow direction, remove inoperative diode from the harness with a suitable soldering tool. If the diode is located next to a
connector terminal, remove the terminal(s) from the connector to prevent damage from the soldering tool.
Step 3: Strip the Insulation
Carefully strip away a section of insulation next to the old soldered portion of the wire(s). Do not remove any more than is needed to attach the
new diode.
