
DeVille V8-4.6L VIN 9 (1995)
6. Remove eleven bolts (two on channel plate side), then lower control valve assembly and gasket from lower channel plate.
7. Remove four check balls.
8. Remove manual valve link and clip, then manual valve.
9. Remove lo/reverse servo piston retaining ring. Push lo/reverse apply pin to remove servo assembly.
10. Remove return spring and clip, then push out servo pin.
11. Remove servo cushion spring and spring washer. Inspect check valves for movement.
12. Remove clips and shift solenoids A and B, then solenoid screen.
13. Remove 1-2 shift valves A and B, then 1-2 shift valve spring.
14. Remove 2-3 shift valves C and D, then 2-3 shift valve spring.
15. Remove coiled spring pin.
16. Remove forward bypass valve spring, then forward bypass valve.
17. Remove retaining clip, then bore plug.
18. Remove 3-4 shift valve, 3-4 shift valve spring, then coiled spring pin.
19. Remove reverse orifice bypass valve spring, then reverse orifice bypass valve.
20. Remove retaining sleeve.
21. Remove ball check capsule and checkball.
22. Remove bolts and plate from channel plate.
23. Remove spacer plate and gasket.
24. Inspect servo seals for roll over, tearing or cuts.
25. Inspect springs for damage and retaining clips for overexpansion
26. Inspect all valve and piston bores for nicks and wear.
27. Inspect lo/reverse servo apply pin for Straightness by rolling on flat surface.
28. Inspect solenoid screen for particles or damage.
29. Inspect checkball in valve body for freedom of movement.
30. Inspect valve body channel plate passages for debris.
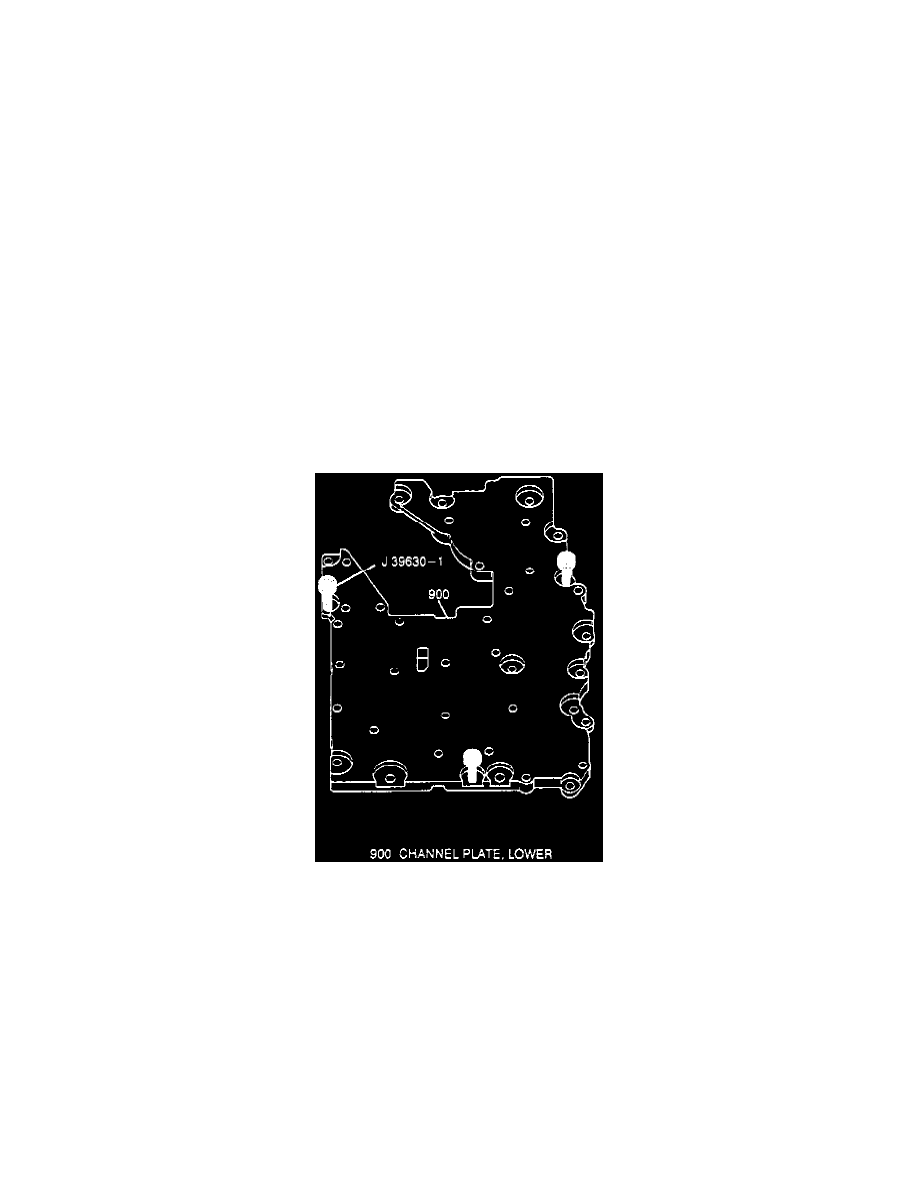
Fig.21 Guide Pins To Lower Channel Plate Installation