DeVille V8-4.6L VIN Y (1998)

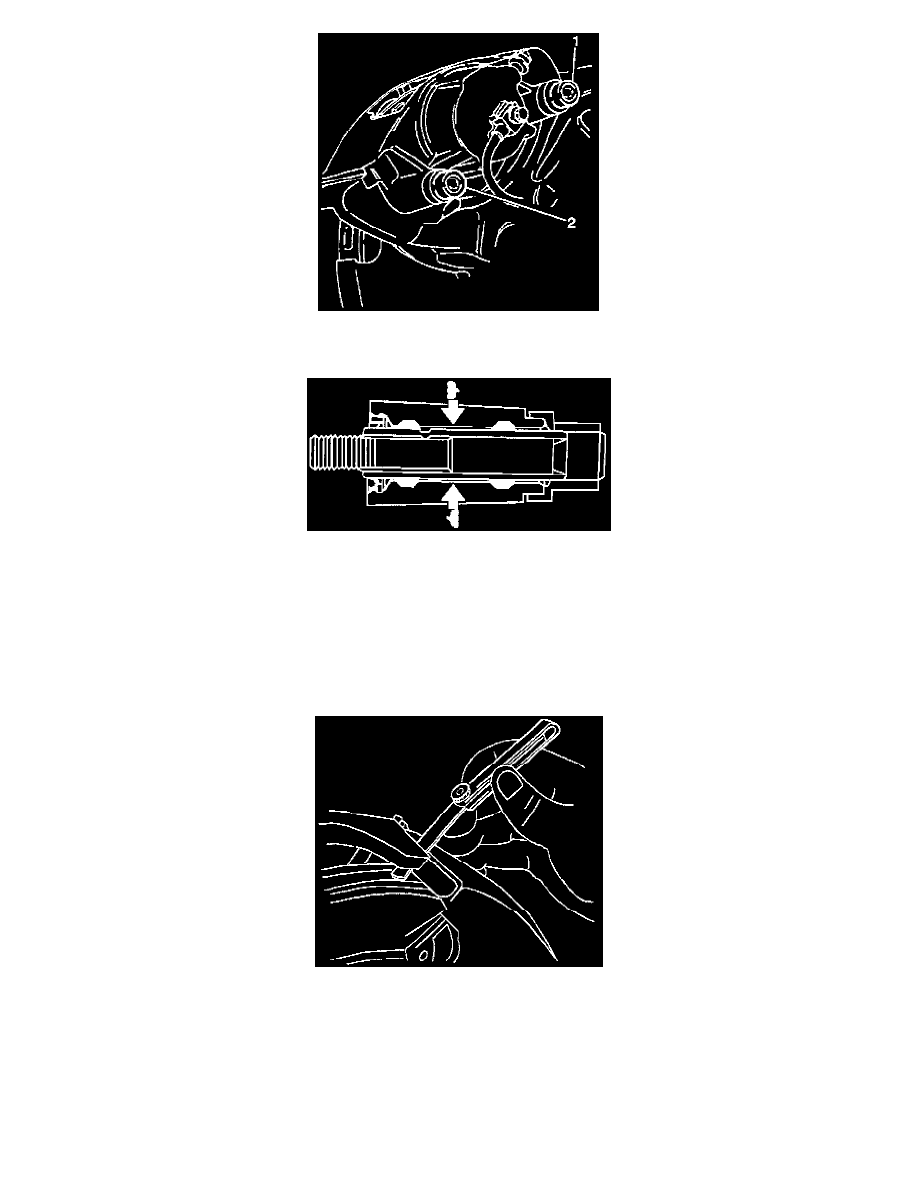
3. Install the new bolt boots (1), (2).
4. Install the caliper.
5. Fill both housing cavities between the bushings.
6. Install the mounting bolt and the sleeve assemblies.
^
Tighten the bolt to 51 Nm (38 ft. lbs.).
^
The bolts boots must remain secure after tightening the bolts.
NOTICE: Refer to Service Precautions.
7. Connect the brake hose to the caliper.
^
Tighten the brake hose bolt to 45 Nm (33 ft. lbs.).
8. Measure the clearance between the caliper and the bracket stops.
^
If necessary, remove the caliper and file the ends of the bracket to obtain a 0.26 to 0.60 mm (0.010 to 0.024 inch) total clearance.
^
Measure the clearances individually and then add them together.
^
Install the tire and the wheel.
IMPORTANT: Pump the brake pedal until it is firm before moving the vehicle. Check the fluid level in the master cylinder after pumping the
brakes.
