
DeVille V8-4.6L VIN Y (1998)
INSTALLATION PROCEDURE
1. Coat the oxygen sensor threads with high temperature anti-seize, GM P/N 5613695 or equivalent.
NOTICE: Refer to Fastener Notice in Service Precautions.
2. Install the oxygen sensor. Tighten the sensor to 40 Nm (30 ft. lbs.).
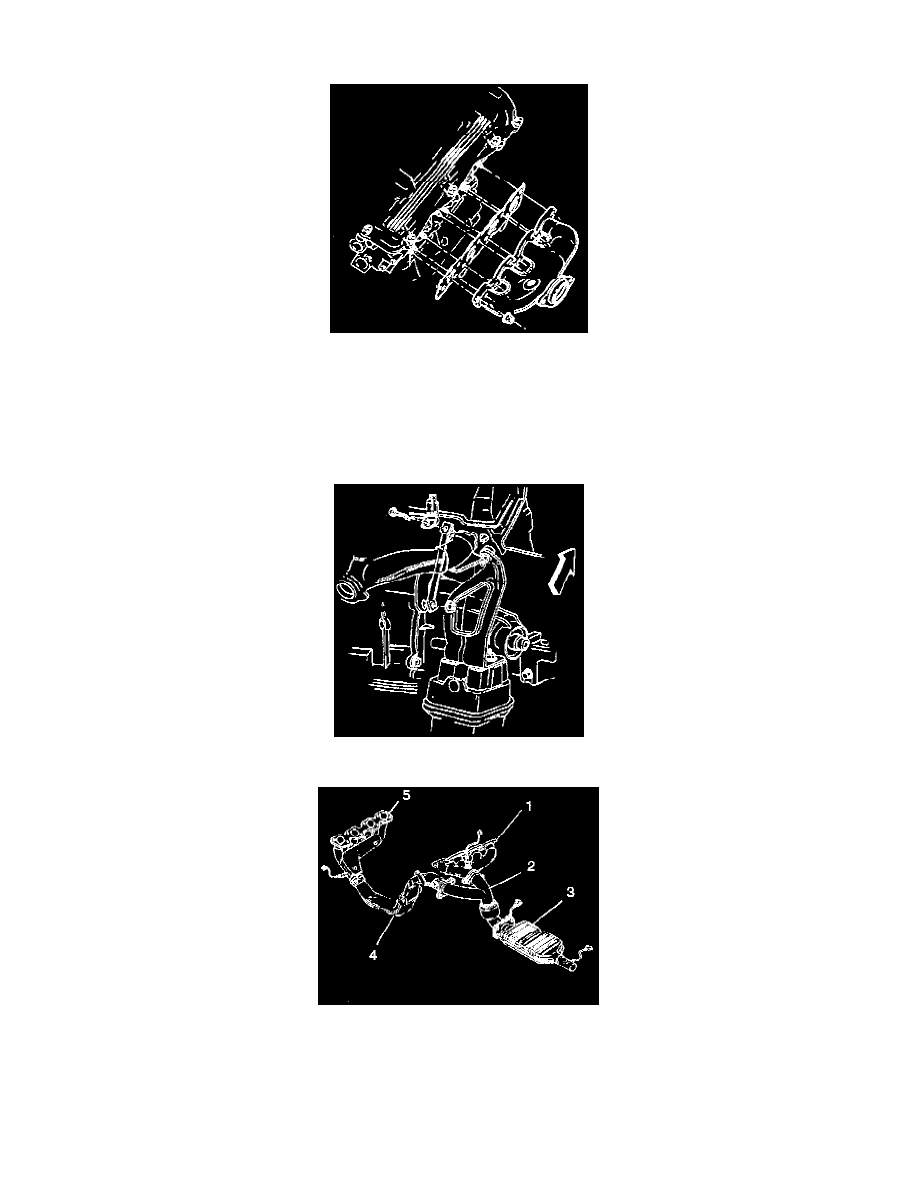
3. Install the manifold gasket over the cylinder head studs.
4. Install the manifold and the nuts. Tighten the nuts to 25 Nm (18 ft. lbs.).
5. Install the right side cylinder head to the transaxle brace. Tighten the bolt and nut to 50 Nm (37 ft. lbs.).
6. Install the exhaust manifold rear pipe (2) and secure with four bolts. New bolts are recommended for maximum joint integrity.
^
Tighten the M8 bolts to 25 Nm (18 ft. lbs.).
^
Tighten the M10 bolts to 40 Nm (30 ft. lbs.).
7. Raise the engine cradle into position. Tighten the four bolts to 100 Nm (74 ft. lbs.).
8. Connect the intermediate shaft to the steering gear. Tighten the bolt to 50 Nm (37 ft. lbs.).